Sea Oats, Land-Locked: A Guide to Propagating Uniola Paniculata
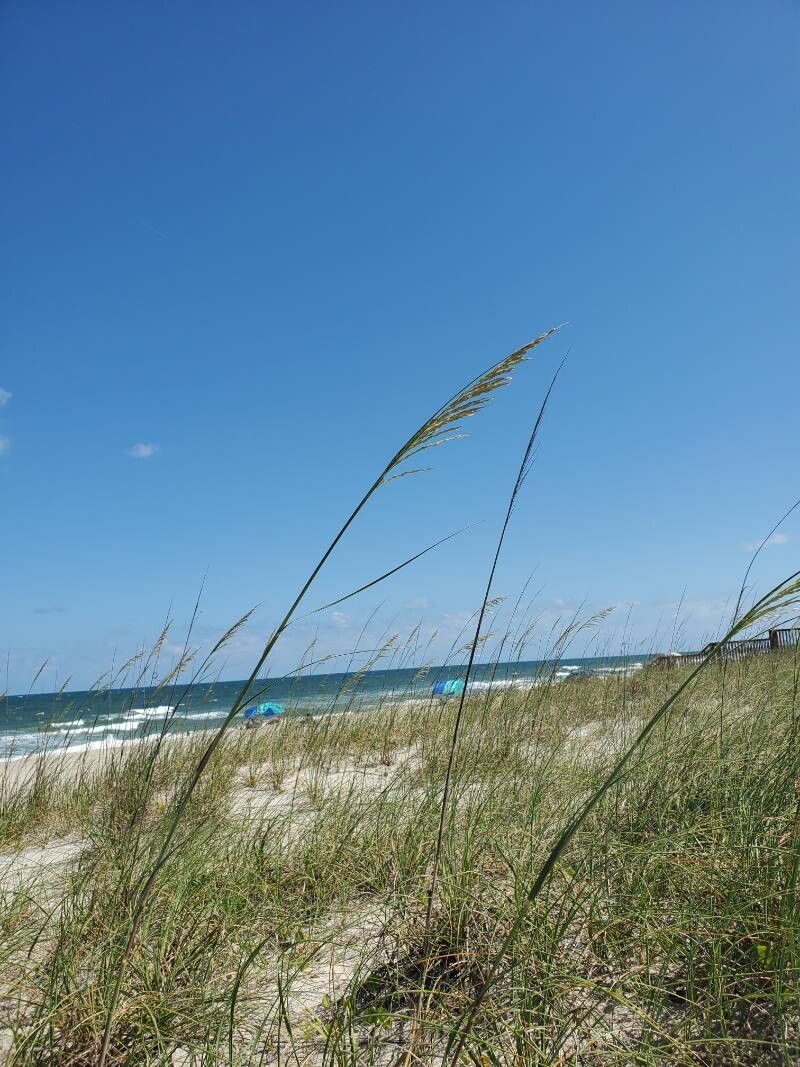
Uniola paniculata, better known as Sea Oats, is a gorgeous, graceful grass with feathery plumes that dance in the wind. More than just a pretty face, Sea Oats play a crucial role in stabilizing coastal dunes, making them a welcome sight on beaches all along the Eastern seaboard. But did you know that you can grow your own patch of these delightful grasses at home? Let’s explore the exciting world of Sea Oat propagation!
Understanding the Basics
Propagating Sea Oats can be achieved through two key methods:
- Seed Propagation: This is the most common and straightforward approach. Sea Oats produce seeds enclosed in seedheads, which resemble miniature oat clusters. These seeds mature in late summer and can be harvested for planting.
- Division: While less common, Sea Oats can also be propagated by dividing established clumps. This method is best suited for plants that have already grown into dense clumps.
Option 1: Seed Propagation
Harvesting Seeds:
- Timing is Everything: The best time to harvest Sea Oat seeds is in late summer or early fall, when the seedheads have turned from green to a light brown, and the seeds are plump.
- Carefully Collect: Cut the seedheads from the plant using sharp scissors or pruning shears. Be careful not to pull the whole plant, as this can damage the root system.
- Dry and Store: Spread the harvested seedheads on a screen or tray in a warm, dry place for a few weeks to allow the seeds to dry fully. Once dry, store them in a cool, dry location in a sealed container.
Planting Seeds:
- Time to Plant: Sea Oat seeds can be sown directly into the ground in the spring, after the last frost has passed.
- Location is Key: Select a sunny spot in your garden that offers well-drained soil. Sea Oats thrive in sandy conditions, replicating their native coastal environment.
- Sowing the Seeds: Sow the seeds ½ inch deep and 6-8 inches apart. Gently firm the soil around the seeds and water them in thoroughly.
- Patience is Key: Sea Oat seeds can take several weeks to germinate, so be patient and consistent with watering.
Option 2: Division
Dividing Sea Oats:
- When to Divide: Dividing established Sea Oat clumps is best done in the early spring, before the plants begin to actively grow.
- Prepare the Clump: Carefully dig around the base of the Sea Oat clump to expose the roots.
- Divide the Clump: Use a sharp spade or shovel to divide the clump into smaller sections, each with a healthy root system and several shoots.
- Plant the Divisions: Plant the divided Sea Oats in well-drained soil in a sunny location, spacing them 2-3 feet apart.
Tips for Success
- Water Regularly: Keep your newly planted Sea Oats well-watered, especially during the first year.
- Fertilize Sparingly: Sea Oats are relatively low-maintenance and don’t need much fertilizer. A light application of compost or a balanced fertilizer every few months should suffice.
- Control Weeds: Keep the area around your Sea Oats free of weeds, as they can compete with your plants for nutrients and water.
- Protect from Frost: Sea Oats are generally cold-hardy, but in very cold regions, it’s advisable to provide some winter protection during the first few years, especially for young plants.
Enjoy the Benefits of Sea Oats
Not only is Sea Oat propagation a rewarding experience, but you’ll also be contributing to a healthier environment. These hardy grasses are essential for shoreline stabilization and protect valuable coastal ecosystems. So go ahead, get your hands dirty, and bring the beauty and benefits of Sea Oats to your garden today.