
Beyond Blueberries: Unlocking the Secrets to Propagating Blue Ridge Blueberries (Vaccinium pallidum)
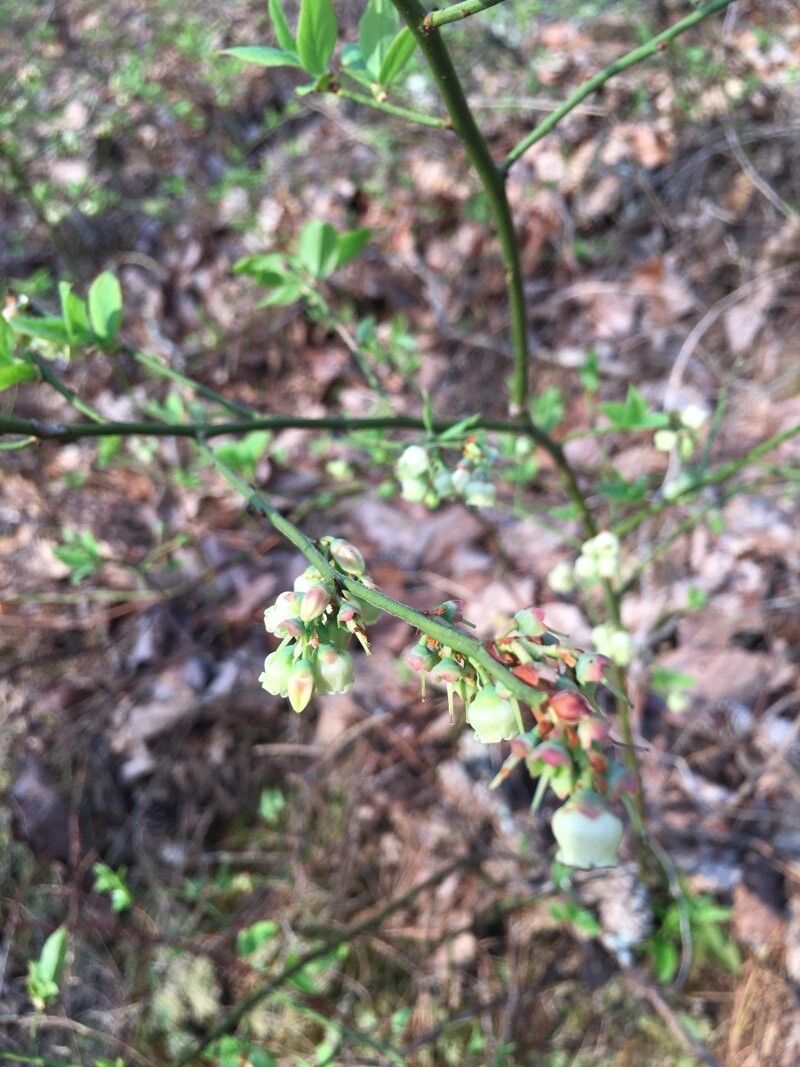
The Blue Ridge Mountains, with their breathtaking vistas and diverse flora, are home to a hidden gem: the Blue Ridge Blueberry (Vaccinium pallidum). This blueberry relative, while not producing the plump, juicy berries of its commercial cousins, offers a unique charm with its delicate blossoms, vibrant fall foliage, and ecological importance.
If you’re looking to welcome this enchanting plant into your garden, understanding its propagation methods is key. While acquiring nursery-grown plants is an option, propagating your own Blue Ridge Blueberries can be a rewarding experience that deepens your connection with this regional treasure.
Seed Starting: A Test of Patience
Blue Ridge Blueberries can be grown from seed, but be prepared for a journey that requires patience and a gentle touch. Here’s how:
- Seed Collection and Preparation: Collect ripe berries in late summer and gently crush them to extract the seeds. Rinse the seeds thoroughly and allow them to dry completely.
- Cold Stratification: Blue Ridge Blueberry seeds require a period of cold stratification to mimic natural winter conditions. Mix the seeds with moist sand or peat moss, place them in a sealed plastic bag, and store in the refrigerator (around 40°F) for 60-90 days.
- Sowing: In spring, sow the stratified seeds in a seed-starting mix, barely covering them with soil. Keep the soil consistently moist and place the tray in a well-lit location, out of direct sunlight.
- Transplanting: Seedlings are fragile and slow-growing. Once they have developed several sets of true leaves, transplant them into individual pots filled with a well-draining, acidic potting mix.
Taking the Shortcut: Propagating from Cuttings
For quicker and more reliable results, propagating Blue Ridge Blueberries from cuttings is recommended. Follow these steps:
- Timing is Key: Take softwood cuttings from healthy, new growth in late spring or early summer when the branches are still flexible.
- Cut and Treat: Using clean, sharp pruning shears, take 4-6 inch cuttings just below a leaf node. Remove the lower leaves, leaving 2-3 pairs at the top. Dip the cut end in rooting hormone to encourage root development.
- Potting and Conditions: Plant the cuttings in a pot filled with a mix of peat moss and perlite, ensuring good drainage. Water thoroughly and cover the pot with a clear plastic bag to create a humid environment.
- Rooting and Growth: Place the pot in a warm location with indirect sunlight. Keep the soil consistently moist but not waterlogged. Roots should develop within 4-6 weeks, and new growth will indicate successful propagation.
Nurturing Your Propagated Plants
Whether you choose the seed or cutting method, providing the right conditions is crucial for the success of your Blue Ridge Blueberry propagation:
- Acidic Soil: These plants thrive in acidic soil with a pH between 4.5 and 5.5. Amending the soil with peat moss or composted pine bark can help achieve this.
- Sunlight and Moisture: Provide your plants with partial shade to full sun and maintain consistent moisture, especially during dry periods.
- Patience is a Virtue: Remember that Blue Ridge Blueberries are slow-growing shrubs. Be patient and enjoy the journey of watching them establish themselves in your garden.
Propagating Blue Ridge Blueberries is a fulfilling way to welcome a piece of the Blue Ridge Mountains’ natural beauty into your own backyard. By embracing their unique needs and understanding their propagation techniques, you can play a role in preserving this valuable native plant for generations to come.