Unlocking the Secrets of Vanilla Bicolor: A Guide to Propagation
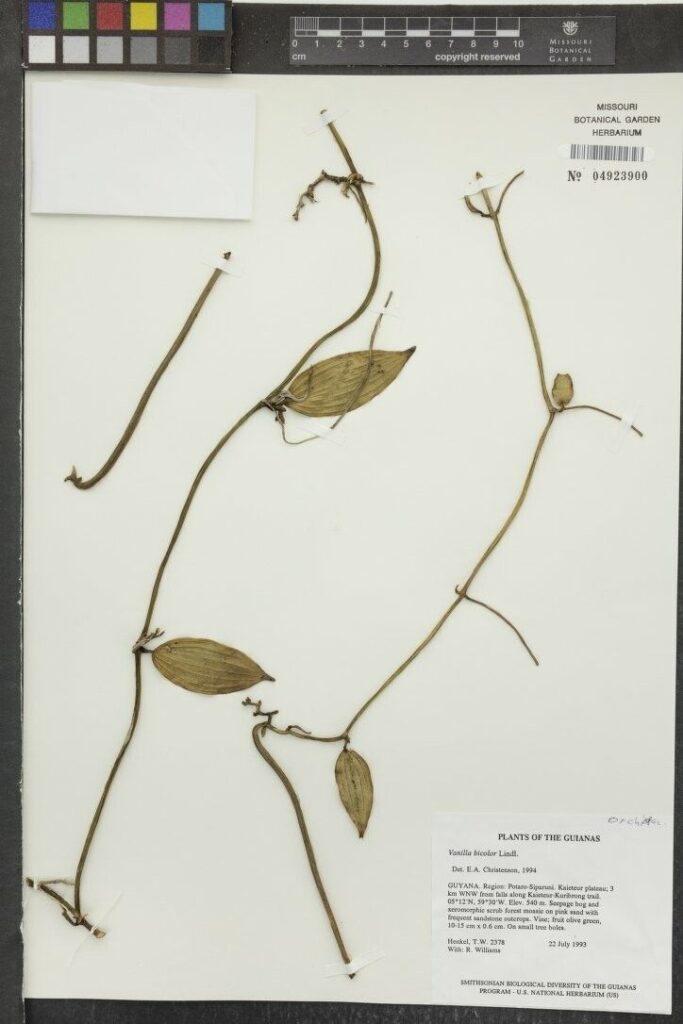
Vanilla bicolor, also known as the “Two-Colored Vanilla,” captivates with its alluring fragrance and striking beauty. Native to the tropical rainforests of Central and South America, this orchid species boasts long, slender leaves and produces stunning inflorescences adorned with creamy-yellow flowers, each delicately kissed with a touch of green. While readily available for purchase, propagating your own Vanilla bicolor offers a rewarding challenge and the satisfaction of nurturing a new generation of this exquisite plant.
This guide delves into the fascinating world of Vanilla bicolor propagation, equipping you with the knowledge and techniques to embark on your own propagation journey.
Understanding Vanilla Bicolor
Before diving into propagation, it’s crucial to understand the plant’s growth habits. Vanilla bicolor thrives in warm, humid environments, similar to its more famous cousin, Vanilla planifolia (the source of vanilla flavoring). It’s an epiphyte, meaning it naturally grows on other plants for support, drawing moisture and nutrients from the air and its surroundings. This understanding is key to replicating optimal propagation conditions.
Propagation Methods
There are two primary methods for propagating Vanilla bicolor:
1. Stem Cuttings: This is the most common and relatively straightforward method.
- Timing: Spring or early summer, when the plant is actively growing, is ideal.
- Process:
- Select a healthy stem with at least 3-4 nodes (small bumps on the stem where leaves emerge).
- Using sterilized shears, make a clean cut just below a node.
- Remove the lower leaves, leaving 2-3 leaves at the top.
- Dip the cut end in rooting hormone (optional but recommended).
- Plant the cutting in a well-draining potting mix, ensuring at least one node is buried.
- Maintain warmth, humidity, and indirect light.
- Rooting Time: Expect rooting to take 4-8 weeks.
2. Keiki Propagation: “Keiki” is the Hawaiian term for “baby,” and refers to plantlets that sometimes sprout from the nodes of mature Vanilla orchids.
- Process:
- Once the keiki develops a few roots of its own (about 2-3 inches long), carefully detach it from the mother plant.
- Pot the keiki in a suitable potting mix, ensuring the roots are well-covered.
- Provide the same care as established plants.
- Benefits: Propagating through keikis offers a higher success rate and faster establishment.
Essential Care for New Propagations
- Potting Mix: A well-draining, airy mix is crucial. Orchid bark, perlite, and sphagnum moss are excellent choices.
- Humidity: Aim for 70-80% humidity. Mist regularly or use a humidifier. Grouping plants together can also increase ambient humidity.
- Light: Bright, indirect light is ideal. Avoid direct sunlight, which can scorch the leaves.
- Watering: Water thoroughly when the potting mix is almost dry. Overwatering can lead to root rot.
Patience is Key
Propagating Vanilla bicolor requires patience and attentiveness. Don’t be discouraged if the process takes time. With proper care and a nurturing environment, you’ll eventually be rewarded with new growth – a testament to your dedication and the plant’s remarkable resilience.
Whether you’re a seasoned orchid enthusiast or a curious beginner, propagating Vanilla bicolor offers an enriching journey into the world of plant propagation, allowing you to witness firsthand the fascinating life cycle of this stunning orchid.