From One Vellozia Candida to Many: A Beginner’s Guide to Propagation
Vellozia candida, with its striking, star-shaped white flowers, is a unique and beautiful addition to any home. But what if you want to share this beauty with others, or simply expand your own collection? That’s where propagation comes in.
Why Propagate Vellozia Candida?
There are several reasons why you might want to propagate your Vellozia candida:
- Sharing the beauty: Propagation allows you to share your beloved plant with friends and family, or to start a new plant collection.
- Preserving a precious plant: If your Vellozia candida is a treasured specimen, propagation ensures its legacy will live on even if the original plant has reached the end of its life.
- Cost-effective: Buying new plants can be expensive. Propagation allows you to create new plants without breaking the bank.
Understanding Vellozia Candida Propagation Techniques
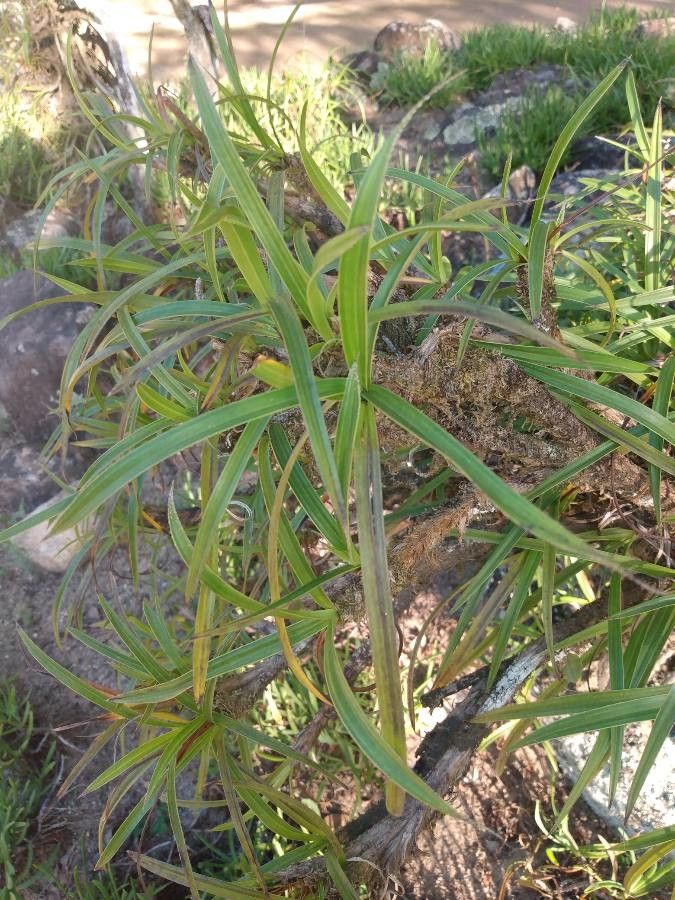
Vellozia candida, a member of the Velloziaceae family, prefers a warm and humid environment. Its propagation methods are fairly straightforward, but require patience and an understanding of its unique characteristics.
1. Seed Propagation:
- Collection: Collect mature seed pods after they turn brown and have fully dried on the plant. The seeds are small and black.
- Preparation: Seeds should be sown in a well-draining seed starting mix in a pot or tray. Lightly cover the seeds with the mix and mist them regularly.
- Germination: Vellozia candida seeds can take weeks to germinate, so patience is key. Maintain a warm temperature (around 70-75°F) and provide bright, indirect light.
- Transplanting: Once seedlings have developed several true leaves, they can be carefully transplanted into individual pots.
2. Division:
- Timing: Division is best performed during the spring or summer when the plant is actively growing.
- Process: Gently remove the plant from its container and carefully separate the clump into several smaller divisions, each with its own roots.
- Repotting: Plant each division in a pot filled with well-draining potting mix and water thoroughly.
3. Offsets:
- Identifying offsets: Offsets are small, new plants that grow at the base of the parent plant. They often have their own roots.
- Separation: Carefully detach the offset from the main plant, ensuring that it has its own root system.
- Repotting: Plant the offset in a pot with well-draining potting mix and water thoroughly.
Tips for Successful Propagation:
- Use sterile tools: This helps prevent diseases from spreading to your plants.
- Choose healthy plants: Start with healthy, vigorous parent plants for the best results.
- Provide the right environment: Vellozia candida prefers a warm and humid environment with bright, indirect light.
- Be patient: Propagation can take time, so don’t get discouraged if you don’t see results immediately.
Conclusion:
Propagating your Vellozia candida is a rewarding and fulfilling experience. With patience, attention to detail, and the right techniques, you can enjoy the beauty of this unusual plant for years to come and even share it with others. So, get started on your propagation journey today and watch your Vellozia candida collection thrive!