Unleashing the Beauty of the Bertoloni Pansy: A Propagation Primer
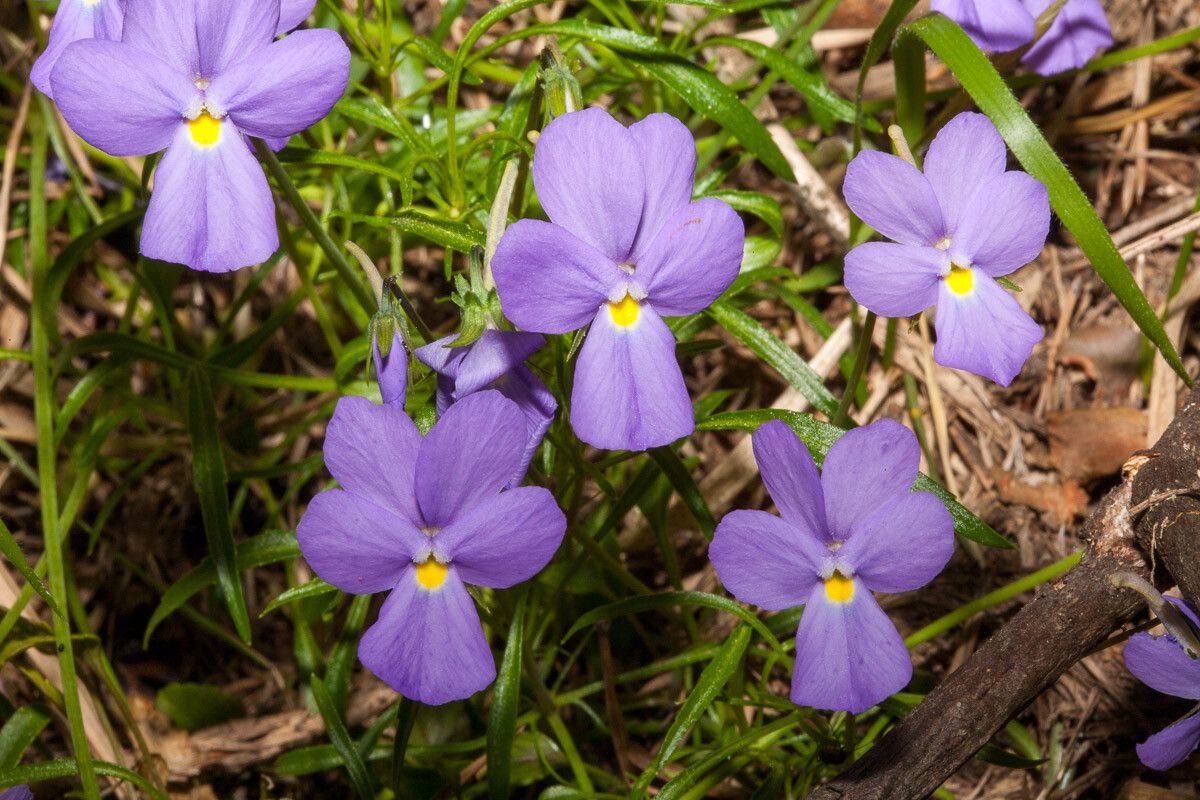
With its heart-stopping hues of purple and yellow, the Viola bertolonii, or Bertoloni pansy, is a botanical jewel that captivates all who encounter it. Native to the maritime Alps, this charming perennial thrives in rocky, well-drained soils and offers a vibrant splash of color to rock gardens, alpine troughs, and even sunny windowsills. While acquiring this beauty from a nursery is an option, why not experience the joy of multiplying your floral treasures through propagation?
This guide delves into three tried-and-true methods for propagating Viola bertolonii, empowering even novice gardeners to cultivate a garden brimming with these vibrant blooms.
1. Seed Starting: A Rewarding Journey from Tiny Specks to Floral Wonders
For those who relish the magic of a plant’s full life cycle, seed starting is an immensely satisfying option.
- Timing is Key: Begin sowing Viola bertolonii seeds indoors during late winter or early spring. This provides ample time for seedlings to mature before the summer heat sets in.
- Soil Savvy: Choose a seed-starting mix that’s light, airy, and well-draining.
- Shallow Sowing: Scatter seeds thinly over the soil surface and gently press them in. Remember, light is crucial for germination, so avoid burying them too deep.
- Humidity is a Must: Cover the seed tray with a plastic dome or wrap to maintain optimal moisture levels.
- Light Up their Lives: Place the tray in a bright location, out of direct sunlight. A sunny windowsill or under grow lights will do the trick.
- Germination Celebration: Be patient, germination usually takes 14-21 days. Once seedlings sprout, remove the cover and ensure they receive adequate airflow to prevent damping-off.
- Transplanting Time: When the seedlings develop a couple of true leaves, transplant them into individual pots or outdoors after the last frost.
2. Taking Cuttings: Cloning Your Floral Favorites
Cuttings offer a quicker route to propagation, producing plants genetically identical to the parent.
- Choose Wisely: Select healthy, non-flowering stems from a well-established Viola bertolonii plant.
- Make the Cut: Using a sharp, sterilized knife or pruning shears, take a 3-4 inch cutting just below a leaf node.
- Prepare for Rooting: Remove the lower leaves to reduce moisture loss and dip the cut end in rooting hormone (optional but beneficial).
- Potting Up: Plant the cutting in a pot filled with a moist, well-draining potting mix.
- Greenhouse Effect: Cover the pot with a plastic bag, creating a humid environment to encourage rooting.
- Patience is Key: Keep the cutting in a bright, indirectly lit location, and after 4-6 weeks, gently tug on the cutting to check for resistance, a sign of successful rooting.
- Ready for the Big Time: Once roots develop, gradually acclimate the new plant to outdoor conditions before transplanting it to its permanent location.
3. Division: Sharing the Floral Wealth
Mature Viola bertolonii plants often form clumps, making division a viable propagation method.
- Timing is Crucial: Divide plants in early spring or after they finish blooming in late summer or early fall.
- Digging In: Carefully lift the entire clump from the ground using a garden fork.
- Separation Anxiety (for the plants): Gently tease apart the clump into smaller sections, ensuring each division has a healthy root system and several growth points.
- Replanting: Choose a spot with well-drained soil and transplant the divisions at the same depth they were growing originally. Water them well and enjoy the multiplied beauty!
A Final Word: Embrace the Joy of Propagation
Propagating Viola bertolonii is a journey filled with anticipation and reward. Whether you choose to start from seed, take cuttings, or divide existing plants, each method offers a unique opportunity to connect with nature and expand your garden’s floral tapestry. Happy propagating!