Unveiling the Secrets of Witheringia Solanacea: A Propagation Guide for the Curious Gardener
Witheringia solanacea, with its whimsical name and alluring, bell-shaped flowers, might seem like a rare exotic, but this intriguing plant is surprisingly adaptable and easy to propagate, even for beginner gardeners. Native to the American tropics, Witheringia solanacea, sometimes called the “nightshade winter cherry” for its family ties and charming, small fruit, thrives in warm climates and adds a unique touch to any garden or indoor collection.
Ready to embark on the journey of propagating your own Witheringia solanacea? Let’s explore the two main methods:
1. Seeds: Sowing the Future of Your Floral Display
Collecting Seeds:
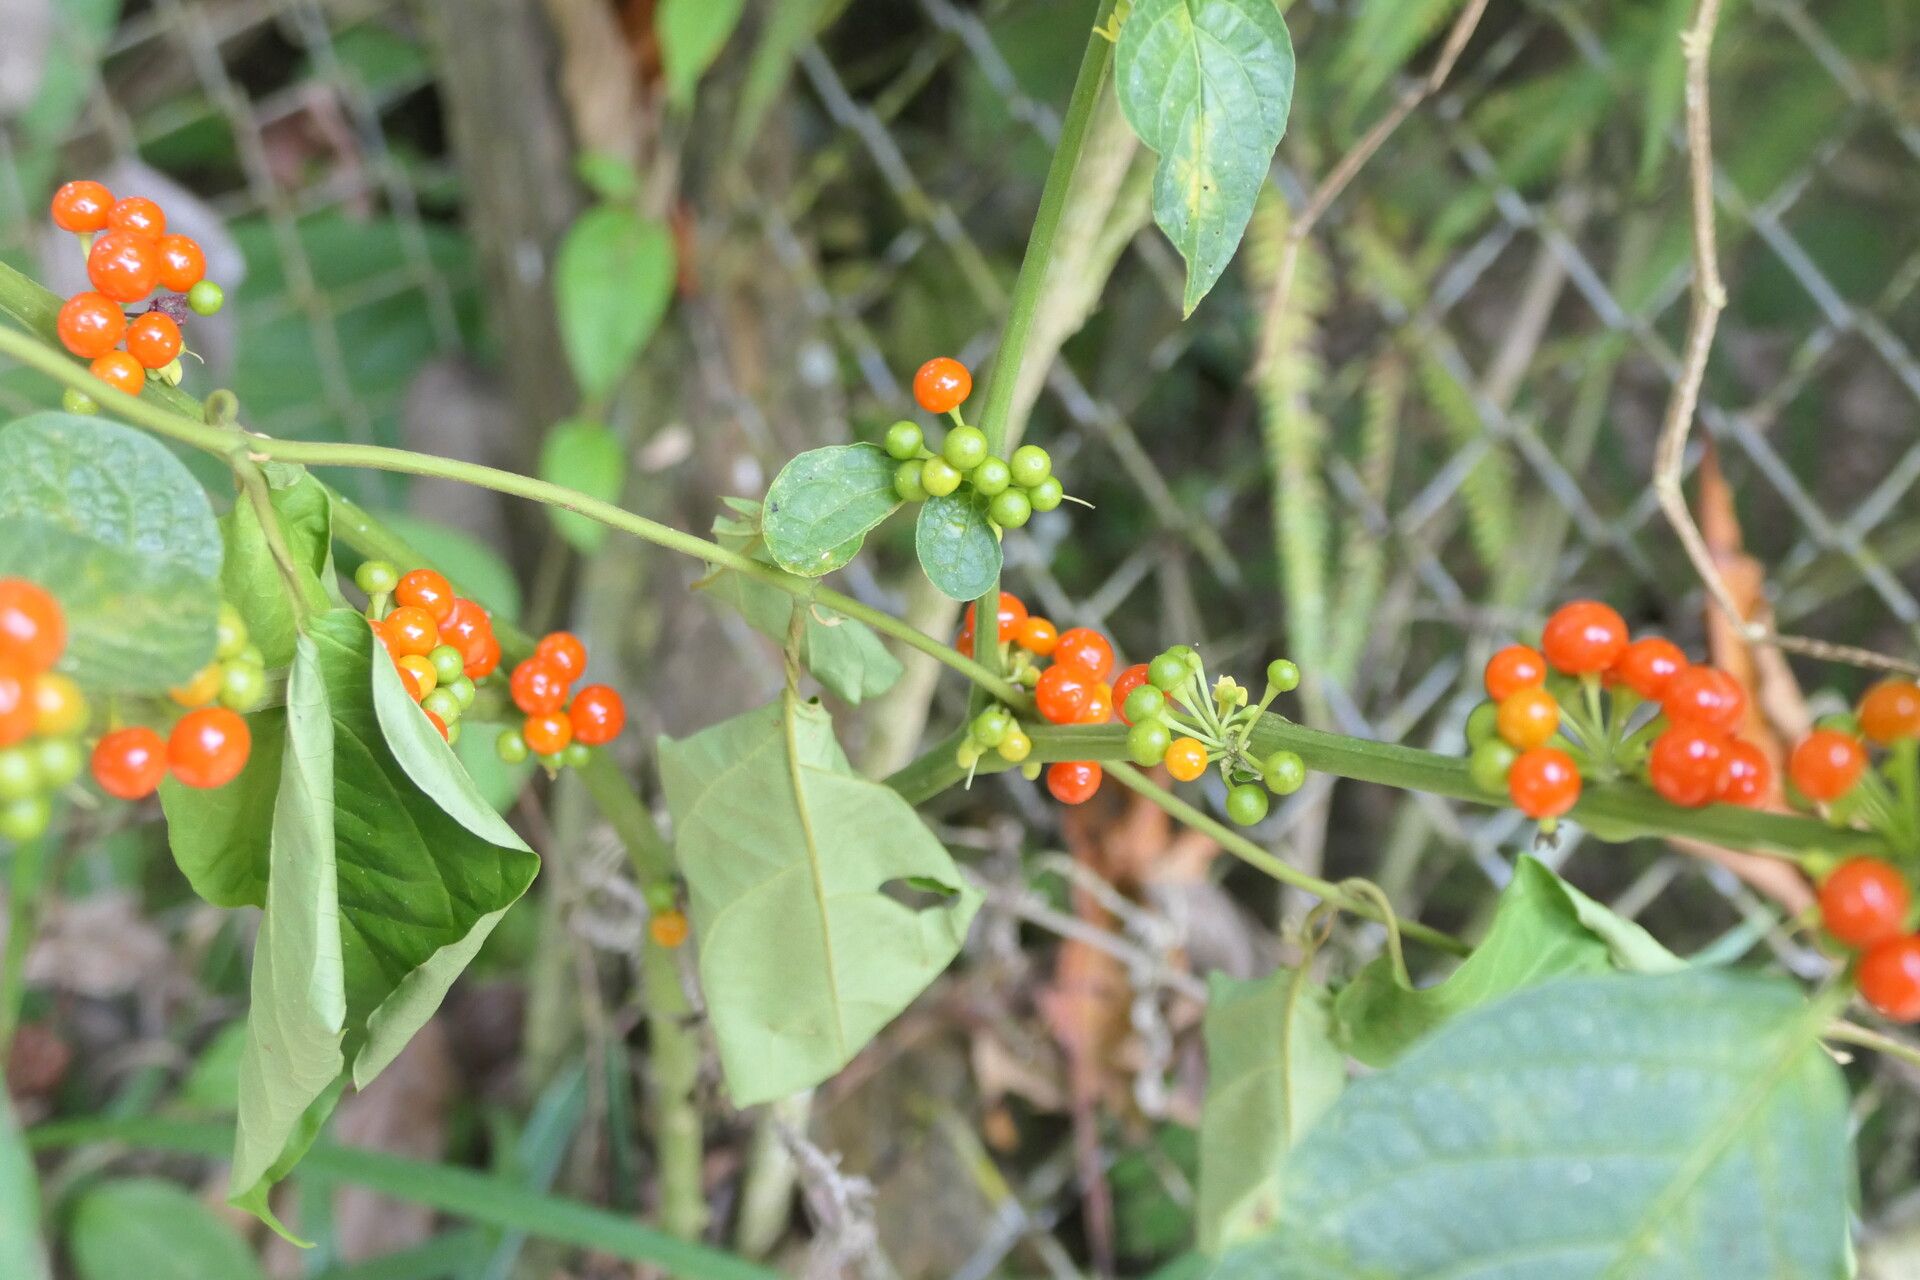
The journey begins with collecting ripe seeds from existing Witheringia solanacea plants. As the alluring white flowers fade, they give way to small, round berries. Wait until these berries ripen to a deep red or purplish-black, signaling the presence of mature seeds within. Gently crush the berries and extract the seeds, making sure to rinse away any fruit pulp.
Sowing the Seeds:
- Timing is Key: Late winter or early spring provides the ideal warmth for successful germination.
- Choose Your Medium: A well-draining seed starting mix is essential for these moisture-sensitive seeds.
- Shallow Planting: Sprinkle the seeds on the surface of the dampened mix, pressing them in lightly. Do not bury them deeply.
- Warmth and Patience: Place the seed tray in a warm, brightly lit location, but out of direct sunlight. Maintain consistent moisture by misting the soil regularly, never letting it completely dry out. Be patient – germination can take anywhere from a few weeks to a couple of months.
2. Cuttings: A Faster Route to Floral Abundance
Taking the Cutting:
For a quicker propagation method, take cuttings during the plant’s active growing season in spring or early summer.
- Select a Healthy Stem: Choose a non-flowering stem that is healthy, firm, and about 4-6 inches long.
- Make a Clean Cut: Use a sharp, sterilized knife or pair of pruning shears to make a clean cut just below a leaf node.
- Prepare the Cutting: Remove the lower leaves from the cutting, leaving only a couple of leaves at the top. This will direct the plant’s energy towards root development.
Rooting the Cutting:
- Rooting Hormone (Optional): While not essential, dipping the cut end in rooting hormone can encourage faster root development.
- Planting Medium: Plant the cutting in a well-draining potting mix or in a mixture of peat moss and perlite.
- Creating a Humid Environment: Cover the pot with a clear plastic bag or use a humidity dome to create a warm and humid environment, ideal for root development.
- Indirect Light and Patience: Place the pot in a brightly lit location, away from direct sunlight. Keep the soil consistently moist but not waterlogged. Rooting typically occurs within 4-6 weeks, after which you can transplant the rooted cutting into its own pot.
Caring for Your Witheringia Solanacea:
Whether you choose seeds or cuttings, Witheringia solanacea thrives in well-drained soil and a bright, indirectly lit location. These plants appreciate regular watering during the growing season, but allow the soil to slightly dry out between waterings to prevent root rot. They are relatively pest-free and don’t require extensive pruning.
With a little patience and care, propagating Witheringia solanacea is a rewarding experience. Soon, you’ll be treated to the elegant beauty of its delicate flowers and unique berries, adding a touch of the tropics to your own green haven.