The Secrets to Growing More Chain Fern: A Guide to Propagation
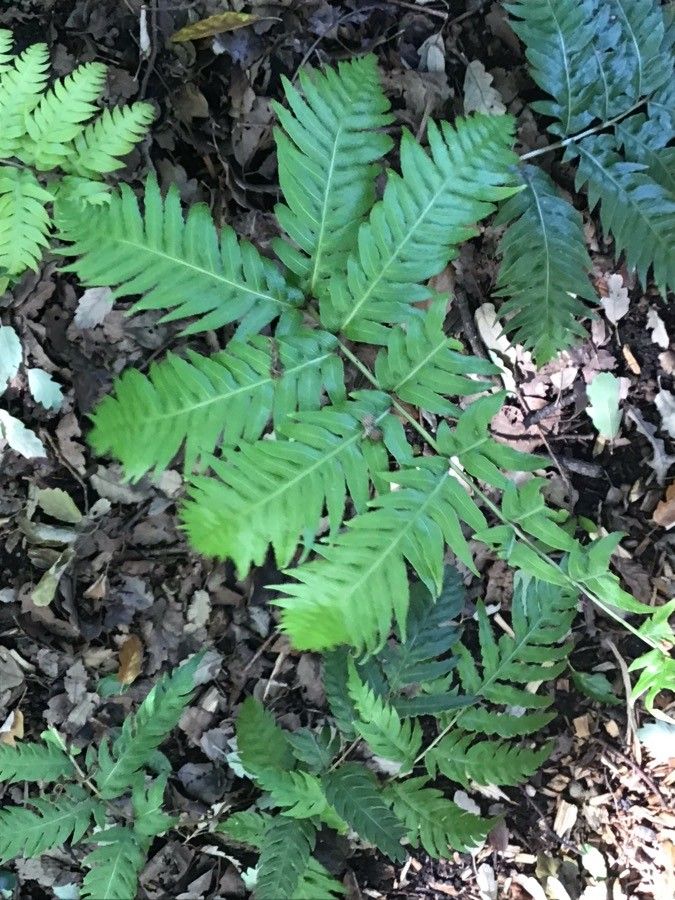
The Chain Fern (Woodwardia fimbriata) is a beautiful, evergreen fern that adds a touch of elegance and wild beauty to any shady garden. But these ferns can be a little bit pricey, and some might be thinking, “There’s got to be a better way!” And you’re right. You can easily propagate Chain Ferns from spores or by dividing the plant. This guide will walk you through both methods, empowering you to create a whole new generation of these lovely ferns.
The Spore Method
Chain Ferns are known for propagating themselves naturally, scattering their spores far and wide. You can replicate this process at home, although it takes a fair bit of patience.
Here’s what you’ll need:
- Mature, healthy Chain Fern
- Clean, sterile container
- Sterile potting mix (peat moss and sand work well)
- Water
- Humidity dome (optional)
Steps:
- Collect the spores: Locate the underside of mature fronds. You’ll find clusters of brown, spore-filled structures known as sori. Gently scrape the spores onto a piece of paper or a clean surface.
- Prepare the container: Fill your container with sterile potting mix and lightly mist it with water.
- Sow the spores: Sprinkle the spores evenly over the surface of the potting mix. Avoid overcrowding.
- Maintain humidity: Cover the container with a clear, plastic dome or, alternatively, a plastic bag. This helps trap moisture and creates a humid environment, ideal for spore germination.
- Keep it moist: Water the container regularly, but avoid overwatering. Allow the top layer of soil to dry slightly between waterings.
- Patience is key: Spore germination can take anywhere from several weeks to several months. Keep the container in a warm, shady location.
- Thinning and transplanting: Once the young ferns have developed several true leaves, you can start thinning them, removing weaker seedlings to give the stronger ones more room to grow. When they’re a few inches tall, gently transplant them into individual pots.
Division Method
This method is much quicker and easier than using spores. Here’s how to do it:
What you’ll need:
- Established Chain Fern plant
- Sharp knife or pruning shears
- Potting mix suitable for ferns
- Water
Steps:
- Choose the right time: The best time to divide a Chain Fern is in early spring or late summer.
- Prepare the plant: Carefully remove the Chain Fern from its pot, making sure to loosen the soil around the roots.
- Divide the clump: Gently separate the clump into smaller divisions. Each division should have its own healthy rhizome (underground stem) and a few fronds.
- Plant the divisions: Plant each division in a separate pot with fresh, well-draining potting mix. Press the soil firmly around the roots.
- Water and care: Water the newly planted divisions thoroughly. Keep them in a shady location and allow the soil to dry slightly between waterings.
Both methods have their pros and cons. While the spore method is very rewarding and allows you to grow many ferns from a small amount of material, it’s quite time-consuming. The division method is faster and easier, but you’ll need to start with an established plant.
No matter which method you choose, propagating Chain Ferns is a fun and rewarding experience. Enjoy watching your new ferns flourish and add their unique beauty to your garden.