Unleashing the Magic of “Wrightia antidysenterica”: A Guide to Propagation
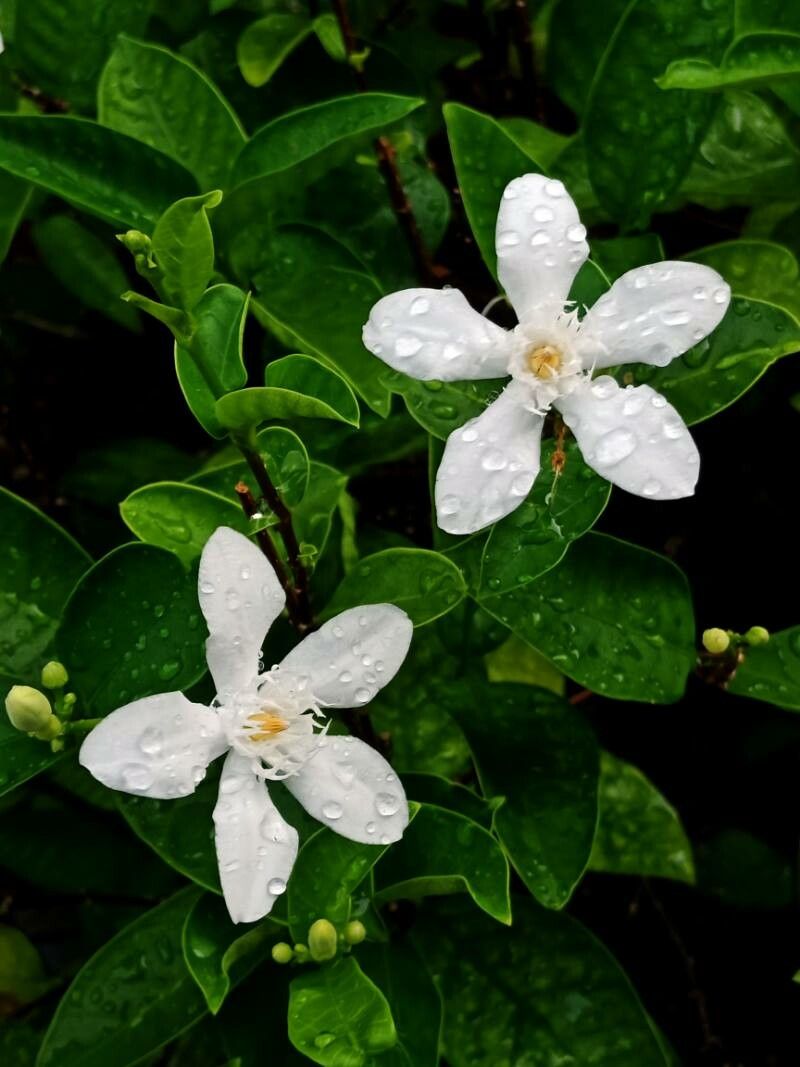
“Wrightia antidysenterica” – a name that rolls off the tongue like a whispered secret, promising beauty and resilience. But beyond its elegant, snow-white blooms, this plant holds a hidden treasure: the ease with which it can be propagated.
For plant enthusiasts seeking to expand their green haven or simply enjoy the satisfaction of nurturing new life, propagating “Wrightia antidysenterica” is a rewarding journey. This guide will equip you with the knowledge and tools to successfully cultivate this graceful plant from cuttings, making it accessible for everyone to enjoy.
The Power of Cuttings:
“Wrightia antidysenterica” readily yields to propagation through cuttings, a method that’s as straightforward as it is satisfying.
1. Timing is Key:
The ideal time to take cuttings coincides with the plant’s active growth period, typically during spring and early summer. This is when the plant is brimming with energy, making it more conducive to rooting successfully.
2. The Art of Taking Cuttings:
- Selection: Choose healthy, non-flowering stems from the current season’s growth. Aim for a length of 4-6 inches.
- Precision: Using clean, sharp pruning shears or a knife, make a clean cut just below a leaf node (the point where a leaf joins the stem).
- Preparation: Remove the leaves from the bottom two inches of the cutting, leaving the remaining leaves intact.
3. Rooting Magic:
- Environment: Prepare a pot with a well-draining potting mix suitable for succulents.
- Stimulation: You can dip the cut end of the cutting into a rooting hormone to encourage root development. It’s not essential, but it certainly helps.
- Planting: Gently insert the cuttings into the potting mix, ensuring at least two nodes are submerged.
- Humidity: Create a humid environment for the cuttings by covering the pot with a plastic dome or a clear plastic bag. This will help retain moisture and protect the cuttings from drying out.
4. Patience and TLC:
Place the pot in a bright, indirect light location. Avoid excessive direct sunlight. Maintain consistent moisture by misting the cuttings regularly and allowing the potting mix to dry slightly between waterings.
- Roots Emerge: With a bit of patience, you’ll start to see tiny roots emerging within 4-6 weeks. This is a rewarding moment that signifies your success!
5. Transitioning to Independence:
Once the cuttings have developed a healthy root system, you can gradually acclimate them to their new environment. Slowly remove the covering and expose them to more air, gradually increasing the amount of direct sunlight they receive.
Embracing the Rewards:
Propagating “Wrightia antidysenterica” offers more than just a beautiful plant; it’s an opportunity for personal growth. Witnessing the transformation from a simple cutting to a thriving plant fosters a deeper connection with nature. Sharing your propagated success with fellow plant enthusiasts brings joy and strengthens the community of green thumbs.
So, embrace the magic of “Wrightia antidysenterica” – a plant that invites you to nurture, learn, and share the beauty of its elegant blooms with the world. From your own backyard to a friend’s windowsill, your propagated plants will be a testament to your green thumb and a reminder of the joy of bringing nature indoors.