From One to Many: The Secrets of Propagating Xanthocephalum gymnospermoides
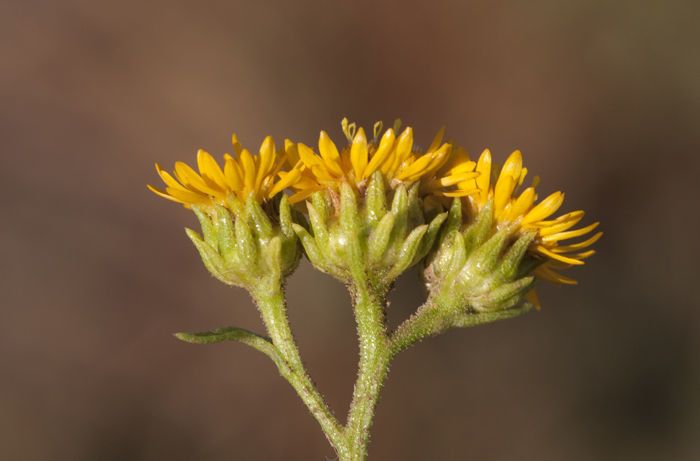
Xanthocephalum gymnospermoides, with its striking yellow flowers and unique foliage, is a beautiful addition to any garden. But what if you could multiply that beauty with ease? Propagation, the art of creating new plants from existing ones, is a rewarding skill that opens the door to expanding your garden without the hassle of buying new plants. Today, we’ll delve into the fascinating world of propagating Xanthocephalum gymnospermoides, revealing the secrets to success.
Understanding the Foundations of Propagation
Before we jump into the details, it’s crucial to understand the two main methods of propagation:
- Sexual Propagation: This involves using seeds to grow new plants. While it can be exciting to start from scratch, seeds of Xanthocephalum gymnospermoides might be difficult to obtain and germination success might be inconsistent.
- Asexual Propagation: This method uses existing plant material to create a new plant, ensuring the offspring retains identical genetic traits as the parent. This is where the real magic happens.
The Best Bet: Vegetative Propagation
Xanthocephalum gymnospermoides is best propagated through vegetative methods like stem cuttings. These are cuttings taken from the healthy stems of the parent plant, encouraged to root and develop into new plants.
Let’s break down the process:
1. Choose the Right Time: The best time to take cuttings is during the plant’s active growth period, usually in spring or early summer. This is when the plant has abundant energy for root development.
2. Prepare Your Cuttings: Select healthy, non-flowering stems, approximately 4-6 inches long. Use a sharp, clean knife or pruning shears for clean cuts. Remove any leaves below the soil line to prevent rot during the rooting process.
3. Rooting Medium Magic: A well-draining mix of peat moss, perlite, and vermiculite is perfect for promoting root growth. Alternatively, you can use a specialized rooting hormone powder or gel to boost the process and prevent fungal infections.
4. Planting Time: Place the cuttings, treated with rooting hormone if desired, in a pot filled with the prepared rooting medium. Water the cuttings gently to encourage root development. Cover the pot with a plastic dome or bag to create a humid environment, mimicking the natural conditions needed for a healthy start.
5. Patience and Care: Place the pot in a bright, indirect light location, away from direct sunlight. Regularly check the moisture levels, keeping the medium consistently moist but not soggy. Within a few weeks to a month, you should see signs of new growth – a testament to successful root development.
6. Transplanting Time: Once your cuttings have developed strong roots, usually signaled by vigorous new growth, they are ready to be transplanted into their permanent home. Carefully remove the cuttings from the rooting medium and gently loosen any roots that may have tangled. Plant them in a well-prepared bed with adequate drainage and plenty of sunlight.
Enjoy the Fruits of Your Labor!
By mastering the art of propagation, you open up a world of gardening possibilities. From sharing the beauty of Xanthocephalum gymnospermoides with friends and family to adding a touch of greenery to your home, this method provides a cost-effective and rewarding way to multiply your favorite plants.
So grab your gardening gloves, choose a healthy stem, and embark on your propagation journey. With a little patience and the right techniques, you’ll be well on your way to a garden bursting with the vibrant life of Xanthocephalum gymnospermoides!