Unleashing the Power of Propagation: A Guide to Multiplying Your Xylosma Venosa
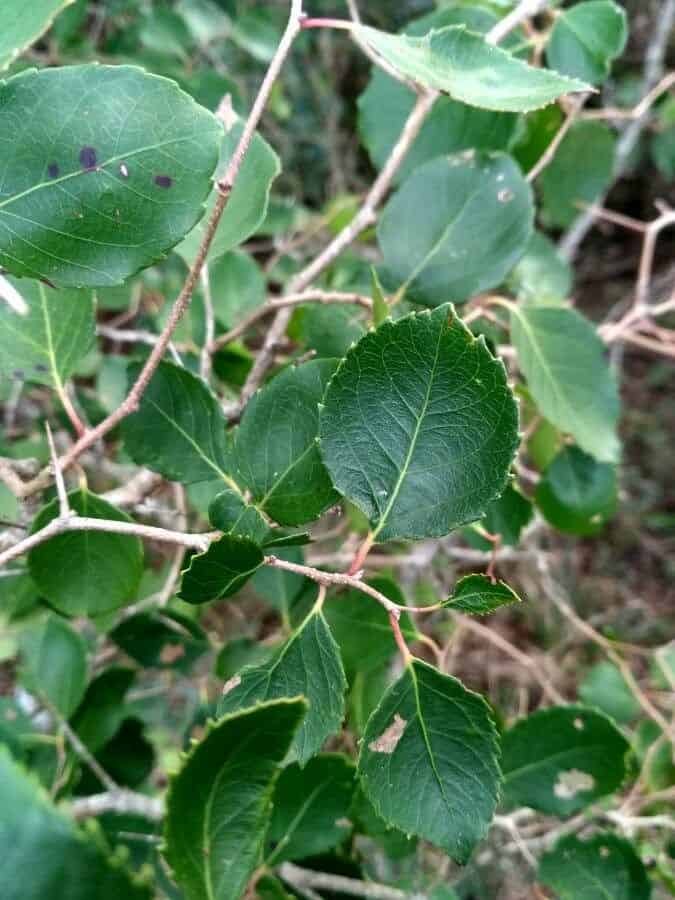
The Xylosma venosa, with its glossy evergreen foliage and intriguing thorny branches, is a unique addition to any garden. But did you know that replicating this beauty might be easier than you think? Propagation is the secret to expanding your Xylosma collection without breaking the bank, and this guide will equip you with the knowledge to do just that.
Understanding the Basics
Before we delve into techniques, let’s grasp the fundamentals. Propagation refers to the process of creating new plants from existing ones. For Xylosma venosa, two methods reign supreme:
Seed Propagation: This method involves collecting seeds from mature berries and nurturing them into seedlings. While rewarding, it can be a lengthy process with variable results.
- Cutting Propagation: This technique utilizes stem cuttings from a healthy parent plant to generate new, genetically identical plants. It’s generally faster and offers a higher success rate compared to seeds.
Seed Propagation: From Berry to Baby Plant
- Timing is Key: Harvest ripe berries during the fall. Look for plump, dark berries, indicating seed maturity.
- Extract and Prepare: Gently crush the berries and separate the seeds, washing away any pulp. Allow the seeds to dry thoroughly for a few days.
- Sowing the Seeds: Plant the seeds in a well-draining seed-starting mix, barely covering them with soil. Water generously and maintain a warm, humid environment.
- Patience is a Virtue: Germination can take several weeks to months. Once seedlings emerge and develop a few true leaves, transplant them into individual pots.
Cutting Propagation: Cloning for Success
- Timing Matters: Early spring or late summer, when the plant is actively growing, is the ideal time for taking cuttings.
- Selecting the Cuttings: Choose healthy, non-flowering stems, about 4-6 inches long. Make a clean cut just below a leaf node (where the leaf attaches to the stem).
- Prepping the Cuttings: Remove the lower leaves, leaving 2-3 leaves at the top. Dip the cut end in rooting hormone powder (optional but recommended) to encourage root development.
- Planting the Cuttings: Insert the cuttings into a well-draining rooting mix, burying at least one leaf node. Water gently and maintain humidity by covering the pot with a plastic bag or using a humidity dome.
- Rooting and Beyond: In a few weeks, roots should begin to develop. Gently tug on the cutting; resistance indicates successful rooting. Once roots are established, transplant the cuttings into individual pots.
Essential Tips for Propagation Success:
- Optimal Conditions: Provide your seedlings or cuttings with bright, indirect light and well-drained soil.
- Consistent Moisture: Keep the soil consistently moist but not waterlogged.
- Patience is Paramount: Remember, propagation takes time. Be patient and persistent, and you’ll be rewarded with beautiful new Xylosma venosa plants.
With a bit of effort and these simple techniques, you can unlock the secrets of propagating your very own Xylosma venosa. Soon, you’ll be sharing not just this knowledge but also cuttings from your thriving plant collection with fellow gardening enthusiasts. Happy propagating!