Unlocking the Secrets of the Beehive Ginger: A Propagation Guide
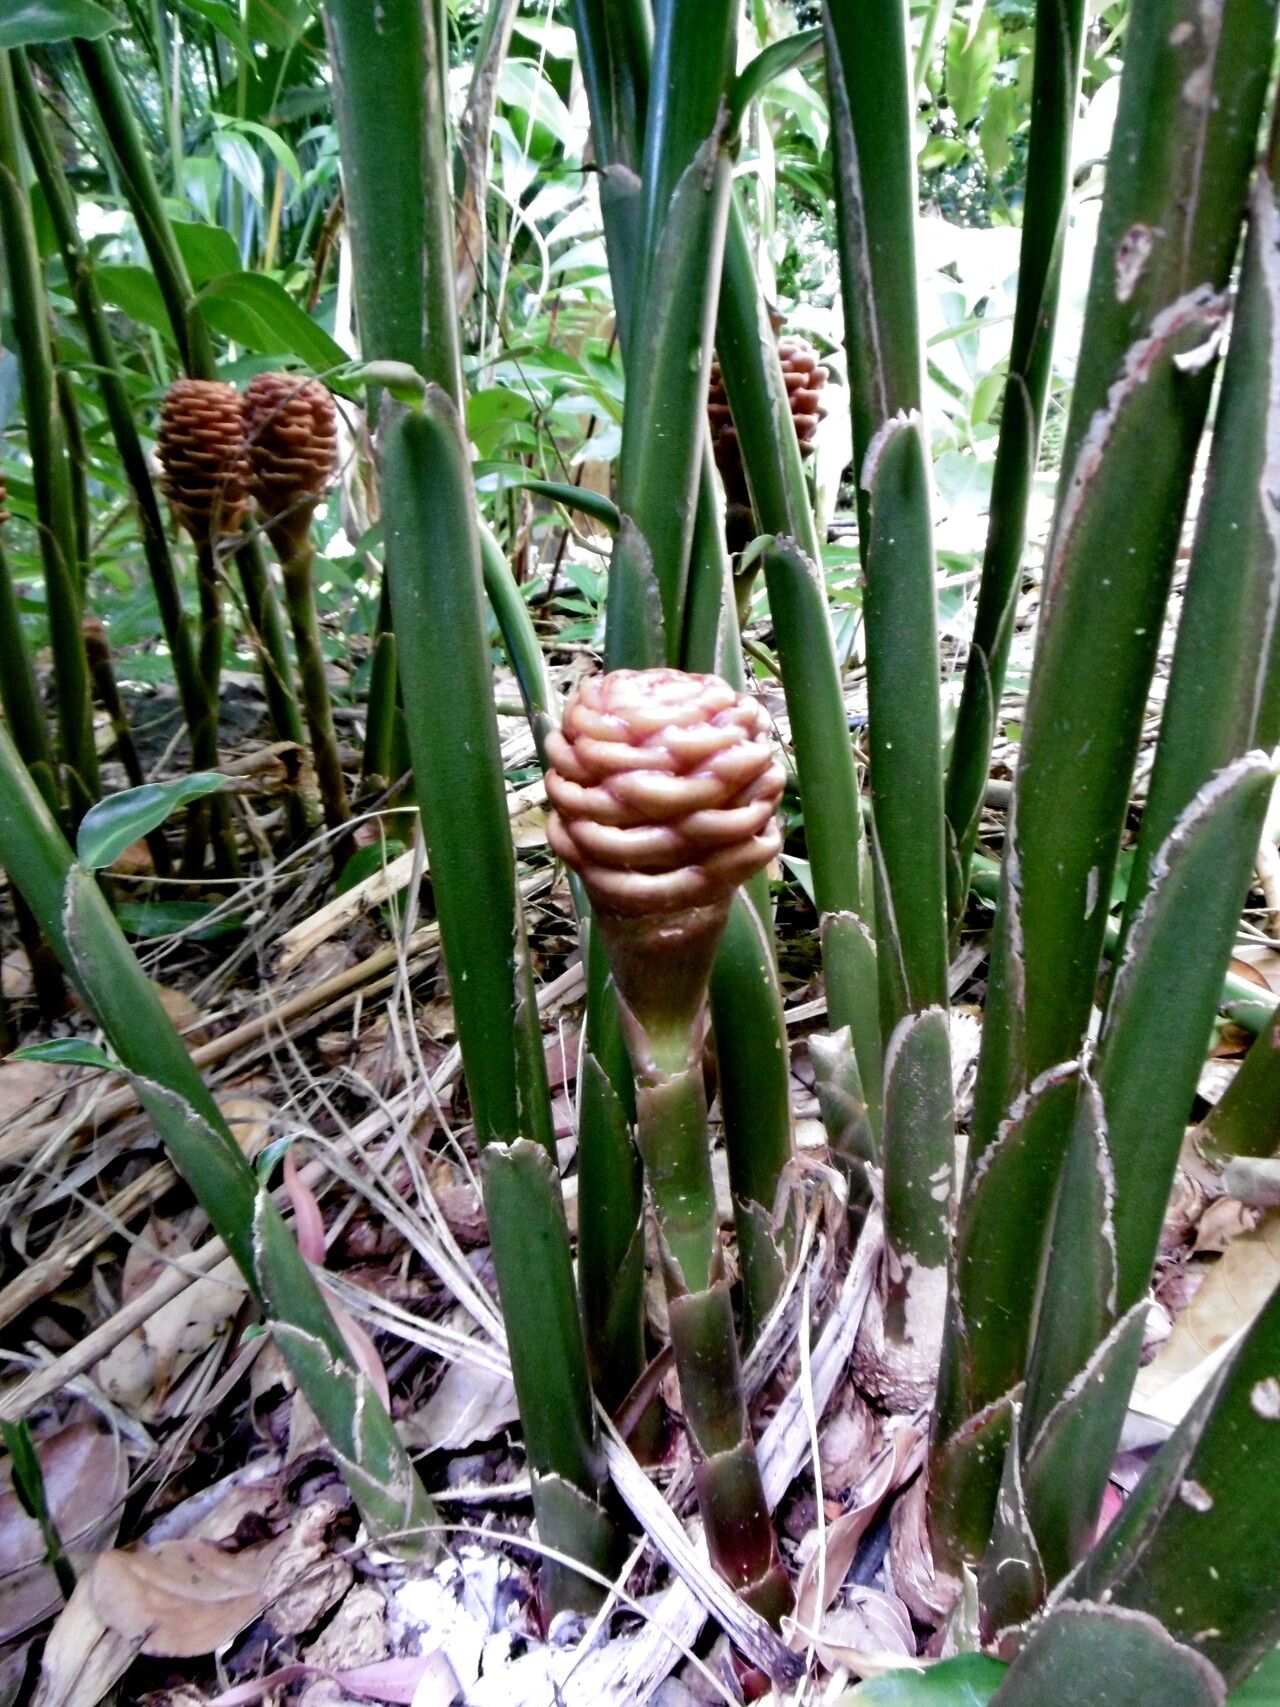
The Zingiber spectabile, more commonly known as the Beehive Ginger, is a sight to behold. This tropical beauty, native to Southeast Asia, boasts stunning, cone-shaped bracts that resemble beehives, lending an exotic charm to any garden. While admiring its beauty is one thing, propagating this fascinating plant is a rewarding endeavor in itself.
Fortunately, propagating the Beehive Ginger is a relatively straightforward process with two primary methods: division and rhizome cuttings.
Method 1: Division
Division is the easiest and most common method for propagating Beehive Ginger. It involves separating a mature plant into smaller sections, each with its own roots and shoots. Here’s a step-by-step guide:
Timing is Key: The best time to divide your Beehive Ginger is in early spring, just as new growth begins to emerge.
Gentle Removal: Carefully dig up the entire plant, ensuring you don’t damage the rhizomes (underground stems).
Division Time: Using a sharp, clean knife or garden shears, divide the rhizome mass into sections. Each section should have at least two to three healthy shoots and a good root system.
Potting Up: Plant each divided section into a well-draining potting mix, ensuring the rhizome is just below the soil surface. Water thoroughly.
- Patience is a Virtue: Place the newly potted divisions in a warm, partially shaded location. Within a few weeks, you should see new growth, indicating successful propagation.
Method 2: Rhizome Cuttings
Propagating Beehive Ginger from rhizome cuttings is another effective method, particularly useful if you only want to produce a few new plants. Here’s how:
Healthy Source: Select a healthy rhizome from your established Beehive Ginger plant.
Making the Cut: Using a sterilized knife, cut the rhizome into sections of 2-3 inches each, ensuring each section has at least one growth bud (a small, knobby protrusion).
Callusing is Crucial: Allow the cut surfaces of the rhizome sections to dry and callous over for a day or two. This helps prevent rotting.
Planting Time: Plant each rhizome section horizontally in a tray filled with a well-draining potting mix, burying them just below the surface.
Warmth and Moisture: Place the tray in a warm, humid location with indirect sunlight. Keep the soil consistently moist but not waterlogged.
- Signs of Success: Within a few weeks, you should see new shoots emerging from the planted rhizome cuttings.
Essential Care Tips for Propagated Plants:
- Well-Drained Soil: Beehive Gingers thrive in well-draining soil. Choose a potting mix specifically formulated for tropical plants or amend your soil with perlite or sand.
- Warmth and Humidity: Mimic their tropical origins by providing warmth and humidity. Mist your plants regularly and consider using a humidifier during dry spells.
- Filtered Sunlight: Place your plants in a location with bright, indirect sunlight. Avoid direct sunlight, which can scorch their leaves.
- Regular Watering: Water your Beehive Gingers regularly, keeping the soil consistently moist but not soggy.
- Fertilization: Feed your plants with a balanced liquid fertilizer every few weeks during the growing season (spring to summer).
By following these steps and providing proper care, you can successfully propagate your own Beehive Gingers and enjoy their unique, architectural beauty for years to come. Remember, patience and observation are key, and soon you’ll be rewarded with a flourishing collection of these tropical wonders.