Seedlings Too Close? No Problem! Thinning Without the Guilt!
Hey there, fellow plant lovers! Feeling overwhelmed by a jungle of tiny sprouts? Seed starting is such a thrill, and it’s amazing how many plants you can grow on your own. But what happens when you accidentally oversow or get a crazy good germination rate? Don’t fret!
Remember that post where I showed you my super-easy seed starting method? Well, now it’s time for the next step: thinning!
A lot of folks suggest snipping off those extra seedlings. But hold on a minute! We’re going to learn how to give every little plant a chance to thrive. No tiny green sacrifices required!
(Psst… If you buy something through the links in this post, I might earn a small commission at no extra cost to you. Thanks for supporting my gardening habit!)
I’ve been at this seed-starting thing for years, and I’ve learned a secret from my time at a wholesale nursery: you don’t have to kill any babies! Think transplant shock is a big deal? Turns out, a little bit of stress like transplanting actually makes plants stronger and more resilient.
I was chatting with an agronomist recently, and they confirmed it! Plants that experience a little challenge early on build up better endurance against pests and diseases. Plus, they often produce more and are even more nutritious! So, let’s ditch the coddling and give those seedlings a chance to shine!
Check out these geranium seedlings!
When I sowed these geranium seeds, I thought they were too old to sprout, so I went a little overboard. Boy, was I wrong! I ended up with a bunch of seedlings huddled together in one cell.
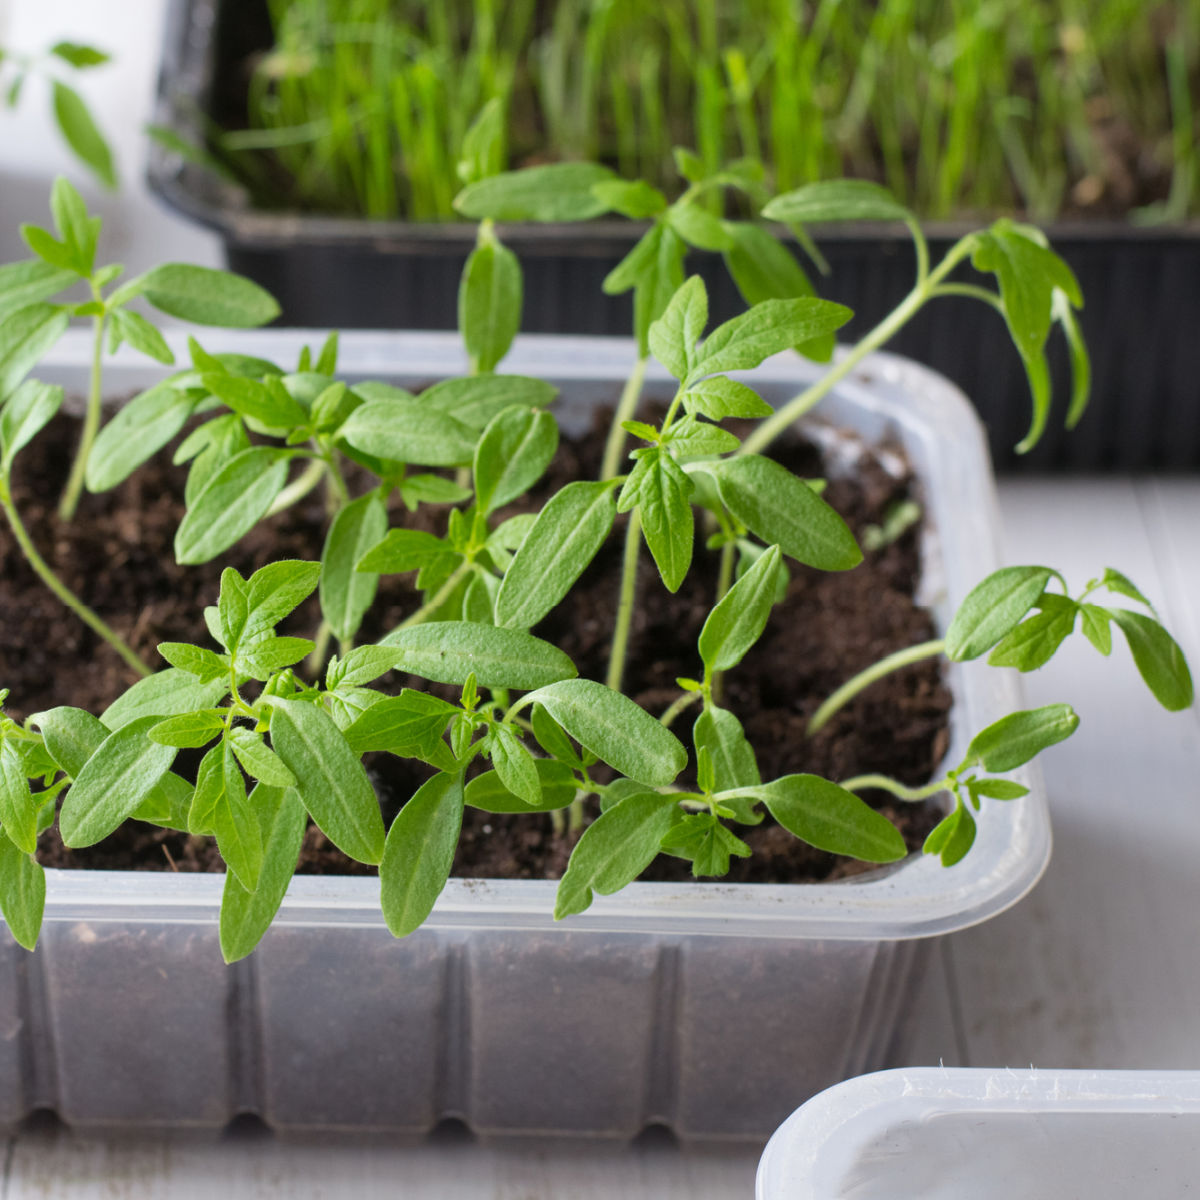
I don’t always use these six-pack containers, either. Sometimes I just toss a bunch of seeds into a single tub or recycled container, like I did with these tomatoes. Gotta love those repurposed containers!
Some of these tomato seedlings were practically glued together. But guess what? I didn’t sacrifice a single one! I gently eased them out of the soil (a light, airy mix really helps), and potted them up individually to grow big and strong.
Why the Snip?
Some gardeners worry that transplanting will shock or even kill seedlings. But honestly, in my experience, it just doesn’t happen. I’ve been doing this for over a decade, and I haven’t had any problems.
I’ve even run my own little side-by-side tests! One batch got the “snip,” and the other got the method I’m about to share. There was absolutely no difference in the end result, except that I saved tons of plants from an early demise!
Ready to Rescue Your Seedlings? Let’s Get Started!
Here’s a container of pansy seedlings I started in a recycled salad container. As you can see, they’re getting pretty crowded. But they have their “true leaves” now, which means they’re ready to be separated and potted up!
Trust me, they won’t be harmed by this! As long as you’re gentle, they’ll be just fine.
I showed this technique in action with geranium seedlings in a video, but it works for most plants!
Thinning Tools of the Trade
I use an old paring knife that lives in my greenhouse, but you can use a pencil, a skewer, or just about anything small and pointy.
Remember, you’re not digging! You want to loosen the soil around the roots.
I’m also obsessed with this seedling trowel lately!
The Gentle Art of “Pricking Out”
This is sometimes called “pricking out.” First, gently hold a seedling by a leaf, not the stem (the stem is super fragile!). Then, sink your tool (in my case, the knife) into the soil next to the seedling. Gently lift as you slowly pull on the leaf.
Wiggle the knife a little as you tug, to help loosen those roots.
It should pop free, revealing a tiny root system!
Sometimes, you’ll accidentally pull up more than one seedling at a time. No worries! Just carefully untangle the roots. If you’re gentle, you won’t hurt either plant.
Potting Up Your Little Rescues
I love using three-inch pots for these little guys, but you can also use recycled four-inch pots from plants you’ve bought. Smaller pots save space, which is a HUGE bonus when you’re starting a ton of seeds! And I’ve been re-using these little pots for a decade!
Scoop some potting mix into your pot (I’ll share my homemade mix recipe soon, so subscribe for updates!).
Then, place your seedling on top of the mix and gently press it down. The mix should be loose and airy, so you shouldn’t need to apply much pressure.
Add a bit more potting soil to fill in the indentation, and set it aside.
Aftercare for Happy Seedlings
Once you’ve potted up all your seedlings, water them thoroughly. Let them sit in a tray and soak up the extra water for about half an hour, then pour off any excess.
Don’t put the freshly potted seedlings in direct sunlight right away! Mine usually hang out in the greenhouse, or I put the really tender ones back on my indoor seeding rack.
I keep the tender seedlings indoors until nighttime temperatures consistently stay above 40 degrees. My greenhouse is more of a cold frame, so it can get pretty chilly when the temps dip into the 30s.
I also start feeding them a weak solution of this eco-friendly, organic, water-soluble fertilizer. I mix it at half-strength and use it every time I water. Some people say you don’t need to fertilize yet, but I’ve found that my seedlings do better with it!
So, what seeds will you be starting this year?
Check out my video on YouTube to see this in action!
Pot them up—Don’t Cut!
Geranium seeds can be expensive, so don’t waste those extra seedlings! Pot them up instead!
Happy Gardening!