Okay, let’s get those roses growing!
Ready to Grow More Roses? It’s Easier Than You Think!
Rose propagation is one of those garden secrets that’s so simple and so rewarding – even if you’re brand new to gardening! Trust me, you’ll be hooked.
Want to multiply your roses for free? You absolutely can, and it’s easier than you think. This guide will walk you through rooting roses from cuttings or “slips” step-by-step, so you can fill your garden with even more of your favorite blooms.
Now, I will say, some roses can be a little stubborn when it comes to rooting. Don’t get discouraged if you don’t have 100% success right away. It might just be that particular rose variety, not your skills!
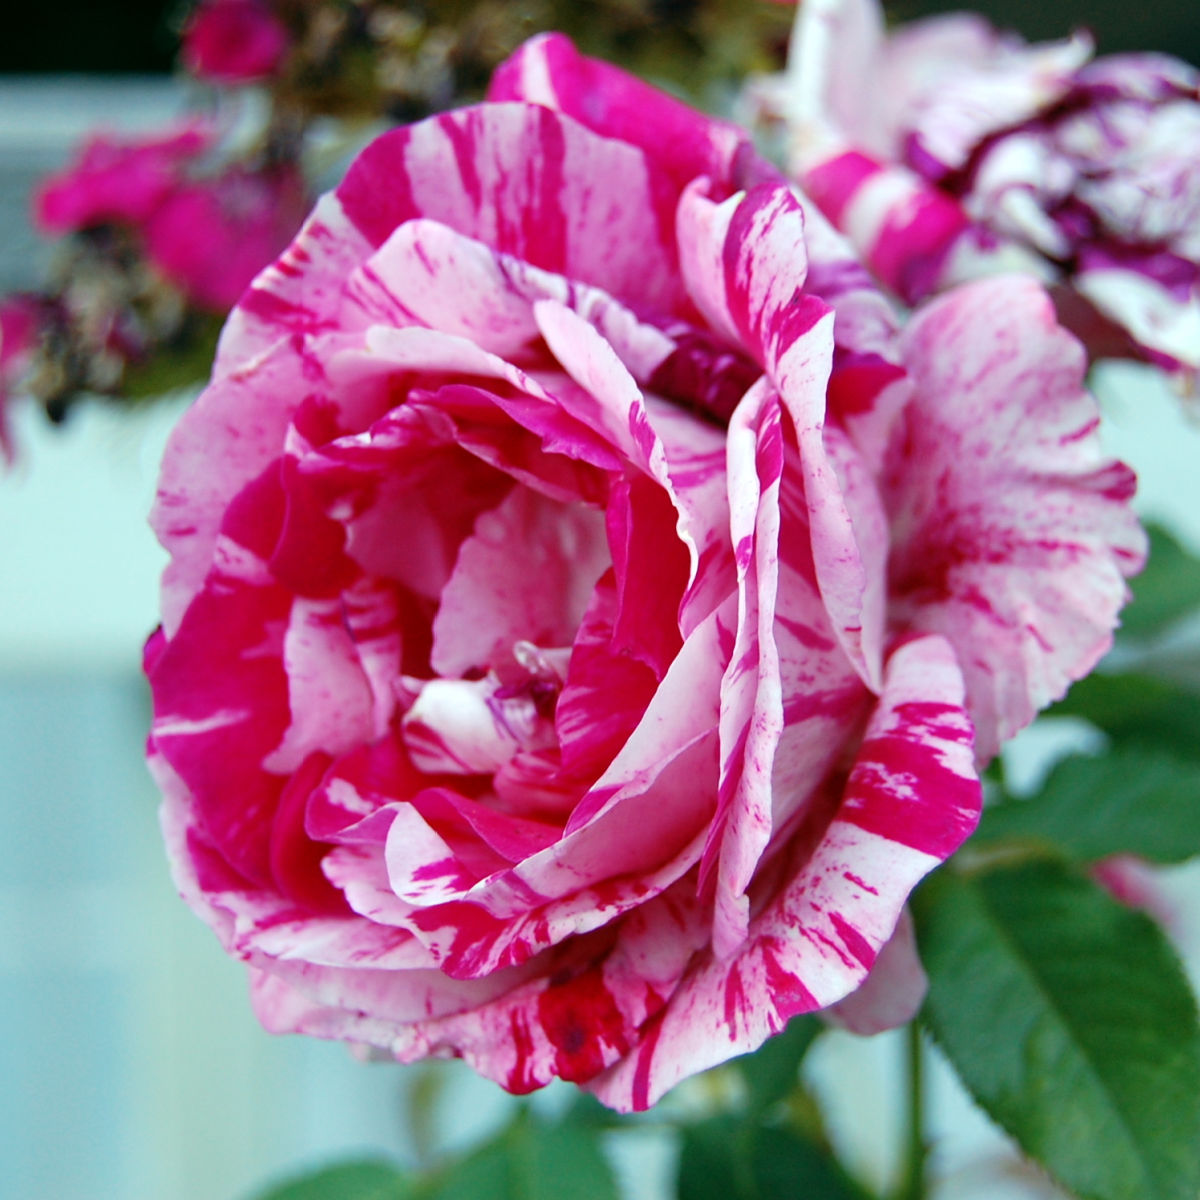
As you know, roses are definitely my thing. I adore pretty much any rose, but I have a real soft spot for those classic old roses, the charming English Roses, and their oh-so-romantic French cousins, the Romanticas.
Ready to dive in? Here’s what we’ll be covering:
- Why Root Roses from Cuttings? (Spoiler: It’s fun, easy, and cheap!)
- How to Take a Rose Cutting (or Slip) Like a Pro
- The Secret to “Wounding” Your Rose Stem
- Rooting Hormone: Your New Best Friend
- The Perfect Growing Medium for Rose Cuttings
- Humidity: How to Create a Mini-Greenhouse
- How Long Does it Really Take for Rose Cuttings to Root?
- Planting Your New Baby Roses!
Important Note Before We Start:
A quick legal thing! When you’re choosing roses to snip from, please only use varieties that aren’t patented. Otherwise, you are infringing on some serious stealing issues, and there are tons of gorgeous old roses that aren’t patented and are easy-care, super-tough plants.
My Inspiration
I shared a post awhile back on Rooting Lilacs from cuttings and my setup for roses is similar as far as the fish tank and box of soil mix.
But if you don’t have that much room or you want a smaller setup? Voila, I have you covered.
Why Grow Rose Cuttings?
Okay, let’s be honest, growing roses from cuttings is just plain fun. But it’s also the easiest way to get more of the roses you already love.
Plus, it’s like a horticultural insurance policy. If something happens to your favorite rose (rabbits! disease! who knows!), you’ll have a backup ready to go.
In the article below I show you how I saved a rose that was dying from a rodent attack. But I could just have easily lost it forever.
Related: How I saved a Dying rose.
So yeah, growing spares from cuttings is genius. Let’s get to it!
How to Take a Rose Cutting (or Slip):
To take your rose cutting, look for a cane that has just finished blooming. You’ll recognize them by the spent blooms. Make sure your tools are sharp and clean.
My go-to tool is the Fiskars Bypass Pruners. They work great.
Some folks swear by getting “heel wood” with your cuttings (that’s where you take a bit of the main stem with the cutting). I haven’t experimented enough to say for sure if it makes a big difference. Someday I will!
When you make your cut, aim for a 6-inch length. The cane should be about the thickness of a pencil – a little thinner is okay too.
Wound the Rose Cuttings:
Okay, this step is optional, but it’s said to encourage faster rooting, so I usually do it.
To “wound” the heel of the cutting, gently scrape the end with a sharp knife or the edge of your pruners. You just want to reveal that white layer underneath – that’s where the magic happens!
I’ve also stuck the canes straight into rooting hormone without wounding them, and it’s worked. But wounding them supposedly produces more roots faster, and that’s a win-win.
Here’s the cambium layer: Definition of cambium: A thin formative layer between the xylem and pholem of most vascular plants that gives rise to new cells and is responsible for secondary growth.
You can also wound the rose cutting by slicing a straight line with a razor, sharp knife, or xacto knife straight into the cane and not scrape away the green part.
Dip Rose Cuttings in Rooting Hormone
After you’ve wounded your rose cutting or slips, brush the wounded ends with a rooting hormone or solution. This speeds up the rooting process.
I use Hormex 8 Hormone Rooting Powder. It’s the best in my garden.
It was recommended to me by a local Rose Society member who roots hundreds of roses each year.
I have used Olivia’s Cloning Gel and Garden Safe Take Root. I used these items with success.
Growing Medium to Root Rose Cuttings
Mix up a growing medium of 1/3 perlite and 2/3 potting soil. Make sure the potting soil you use does not have fertilizer in it.
Put your soil in a pot that is wide enough for your cover to fit over but has a space around the rim. I have no issues with fungus or disease so I don’t worry about getting sterilized soil. You can pasteurize your soil mix if you feel it is needed.
My friend loves to use clean horticultural sand. She has successfully rooted cuttings and slips for over 50 years. Sand works great too.
Put Rose Cuttings into a Terra Cotta Pot
Right now I am using terra cotta pots for rooting plants as I have found that because it breathes I have even more success than in plastic pots.
Related: Why I love terra cotta pots
Also by viewing the side of the pot I can tell if the soil is drying out, the clay shows if there is moisture present in the soil. Put your canes down into the potting mix and water in well.
Cover to Maintain Humidity
Cover your rose cuttings or slips.
My cover is a large plastic mayonnaise jar from Mayo we get at Costco. I like the wider size as I can fit more cuttings in the pot at once.
Some like to use plastic bags or wrap but I have found that to be too fiddly. Others have used a 2-liter clear soda bottle but we don’t drink soda so this works for me.
How to Water Cuttings
The watering of your cuttings depends on so much, temperatures, the humidity of your region, and more.
You will need to determine by observation when to water your cuttings. You want to keep the medium moist but not saturated. How fast the soil dries out determines how often you water.
In the photo below, you can see the space between my cover and the pot.
This is where I will water when I need to. See the darker color of the pot when it is moist.
The base looks the same and when I see it drying out I know to water a bit. It is important to have a loose mix as you don’t want to drown the cuttings but you don’t want them to dry out either.
With the method of a jar on top just remove the jar and feel into the soil with your finger, poke down about 2 inches. You can also use a bamboo skewer. If the soil or medium is damp then do not water, if it is dry then add some water.
A great alternative is to use a moisture meter. This is the one I use.
Moisture Meter
You poke the pointed end down into the soil, where the roots should grow, and check if the soil is moist or wet. If it is measuring moist, don’t water; if it is edging close to dry then you can water a bit, but don’t let the pot sit in water.
Usually, if there is condensation in the jar then there is no need to water.
Place in a bright place where it does not get direct sun. Inside a greenhouse, in the shade of a tree on a covered porch. Direct sunlight will make it too hot for the cuttings and kill them off.
How Long Does It Take for Cuttings to Root?
This varies just like the watering. Many people will give you a definite time frame of a few weeks but personally I have found that it can depend on many things.
Again, time of year, temperatures, the rose type, and day length. Believe it or not, I have had rose cuttings root in 4 weeks and others that took a year.
Note: Roses root faster in temperatures between 70 and 80F.
I have even tried rooting one rose, called Tamalpais Homestead, several times and it never would root at all! That rose was a total rooting flop for many of us who root roses all the time. So, I figure it will take Air Layering to get a new rose from it.
So, be patient and diligent, and you should get roots in time.
Plant Your Rooted Rose Cuttings or Slips
For a detailed step-by-step on Potting up Rooted rose cuttings see this post!
Don’t worry about the roots intertwining from all four canes.
I just pop all the cuttings and soil out of the pot (once I know there are good roots) and I put it in a tub of water, the soil washes away and the roots slide apart.
Re-pot each rooted rose cutting in its own pot and let it get big and strong.
Another great container for this is the humble milk or water jug. I use these to winter sow seeds but they also work great for cuttings!
UPDATE!
This past Summer and Fall I tried another way to root roses… the essentials are the same but this container is so awesome and for the most part free!
My husband loves the frozen frappuccinos at coffee places and his empty cups are some of the best containers I have used so far to root roses.
They are so easy!
Just put some holes in the bottom (I use a metal skewer heated over a flame to melt holes into the bottom) of the clean cup.
Add your soil mix and poke the canes down into it.
I write the Rose name on the cup and lid so I know which ones are which.
See the video of how I do this here, just tap.
Let the top of the canes come through the hole in the lid. I did 4 to 5 canes per cup. Or you can just trim the cutting down to fit inside.
I like the taller cups better but it still works in the shorter ones.
The domed lids are perfect as the hole in the center allows air to get in but still keeps the moisture levels high enough and I have not had any issues with mildew.
Another bonus is it is easy to water through the top hole when needed.
I really do like being able to see when they have rooted!
I will let them get tons of roots before I separate them and pot them up into larger pots. For now, they are doing great just in the cups.
This works well because I can bring them in and put in on a bright windowsill. No direct sun though.
How Long Does It Take Roses to Grow from Cuttings?
When started in the summer roses can grow and bloom by the following summer! Yes, that quickly. They will be small but with proper care, they will fill out and grow into big beautiful plants!
Can’t plant your roses in the garden? You can grow roses in pots and containers. I show you how I do it here!
Can’t plant roses in your house?
Grow Roses in Pots, this is seriously easy!
Want to propagate your African Violets? This is so easy and is a fun way to get started with plant propagation!
Here is an easy DIY Arbor built from our Obelisk design!
Rooting Roses in Potatoes?
Just so you know I have tried the potato method that I have heard so much about and is popular on Pinterest or mentioned in some magazine articles, it just has not worked for me.
I have tried that method a few times and all I got were little potatoes and none of the cuttings rooted.
Zero, zip, nada!
At the same time, the cuttings I started using the other methods had an 80% success rate.
So, save the potatoes for eating and just go this route for rooting roses, it is so much easier and more successful.
Happy Gardening!
You May Also Enjoy… Start Geraniums from Cuttings, Dahlias from Cuttings, Propagate Clematis by Layering, Propagate Perennials by Root Divisions