Untangling the Secrets of Columnea Calotricha Propagation: A Guide to Multiplying Your Goldfish Plant
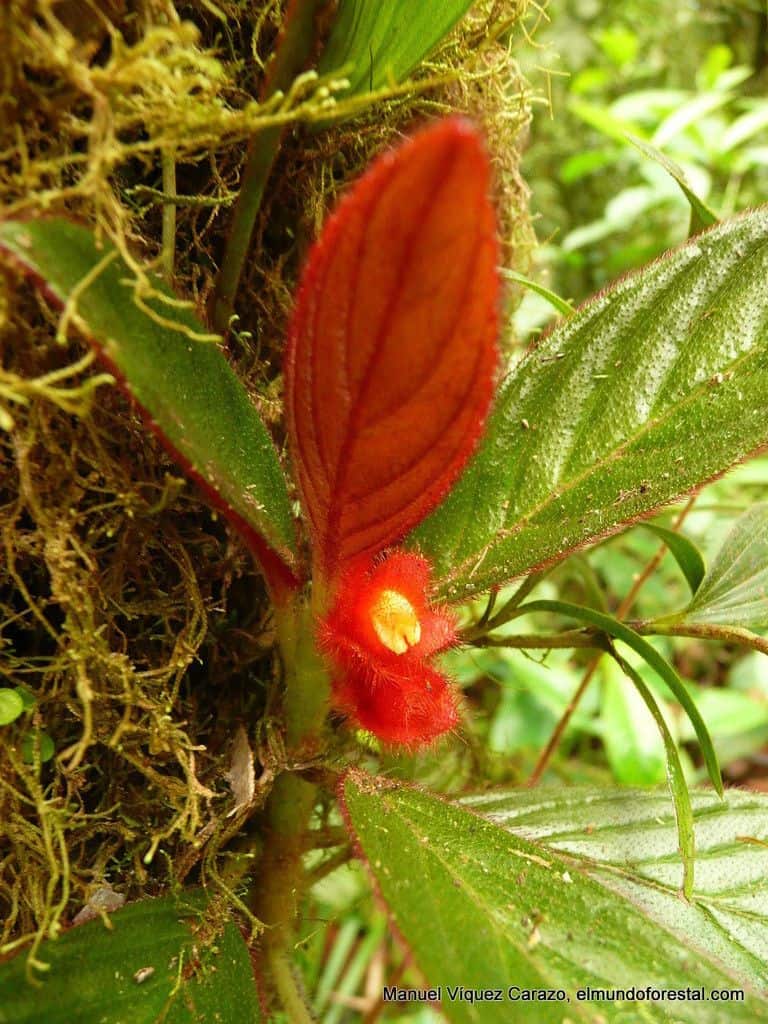
The Columnea calotricha, affectionately known as the Goldfish Plant thanks to its vibrant, fish-shaped blooms, is a delightful addition to any plant lover’s collection. This cascading beauty, with its lush green foliage and fiery orange flowers, can transform a dull corner into a tropical paradise. But what’s even more exciting than owning one goldfish plant? Owning many!
Propagation, the art of creating new plants from existing ones, is surprisingly easy with the Columnea calotricha. And the best part? You don’t need a green thumb or fancy equipment to succeed.
Here’s a comprehensive guide to help you propagate your very own school of Goldfish Plants:
Two Main Methods: Stem Cuttings vs. Seeds
While it is possible to propagate Columnea calotricha from seeds, it’s not the most reliable or efficient method. Seeds can be difficult to find and often have low germination rates. So, buckle up, because we’re diving straight into the most popular and successful technique:
Stem Cuttings: Your Ticket to Propagation Success
Timing is Key: The best time to take cuttings is during the plant’s active growing season, typically spring or early summer. Look for healthy, non-flowering stems that are about 4-6 inches long.
Tools of the Trade: You’ll need:
- Sharp, sterilized pruning shears or scissors: Cleanliness is crucial to prevent infection in your cuttings.
- Small pots or a propagation tray: Choose containers with good drainage.
- Well-draining potting mix: A mix specifically formulated for cuttings or seed starting is ideal.
Taking the Plunge:
- Using your sterilized shears, make a clean cut just below a leaf node (the point where a leaf emerges from the stem).
- Remove the leaves from the bottom inch or two of the stem, as these will be submerged in water or soil.
Two Paths to Rooting:
- Water Propagation: Place the cuttings in a glass or jar of water, ensuring the bottom nodes are submerged. Change the water every few days to prevent bacterial growth. Within a few weeks, you should start to see roots developing.
- Soil Propagation: Fill your pots or tray with the moist potting mix. Gently create a hole in the mix and insert the bottom inch of the cutting. Lightly firm the soil around the stem to secure it.
Creating the Ideal Environment:
- Humidity is Key: Maintain a humid environment around the cuttings by placing them in a propagator, covering them with a plastic bag, or misting them regularly.
- Warm and Bright: Choose a location that receives bright, indirect sunlight. Avoid direct sunlight as it can scorch the delicate cuttings.
- Transplanting to their Forever Homes:
- Once your cuttings have developed a healthy root system (about 1-2 inches long), they’re ready to be transplanted into individual pots filled with a well-draining potting mix.
- Water well and gradually introduce them to a brighter location.
Patience is a Virtue: Remember, propagation takes time. Be patient and provide consistent care, and you’ll soon be rewarded with a flourishing collection of Goldfish Plants, bringing joy and vibrancy to your home for years to come!