More Than One Way to Grow Your Own Rhaphiolepis Obovata: A Propagation Guide
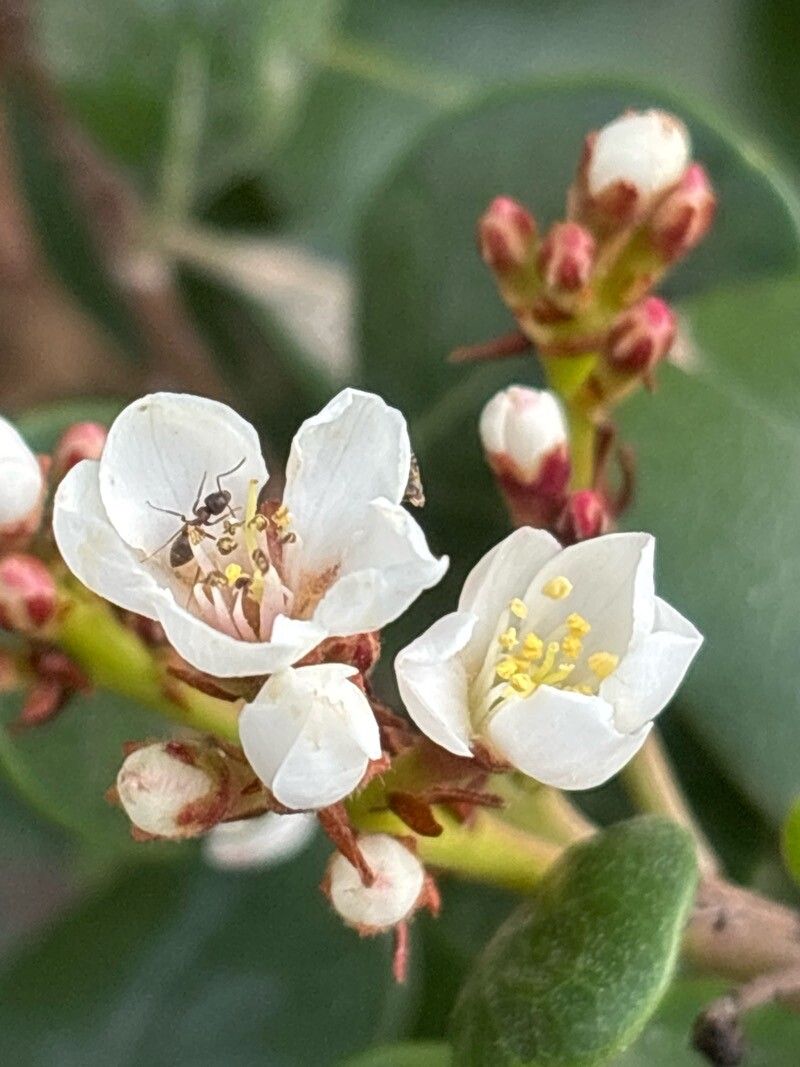
The Rhaphiolepis obovata, also known as the Indian Hawthorn, is a gardener’s delight. With its glossy evergreen foliage, delicate pink or white flowers, and tolerance for various conditions, it’s no wonder this shrub is a popular choice for landscapes. But did you know that growing new Rhaphiolepis obovata doesn’t always require a trip to the nursery? Propagation, the process of creating new plants from existing ones, is surprisingly achievable with this species. Let’s explore the two most effective methods:
1. Seed Propagation: A Patient Gardener’s Game
While Rhaphiolepis obovata readily produces berries containing seeds, growing from seed requires a bit more time and dedication. Here’s the breakdown:
- Seed Collection: Harvest ripe berries in the fall. Remove the fleshy pulp, revealing small, brown seeds.
- Stratification: Rhaphiolepis seeds benefit from cold stratification, mimicking natural winter conditions. Place seeds in a moist paper towel, seal in a plastic bag, and store in the refrigerator for 6-8 weeks.
- Sowing: Plant seeds in a seed-starting mix, covering lightly with soil. Keep the soil consistently moist but not waterlogged. Be patient, germination can take several weeks.
- Transplanting: Once seedlings are a few inches tall with established root systems, transplant them into individual pots or directly into the garden after the last frost.
Pros of Seed Propagation:
- Cost-effective: Starting from seed is an inexpensive way to grow multiple plants.
- Rewarding Experience: Witnessing the entire life cycle of a plant from seed to bloom is incredibly fulfilling.
Cons of Seed Propagation:
- Time-Consuming: Germination and initial growth can be slow, and flowering may take a few years.
- Variable Results: Plants grown from seed might not inherit the exact characteristics of the parent plant.
2. Cuttings: Faster Results for the Impatient Gardener
Propagating Rhaphiolepis obovata from cuttings offers a quicker route to success and ensures your new plants retain the parent’s desirable traits. Follow these steps:
- Timing is Key: Take cuttings during the cooler months, ideally in spring or early summer when the plant is actively growing.
- Selecting Cuttings: Snip 4-6 inch long pieces from healthy, non-flowering stems. Make the cut just below a leaf node.
- Prepare the Cutting: Remove leaves from the bottom half of the cutting. Dip the cut end in rooting hormone powder (optional but recommended).
- Planting: Insert the prepared cutting into a well-draining potting mix. Keep the soil consistently moist.
- Rooting: Cover the pot with a plastic bag or humidity dome to create a greenhouse-like environment. Roots should develop in 6-8 weeks.
- Transplanting: Once roots have formed, transplant the cutting into a larger pot or your desired location in the garden.
Pros of Cuttings:
- Faster Results: Cuttings generally root faster than seeds, yielding quicker results.
- True to Type: Your new plants will be clones of the parent plant, guaranteeing the same beautiful blooms and growth habits.
Cons of Cuttings:
- Possible Failure: Not all cuttings will root successfully.
- Limited Quantity: You can only propagate as many cuttings as the parent plant allows.
No matter which method you choose, propagating Rhaphiolepis obovata is a rewarding endeavor. With a little patience and the right techniques, you’ll soon be enjoying even more of these lovely shrubs in your garden.