Unveiling the Secrets of Multiplying Magic: Propagating Cyrtorchis arcuata
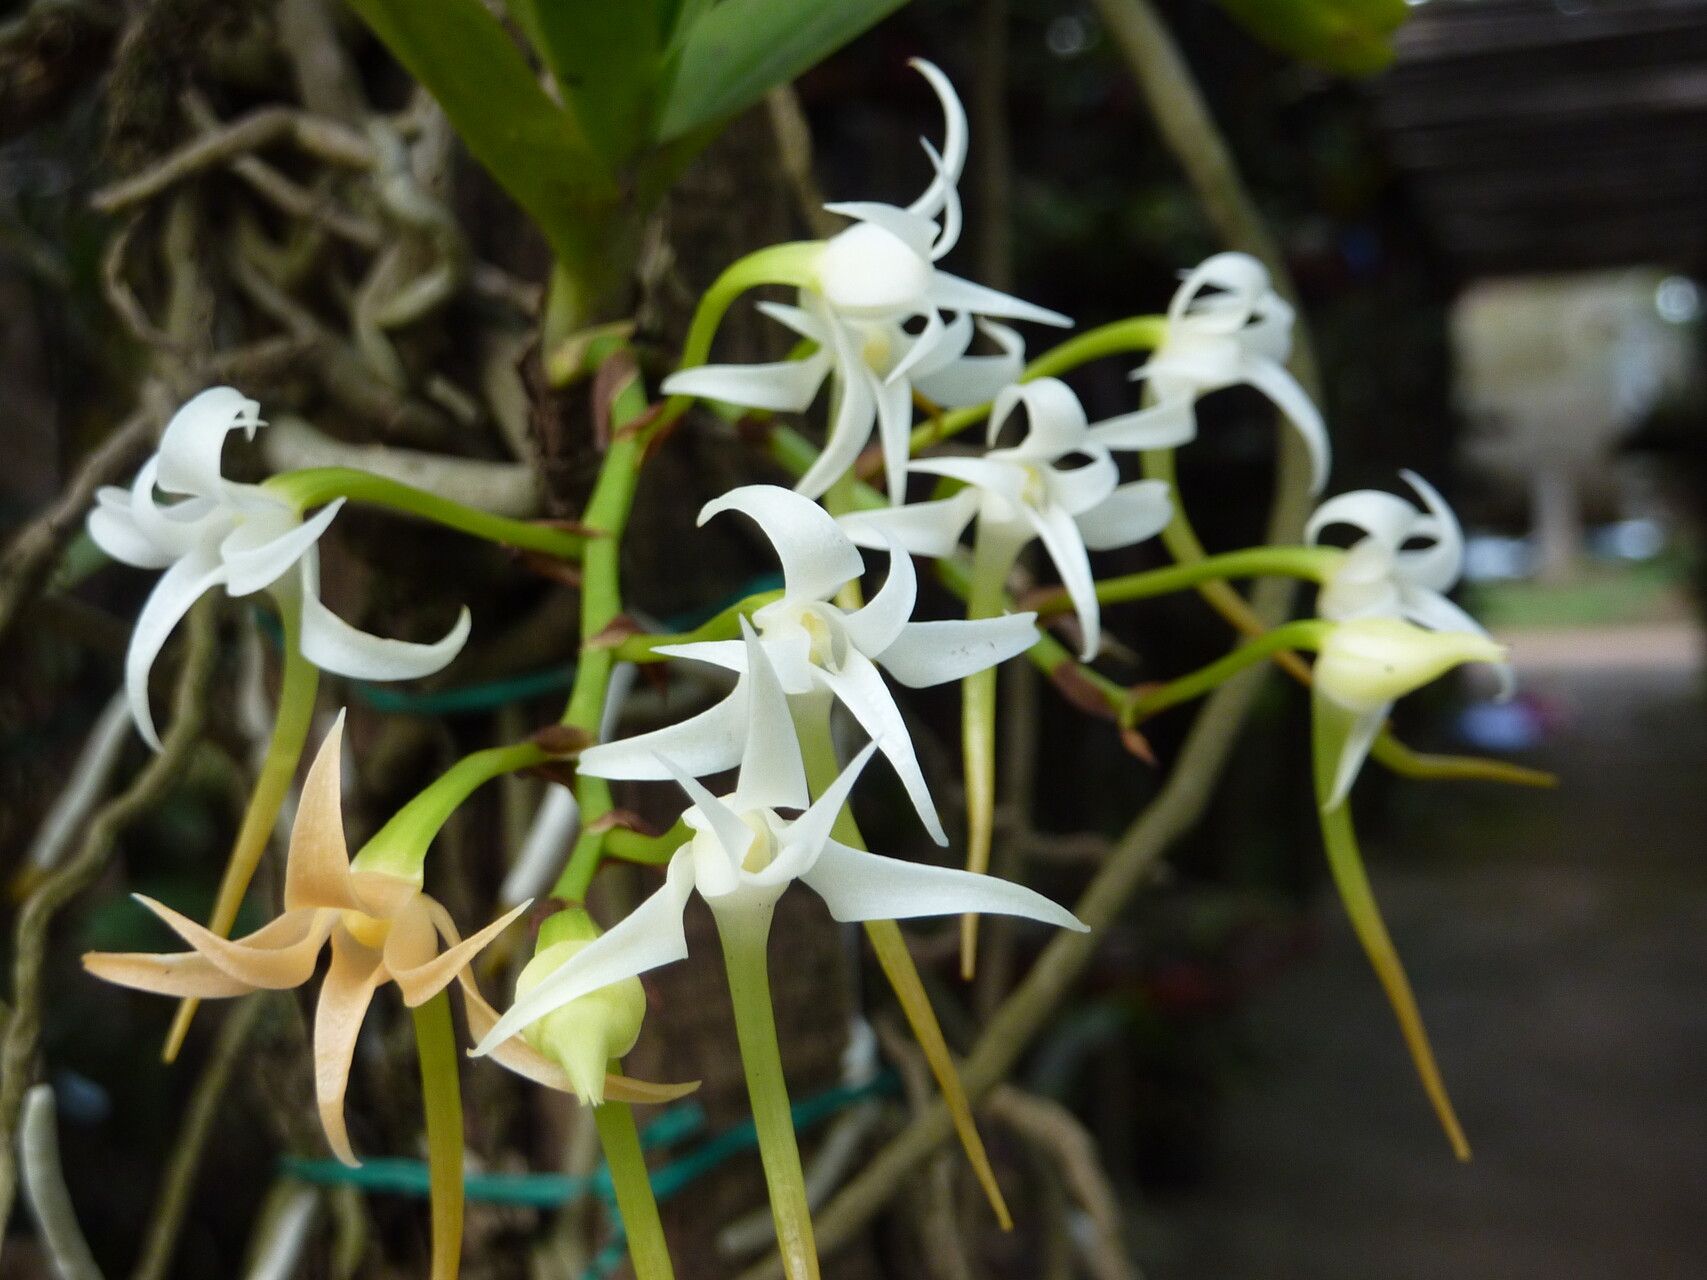
The Cyrtorchis arcuata, a captivating orchid boasting cascading chains of white, fragrant blooms, is a jewel for any plant enthusiast. While caring for this beauty brings immense satisfaction, nothing compares to the joy of multiplying your collection through propagation. But how do you unlock this secret to growing more of these stunning orchids? Let’s delve into the fascinating world of Cyrtorchis arcuata propagation!
Understanding Your Orchid’s Lifecycle
Before embarking on this rewarding journey, it’s crucial to understand that Cyrtorchis arcuata propagates vegetatively, meaning you won’t be starting from seeds. Instead, we’ll focus on two primary methods: division and keiki propagation.
Method 1: Division – Separating for Success
Division, the most common propagation method, involves splitting mature plants. Here’s a step-by-step guide:
- Timing is Key: The ideal time is during spring or early summer, just before the new growth cycle. This ensures your divisions have ample time to establish themselves before winter.
- Healthy Candidates: Choose plants with at least 6 healthy pseudobulbs. These bulbous structures store water and nutrients, vital for the new divisions’ survival.
- Tools of the Trade: Gather sterilized pruning shears or a sharp knife, a fungicide, pots with drainage holes, and fresh orchid potting mix.
- The Art of Separation: Carefully remove the plant from its pot and gently disentangle the roots. Using your sterilized tool, divide the plant into sections, ensuring each has at least 3 pseudobulbs and healthy roots.
- Potting the Divisions: Dust the cut ends with fungicide to prevent infection. Plant each division in individual pots with fresh orchid mix, ensuring the bottom of the pseudobulbs sits just above the soil line.
- Post-Division TLC: Water sparingly until you see new growth, then resume your regular watering schedule. Avoid direct sunlight while the divisions establish, opting for bright, indirect light instead.
Method 2: Keiki Propagation – Little Miracles
“Keiki,” meaning “little one” in Hawaiian, are plantlets that sometimes sprout from the stem nodes of mature Cyrtorchis arcuata. These tiny replicas offer another exciting propagation opportunity.
- Spotting a Keiki: Watch for small plantlets emerging with their own leaves and roots. Allow the keiki to grow to at least 3 inches with several roots before removal.
- Gentle Removal: Using a sterile, sharp blade, carefully detach the keiki from the mother plant, ensuring not to damage either.
- Independent Beginnings: Plant the keiki in a small pot with fresh orchid mix, ensuring proper drainage. Provide bright, indirect light and maintain humidity around it.
- Nurturing Growth: Water sparingly until new growth appears, then transition to a regular watering schedule. Be patient – keiki propagation takes time.
Patience is a Virtue
Regardless of the method you choose, remember that propagation takes time and patience. Maintain a consistent environment with proper humidity, light, and watering for optimal results. Don’t be discouraged if the first attempt doesn’t go as planned; even seasoned growers experience setbacks.
By understanding the intricacies of Cyrtorchis arcuata propagation, you can confidently delve into this rewarding aspect of orchid care. Soon, you’ll be enjoying the captivating beauty of these orchids in every corner of your home, a testament to your dedication and green thumb!