Tiny Jewels, Big Potential: Propagating the Miniature Gagea Minima
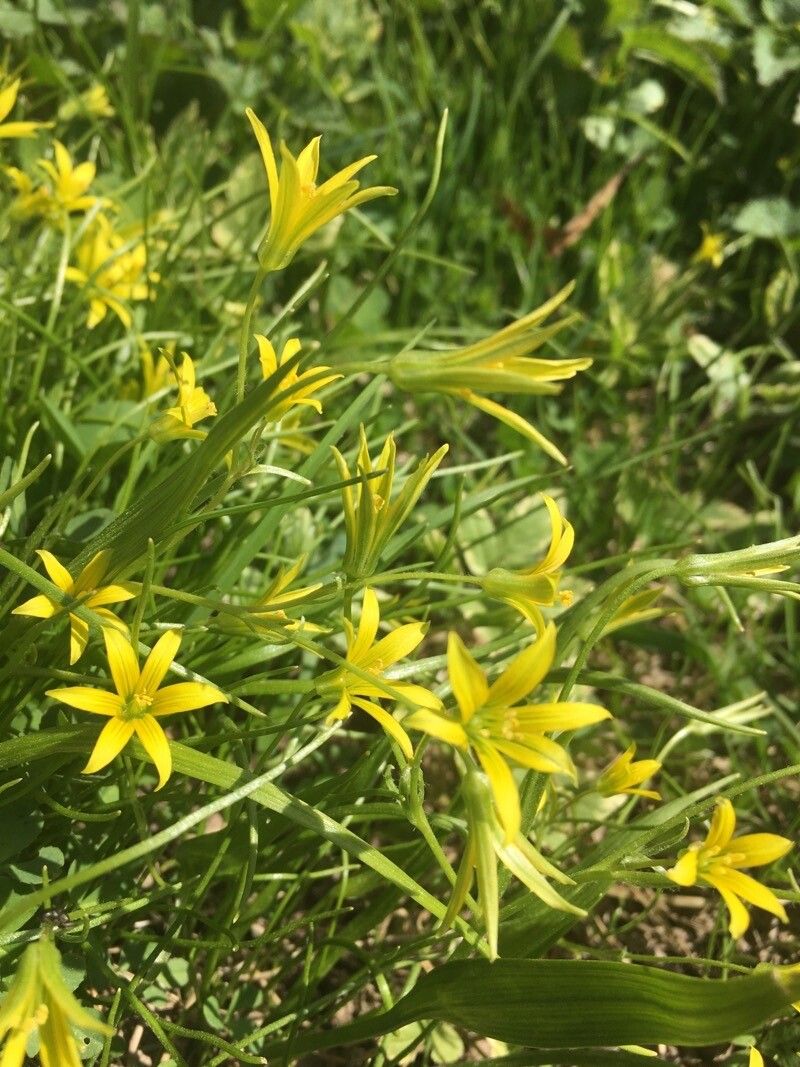
The Gagea Minima, also known as the Least Gagea, might be small in stature, but don’t let that fool you! This petite perennial packs a punch with its vibrant yellow star-shaped blooms, adding a burst of early spring sunshine to any garden. If you’re looking to expand your collection of these miniature beauties, propagation is surprisingly straightforward.
Before we delve into the “how-to,” let’s understand a bit about the Gagea Minima’s lifecycle. This ephemeral plant emerges early in spring, flowers, sets seed, and then quietly retreats back underground by early summer. This understanding is crucial for successful propagation.
Two Roads to Miniature Glory: Seed vs. Bulbils
Gagea Minima can be propagated through two primary methods: seeds and bulbils. Each approach offers its own set of advantages and considerations.
1. The Seed Route: A Journey of Patience
Propagating from seed is a rewarding (albeit slower) method that allows you to witness the full life cycle of your Gagea Minima.
- Timing is Key: Collect seeds as soon as the capsules ripen and turn brown, usually in late spring. Sow the seeds immediately, as they have a short viability period.
- Sowing the Seeds: Use a well-draining seed compost and sow the seeds thinly on the surface. Lightly press them in, but don’t bury them, as they need light to germinate.
- Patience, Young Padawan: Germination can take anywhere from a few weeks to a year. Be patient and keep the compost consistently moist but not waterlogged.
- First Year Care: Once germinated, ensure the seedlings receive sufficient light. Thin them out if necessary to give them space to grow.
2. The Bulbil Express: Faster but Finer
For a quicker and often more reliable method, propagating through bulbils is ideal. Bulbils are tiny, offshoot bulbs that form around the base of the mother bulb.
- Digging for Treasure: After the foliage dies back in early summer, carefully dig up the clump of bulbs.
- Separating the Clones: Gently detach the bulbils from the mother bulb.
- Replanting: Replant the bulbils immediately at a depth of about 2-3 inches and approximately 2 inches apart.
- First Year Growth: You’ll likely see new growth the following spring.
Nurturing Your Miniature Garden
Whether you choose seed or bulbil propagation, providing the right growing conditions is essential for healthy Gagea Minima:
- Well-Drained Soil: These plants dislike sitting in waterlogged soil. Opt for a light, well-draining mix.
- Sun or Shade: Gagea Minima thrives in dappled shade or morning sun with afternoon shade.
- Water Wisely: Keep the soil lightly moist during the growing season, but reduce watering after flowering as the plant goes dormant.
- Naturalizing Beauty: Gagea Minima readily naturalizes, so don’t be surprised if you see more of these miniature wonders gracing your garden in the coming years.
Propagating Gagea Minima is a delightful adventure for gardeners of all levels. With a bit of patience and care, you’ll soon have a thriving colony of these sunny, miniature blooms, adding a touch of magic to your spring garden.