Unlocking the Secrets to Propagating the Elusive Myrsine Divaricata
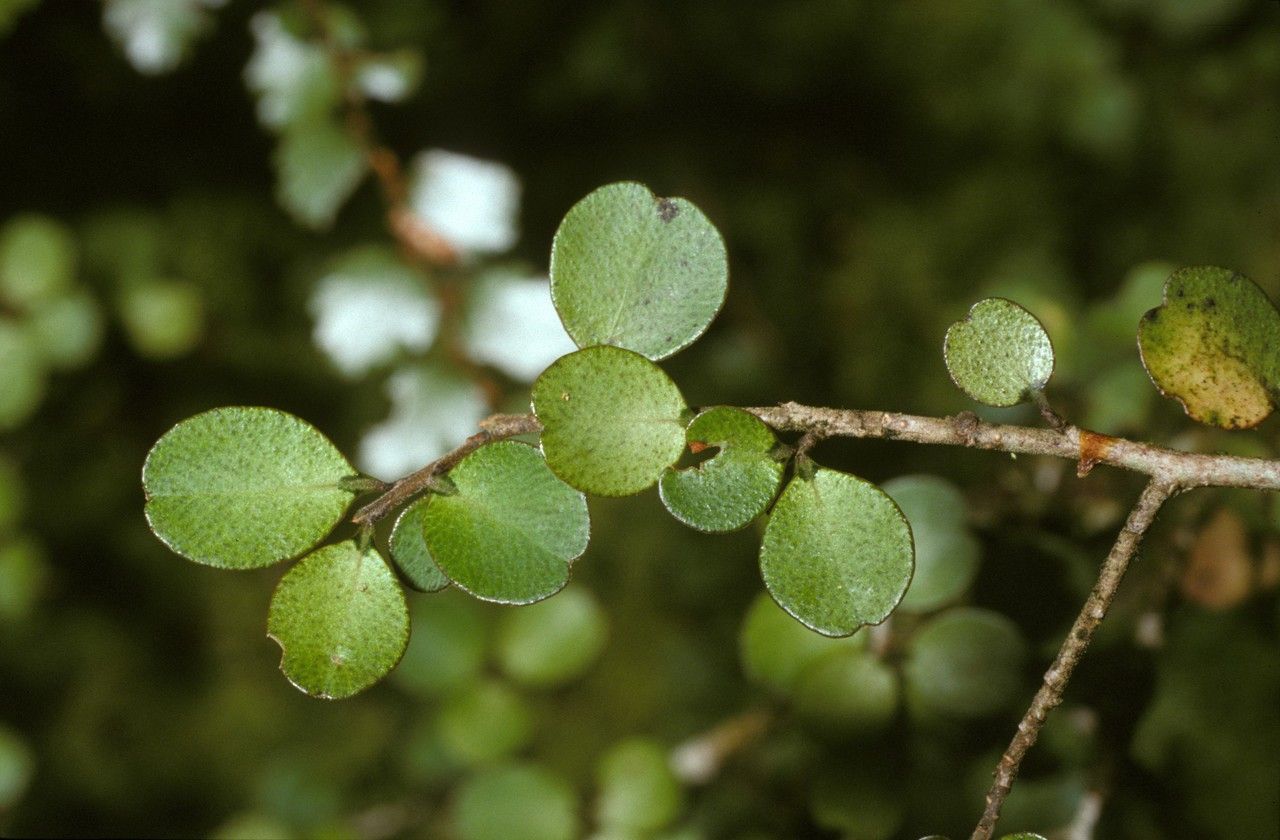
Myrsine divaricata, also known as weeping mapou or spreading mapou, is a New Zealand native shrub prized for its elegant, arching branches and dense, evergreen foliage. This adaptable plant adds year-round structure and texture to gardens, serving as a beautiful informal hedge, a graceful backdrop for flowering perennials, or even a unique bonsai specimen.
While Myrsine divaricata is relatively easy to care for once established, propagating it can be a bit tricky. Unlike some shrubs that easily sprout from cuttings, this species requires patience and understanding of its preferred methods. But don’t despair! This guide will walk you through the secrets of successfully propagating Myrsine divaricata, allowing you to expand your collection of this beautiful shrub.
Method 1: Seed Propagation (The Patient Gardener’s Choice)
Propagating Myrsine divaricata from seed is considered the most reliable method, though it does require significant time and patience.
- Seed Collection and Preparation: The small, fleshy fruits of the Myrsine divaricata contain the seeds. Collect ripe, dark blue or purple berries in late summer or fall. Remove the fleshy pulp and soak the seeds in warm water for 24 hours. This helps to remove any germination inhibitors present.
- Sowing the Seeds: Plant the seeds in a well-draining seed-raising mix, barely covering them with soil. Keep the soil consistently moist but not waterlogged.
- Patience is Key: Germination can be erratic, taking anywhere from a few months to a year. Be patient, and don’t discard your seed trays prematurely.
- Transplanting: Once the seedlings have developed a few sets of true leaves and are large enough to handle, carefully transplant them into individual pots filled with a well-draining potting mix.
Method 2: Semi-Hardwood Cuttings (The Shortcut Method)
While slightly less reliable than seed propagation, taking semi-hardwood cuttings can be a faster way to obtain new Myrsine divaricata plants. This method is best attempted in late summer or early fall.
- Taking the Cuttings: Select healthy, non-flowering shoots from the current year’s growth. Using a sharp, sterilized pruning shear, take cuttings about 4-6 inches long, making a clean cut just below a leaf node.
- Preparing the Cuttings: Remove the lower leaves from the cutting, leaving only a few at the top. Dip the cut end in a rooting hormone powder to encourage root development.
- Planting the Cuttings: Insert the cuttings into a pot filled with a well-draining rooting mix, such as a blend of peat moss and perlite.
- Creating Humidity: Cover the pot with a plastic bag or place it in a propagator to maintain humidity and warmth.
- Rooting Time: Keep the rooting mix consistently moist but not soggy. The cuttings should root in about 6-8 weeks. Once rooted, gradually acclimate them to normal humidity levels before transplanting.
Tips for Success:
- Well-draining Soil: Myrsine divaricata dislikes waterlogged soil, which can lead to root rot. Choose a well-draining potting mix and ensure good drainage for both seedlings and cuttings.
- Indirect Light: Place your seedlings or cuttings in a spot with bright, indirect light. Avoid direct sunlight, which can scorch the young plants.
- Consistent Moisture: Keep the soil consistently moist, but avoid overwatering. Allow the topsoil to dry slightly between waterings.
Propagating Myrsine divaricata does require some effort, but the rewards of seeing new plants flourishing are well worth the wait. With patience, the right techniques, and a bit of green-thumb magic, you can successfully propagate this beautiful and versatile shrub, adding its elegant presence to your garden for years to come.