Unlocking the Secrets of Oreopanax Xalapensis Propagation: A Guide to Growing This Tropical Beauty
The Oreopanax xalapensis, also known as the Mexican Mountain Aralia or the Greenfingers Plant, is a captivating evergreen with lush, tropical foliage. Its large, glossy leaves add a touch of the rainforest to any home or garden. While admiring its beauty is easy, propagating this fascinating plant can seem like a mystery. Fear not! This comprehensive guide will unlock the secrets of Oreopanax xalapensis propagation, empowering you to grow new plants and share their beauty.
Understanding the Plant
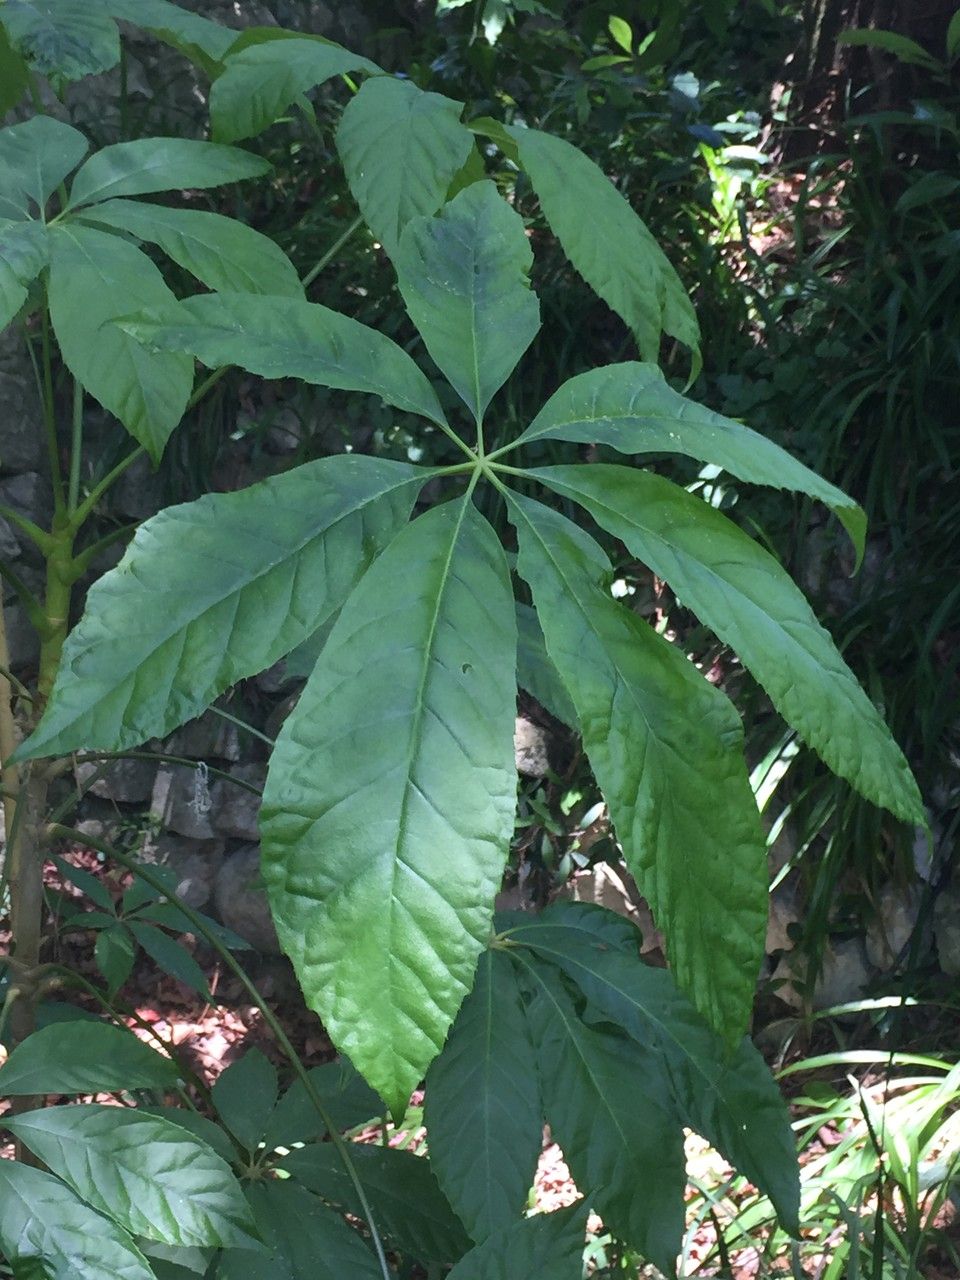
Before diving into propagation, it’s helpful to understand the plant itself. The Oreopanax xalapensis is a fast-growing evergreen native to Mexico and Central America. It thrives in warm, humid environments and can tolerate a range of light conditions. The plant produces vibrant green foliage year-round, making it a popular choice for both indoor and outdoor settings.
Propagation Methods for Oreopanax Xalapensis:
While Oreopanax xalapensis can be grown from seed, it’s a less common method due to seed scarcity and germination challenges. Instead, two propagation methods reign supreme:
1. Stem Cuttings: This is the most reliable and widely used method for propagating Oreopanax xalapensis.
- Timing is Key: The best time for taking cuttings is during the plant’s active growing season, ideally in spring or early summer.
- Selecting the Cutting: Choose a healthy stem that is not flowering and has at least 3-4 nodes. Cut just below a node with a sharp, sterilized knife or pruning shears.
- Preparing the Cutting: Remove the lower leaves, leaving 2-3 leaves at the top. You can also wound the base of the cutting slightly to encourage root development.
- Rooting Hormone (Optional): While not essential, dipping the cut end in rooting hormone can help accelerate root growth.
- Planting Medium: Use a well-draining potting mix, ideally one specifically formulated for cuttings.
- Creating the Right Environment: Place the cutting in a warm, humid environment, away from direct sunlight. You can cover the pot with a plastic bag to retain moisture and create a mini-greenhouse.
- Patience is a Virtue: It may take a few weeks to a couple of months for roots to establish. Check for root growth by gently tugging on the cutting. Once roots have developed, you can gradually acclimate the new plant to brighter light conditions before transplanting it.
2. Air Layering: This method, while a bit more advanced, can be highly effective for propagating larger branches.
- Choose a Branch: Select a healthy branch that is at least 1/2 inch thick.
- Wounding the Branch: Make a shallow upward cut about 1-2 inches long on the underside of the chosen branch. You can dust the wound with rooting hormone to encourage root development.
- Creating the “Layering” Medium: Wrap the wound with moist sphagnum moss, securing it with plastic wrap or aluminum foil. Keep the moss consistently moist.
- Root Development: After several weeks, roots should begin to form. Once the moss is filled with roots, cut the branch below the air layer and plant the newly rooted section in a well-draining potting mix.
Care for New Plants:
Once your new Oreopanax xalapensis plants are established, provide them with bright, indirect light, regular watering, and occasional fertilization during the growing season.
Propagation is a Rewarding Endeavor:
Propagating your own Oreopanax xalapensis is a rewarding experience that allows you to multiply your plant collection and share this beautiful species with others. By following these methods, you’ll be well on your way to becoming a confident plant propagator and enjoying the lush, tropical charm of the Oreopanax xalapensis for years to come!