Unlocking the Secrets of Collomia Grandiflora: A Guide to Propagation
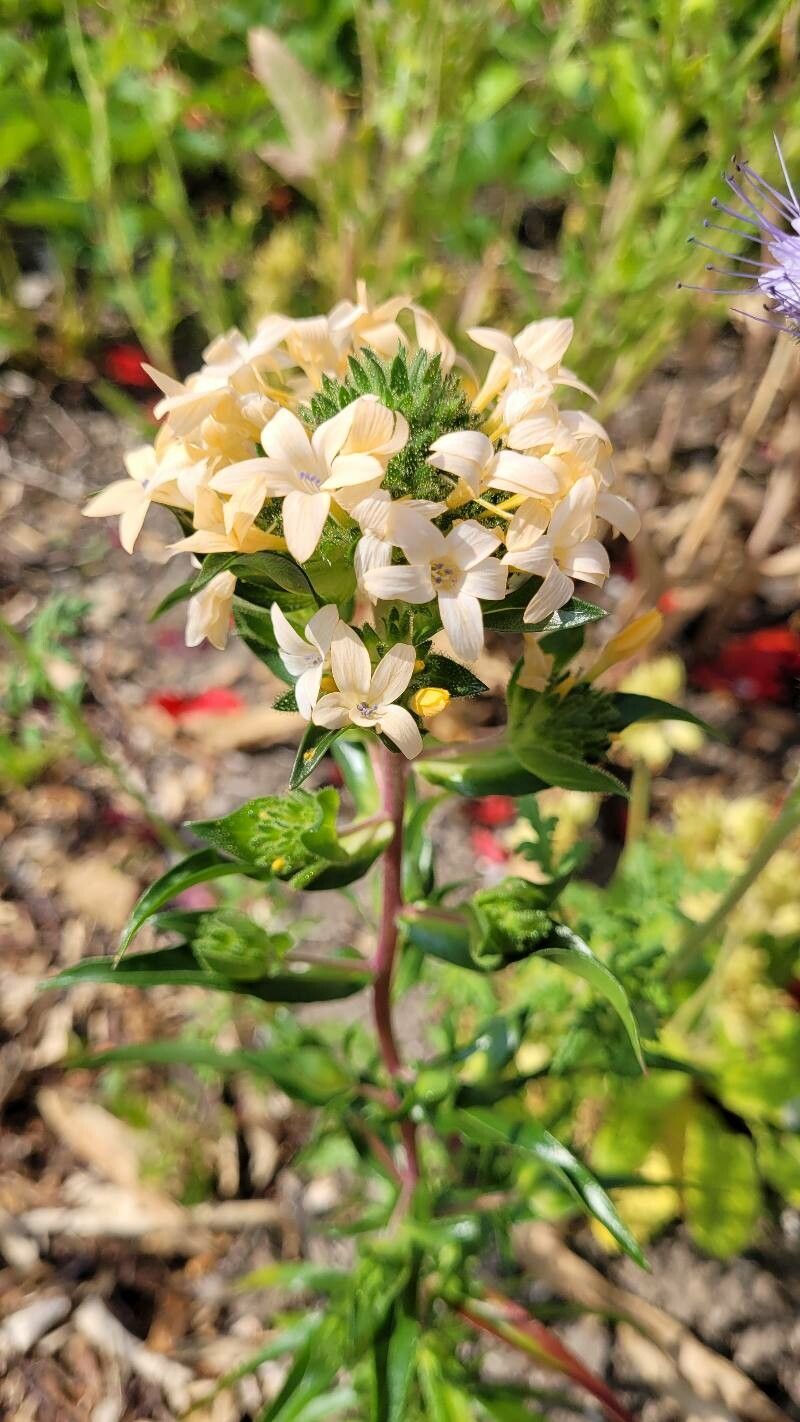
Collomia grandiflora, also known as Grand Collomia or simply “Grand,” lives up to its name with its showy clusters of salmon-orange trumpet-shaped flowers. This wildflower, native to western North America, brings vibrant color and a touch of untamed beauty to gardens. If you’re ready to welcome the “Grand” experience in your own outdoor space, propagation is surprisingly simple. Let’s explore the two most effective methods for growing more of these beauties.
Method 1: Seed Starting Your Collomia Grandiflora
For those who enjoy a hands-on approach and the satisfaction of witnessing the entire growth cycle, starting Collomia grandiflora from seed is incredibly rewarding.
What you’ll need:
- Collomia grandiflora seeds: Available online or from reputable garden centers.
- Seed starting mix & trays: Choose a well-draining mix formulated for starting seeds.
- Water source: A spray bottle or gentle watering can is ideal to avoid disturbing the seeds.
- Light source: Sunlight or grow lights to provide adequate illumination.
Step-by-step guide:
- Timing is key: Start your seeds indoors 4-6 weeks before the last expected frost in your region.
- Prepare your trays: Fill your seed trays with the moist seed-starting mix, gently pressing it down.
- Sowing the seeds: Sprinkle the Collomia grandiflora seeds evenly over the surface of the mix. These seeds need light to germinate, so avoid burying them. A light dusting (1/8 inch) of the seed starting mix over the seeds is sufficient.
- Keep them moist: Mist the seeds and soil surface with water, ensuring the mix remains consistently damp but not waterlogged.
- Provide warmth and light: Place the trays in a warm location (around 70°F) with bright, indirect light.
- Germination Time: You can expect to see your Collomia grandiflora seedlings emerge in about 1-3 weeks.
- Thinning out: Once the seedlings develop a few sets of true leaves, thin them out, leaving the strongest ones with adequate spacing (about 6-12 inches apart) to grow.
- Hardening off: Before transplanting outdoors, gradually acclimate (harden off) your seedlings to outdoor conditions by exposing them to increasing periods of sunlight and wind over a week or two.
Method 2: Direct Sowing: Embracing the Natural Way
If you prefer a more carefree approach, direct sowing Collomia grandiflora seeds in your garden is a viable option in suitable climates.
When and Where to Sow:
- Timing: After the threat of frost has passed, sow seeds directly into the ground in spring or fall.
- Location: Choose a sunny or partially shaded location in your garden with well-drained soil.
Direct Sowing Steps:
- Prep the bed: Prepare the soil by loosening it and removing any weeds or debris.
- Scatter the seeds: Sprinkle the seeds over the prepared area.
- Light raking: Lightly rake the soil to barely cover the seeds – remember they need light for germination.
- Water gently: Water the area gently but thoroughly, taking care not to dislodge the seeds.
- Thinning: As seedlings emerge and grow, thin them out to provide adequate spacing (same as above).
Caring for Your Collomia Grandiflora:
- Water wisely: Water regularly during dry periods, but avoid overwatering, as this can lead to root rot.
- Deadhead for blooms: Regularly remove spent flowers to encourage continuous blooming and prevent self-seeding if desired.
In Conclusion:
Whether you choose to start your Collomia grandiflora from seed indoors or take the direct sowing route, the process is quite straightforward. With minimal effort, you can enjoy the rewarding experience of watching these enchanting wildflowers flourish in your garden year after year.