Unleashing the Fluffy Potential: A Guide to Propagating Fairy Duster (Calliandra parvifolia)
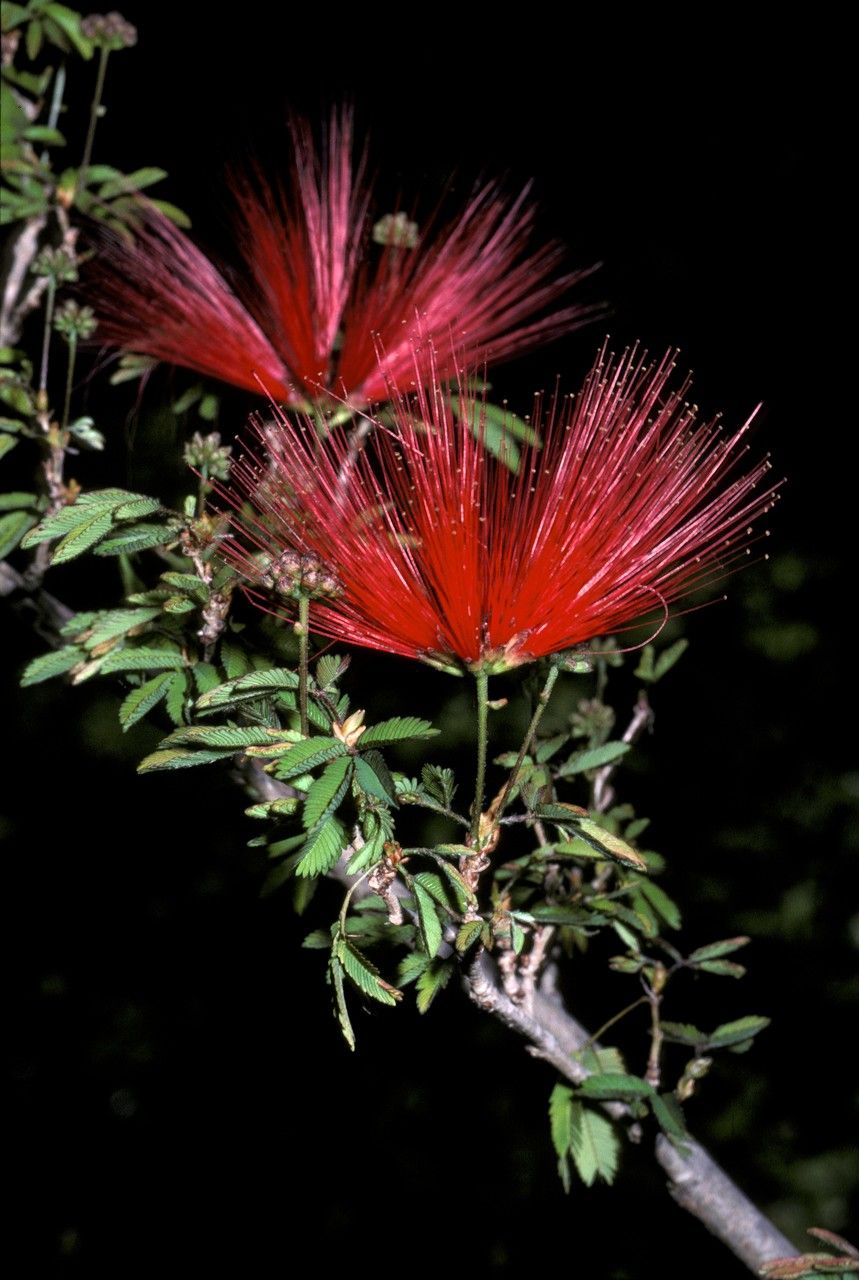
The Fairy Duster (Calliandra parvifolia) is aptly named. This captivating shrub boasts delicate, fern-like foliage and explodes with vibrant, powder-puff blooms that resemble miniature dusters held aloft by fairies. Whether you’re a seasoned gardener or just starting, propagating your own Fairy Duster is a rewarding experience. Let’s explore the two main methods to multiply your stash of these enchanting shrubs:
1. Seed Propagation: A Journey of Patience and Reward
For those who enjoy the magic of witnessing a plant’s full life cycle, starting from seed is the way to go. Here’s how:
- Harvesting Seeds: After the blooms fade, your Fairy Duster might grace you with seed pods. Collect them once they turn brown and dry. Inside, you’ll find tiny, hard, brown seeds.
- Scarification: Mother Nature can be a bit possessive with her treasures. Fairy Duster seeds have a hard outer coating that needs a little nudge to germinate. Gently nick or rub the seeds with sandpaper to break this barrier.
- Sowing: Sow the seeds in a well-draining seed-starting mix, barely covering them with soil. Mist them generously and keep the soil consistently moist.
- Warmth and Light: Find a cozy spot with bright, indirect sunlight. A heating mat can also speed up germination, ideally maintaining a temperature of around 70-75°F (21-24°C).
- Patience is Key: Germination can take anywhere from a few weeks to a couple of months. Don’t lose hope! Once your seedlings have a couple of sets of true leaves, you can transplant them into individual pots.
2. Semi-Hardwood Cuttings: A Shortcut to Success
If you prefer a faster route, propagating Fairy Duster from semi-hardwood cuttings is remarkably effective:
- Timing is Everything: The best time for this method is late spring or early summer when the plant is actively growing.
- Selecting the Right Cuttings: Look for healthy stems that are starting to mature but still have some flexibility. Cut a 4-6 inch section just below a leaf node (the bump where a leaf emerges).
- Preparing the Cuttings: Remove the leaves from the bottom third of the cutting. To further encourage rooting, dip the cut end in rooting hormone (while optional, this can significantly improve success rates).
- Planting: Stick the cuttings into a pot filled with a well-draining mix of peat moss and perlite. Keep the soil consistently moist and cover the pot with a clear plastic bag to create a humid environment.
- Root Development: Within a few weeks, you should start to see new growth, indicating that roots have formed. Once the cuttings are well-rooted, you can transplant them into individual pots.
Nurturing Your Fairy Duster Progeny
Regardless of your chosen propagation method, providing the right conditions is key for your new Fairy Duster plants to thrive:
- Sunlight: These sun-worshippers prefer at least 6 hours of direct sunlight daily.
- Soil: Well-draining soil is crucial to prevent root rot.
- Water: Water deeply when the soil is dry to the touch, but avoid overwatering.
- Pruning: Give your Fairy Duster a light pruning in late winter or early spring to maintain its shape and encourage bushier growth.
Propagating your own Fairy Duster is a fulfilling and surprisingly straightforward process. By following these tips, you can expand your collection of these charming shrubs and enjoy their captivating beauty for years to come!