
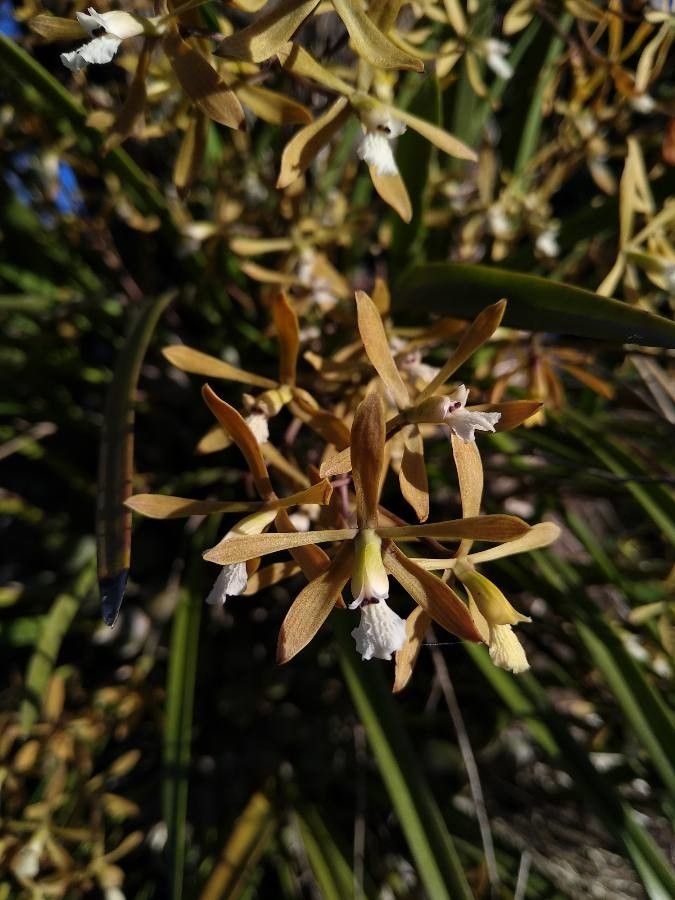
Unveiling the Secrets of Encyclia Patens Propagation: A Guide to Multiplying Your Orchid Delight
The Encyclia patens, with its charming clusters of vibrant green and yellow flowers, is a true gem among orchid enthusiasts. But what’s even more delightful than owning one of these beauties? Multiplying your collection, of course! Luckily, Encyclia patens propagation isn’t as intimidating as it might seem.
This guide will delve into the two most common methods: division and back bulbs, empowering you to expand your orchid family with confidence.
Understanding the Basics
Before we jump into the practicalities, let’s equip ourselves with some fundamental knowledge:
- Timing is Key: Spring, just as the plant emerges from its winter rest, is the ideal time for propagation. This period of active growth ensures the divisions or back bulbs have the best chance of establishing themselves.
- Mature is Best: Only attempt to propagate a mature and healthy Encyclia patens. This ensures sufficient energy reserves for successful division.
- Sterilization Matters: Always use sterilized tools (pruning shears, knives) to prevent the spread of diseases. You can sterilize them using rubbing alcohol or by holding them over a flame until heated.
Method 1: Division – The Go-To Approach
Division is the most straightforward and widely practiced method for propagating Encyclia patens. Here’s a step-by-step breakdown:
- Carefully Remove: Gently remove the plant from its pot, being mindful not to damage the roots.
- Identify Division Points: Look for natural divisions in the rhizome, the horizontal stem connecting the pseudobulbs (the thickened, water-storing stems). Each division should have at least 3-4 healthy pseudobulbs and a healthy root system.
- Make the Cut: Using your sterilized shears, cleanly cut through the rhizome at the identified division points.
- Potting Time: Plant each division in a well-draining orchid potting mix, ensuring the base of the pseudobulbs is level with the potting medium’s surface. Water thoroughly.
Method 2: Back Bulbs – Giving New Life to Older Growths
Back bulbs are mature, often leafless pseudobulbs that may seem past their prime. However, they harbor the potential for new growth and present a slightly more patient but equally rewarding propagation method.
- Select and Detach: Choose a healthy back bulb with at least one node (small bump on the pseudobulb). Carefully detach it from the main plant using sterilized shears.
- Preparation is Key: Allow the back bulb to dry for a day or two to allow the cut surface to callus over.
- Creating the Right Environment: Place the back bulb on top of a moist layer of sphagnum moss within a shallow tray or pot.
- Patience is a Virtue: Maintain humidity around the back bulb by placing the tray inside a humidity dome or a loosely sealed plastic bag. Place in a warm, bright location, out of direct sunlight.
- New Beginnings: Within a few weeks, you should start seeing new shoots and roots emerging from the nodes. Once these have developed a good root system, you can carefully pot the new plant in an orchid mix.
Post-Propagation Care – Nurturing New Growth
Whether you’ve opted for division or back bulb propagation, post-propagation care is crucial for success. Provide your new Encyclia patens with:
- Bright, Indirect Light: Avoid harsh, direct sunlight that can scorch the developing plants.
- Consistent Moisture: Keep the potting mix evenly moist but not soggy. Allow it to dry slightly between waterings.
- Warmth and Humidity: Aim for temperatures above 60°F (15°C) and moderate humidity.
Propagating your Encyclia patens is a rewarding experience, allowing you to witness the fascinating life cycle of orchids firsthand. With a little patience and the right techniques, you’ll be well on your way to expanding your orchid family and sharing the beauty of these enchanting blooms.