Taming the Alpine Thistle: Propagating Eryngium alpinum for a Touch of Mountain Magic
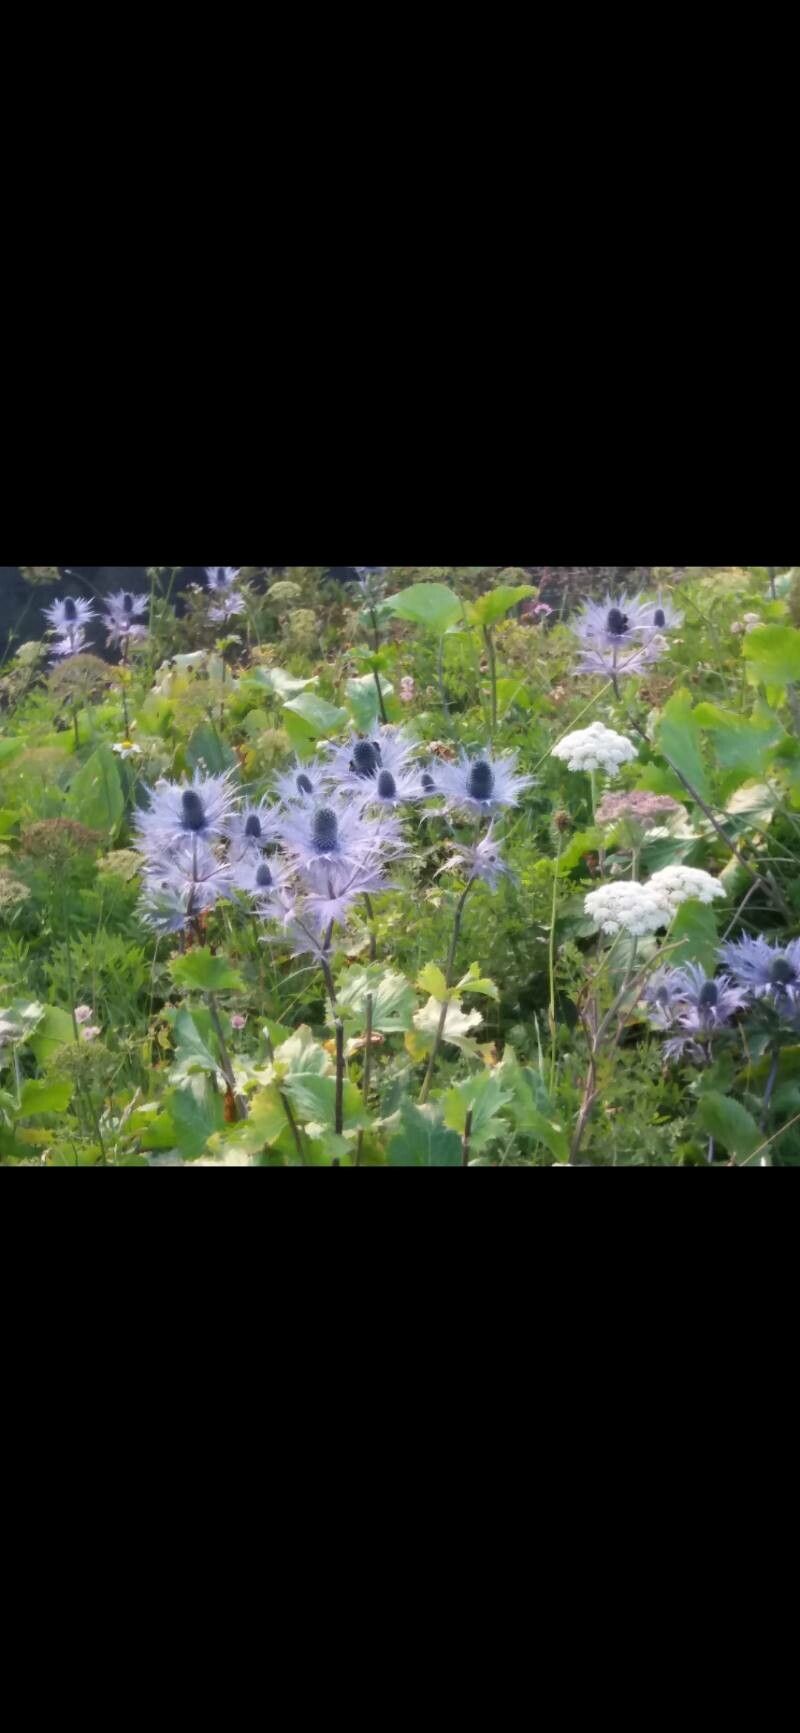
Eryngium alpinum, the captivating “Alpine Sea Holly”, brings a touch of ethereal beauty to any garden with its steely blue stems and metallic blue, thistle-like flower heads. Originating in the high meadows of the Alps, this perennial boasts a striking architectural presence that attracts pollinators and ignites visual interest from mid-summer to fall. While acquiring established plants is an option, propagating your own Eryngium alpinum allows you to multiply these alpine treasures and foster a deeper connection with your garden. Let’s delve into the world of propagating this captivating plant:
Methods of Propagation:
1. Seed Sowing: Mimicking nature’s approach, sowing seeds offers a rewarding, albeit slightly lengthier, path to propagation.
- Timing is Key: Begin sowing indoors 6-8 weeks before the last expected frost. Eryngium alpinum seeds benefit from a period of cold stratification to enhance germination rates.
- Sowing the Seeds: Use a well-draining seed starting mix and lightly press the seeds into the surface. Mist generously and cover the tray with a plastic dome or wrap to maintain humidity.
- Patience is a Virtue: Germination can be erratic, ranging from a few weeks to a couple of months. Maintain a consistent temperature of around 65-70°F (18-21°C) and ensure the soil remains lightly moist.
- Hardening Off: Once the seedlings develop a couple of sets of true leaves and the risk of frost has passed, gradually acclimate them to outdoor conditions over a week or two.
- Planting Out: Choose a sunny location with well-drained soil, mimicking their mountainous origins. Space the seedlings about 12 inches apart to accommodate their mature size.
2. Basal Cuttings: This method involves taking cuttings from the base of the plant in spring, offering a quicker route compared to seeds.
- The Early Bird Catches the Cutting: Aim to take cuttings in early spring, just as new growth emerges.
- Making the Cut: Using a sharp, sterilized knife or pruners, carefully remove a 3-4 inch section from the base of the plant. Ensure the cutting includes a heel – a small sliver of the main stem.
- Potting Up: Remove any lower leaves and dip the cut end in rooting hormone (optional but beneficial). Plant the cutting in a pot filled with a well-draining potting mix, burying the lowest leaf node.
- Creating a Humid Environment: Water thoroughly and enclose the pot with a clear plastic bag or use a propagation dome to maintain high humidity.
- Signs of Success: After several weeks, gently tug on the cutting; resistance indicates root formation. Once roots develop, gradually acclimate the cutting to outdoor conditions before transplanting it to its final location.
Nurturing Your Alpine Beauties:
Eryngium alpinum thrives in full sun to partial shade and prefers well-drained soil with slightly alkaline to neutral pH. Once established, these drought-tolerant perennials require minimal watering. Deadhead spent flower heads to encourage further blooms and divide mature clumps every few years to maintain plant health and vigor.
Propagation Pitfalls to Avoid:
- Overwatering: Eryngium alpinum are susceptible to root rot in excessively wet conditions. Ensure proper drainage and water only when the soil is dry to the touch.
- Disturbing Established Plants: These plants have deep taproots and dislike being moved. Choose their permanent location wisely and minimize disturbance once planted.
Propagating Eryngium alpinum is a rewarding endeavor, allowing you to expand your garden’s ethereal charm while deepening your connection with the natural world. With a bit of patience and care, you can successfully propagate these alpine treasures and enjoy their architectural beauty for years to come.