Unlocking the Secrets of Propagation: Grow an Abundance of Thai Basil (Basilicum polystachyon)
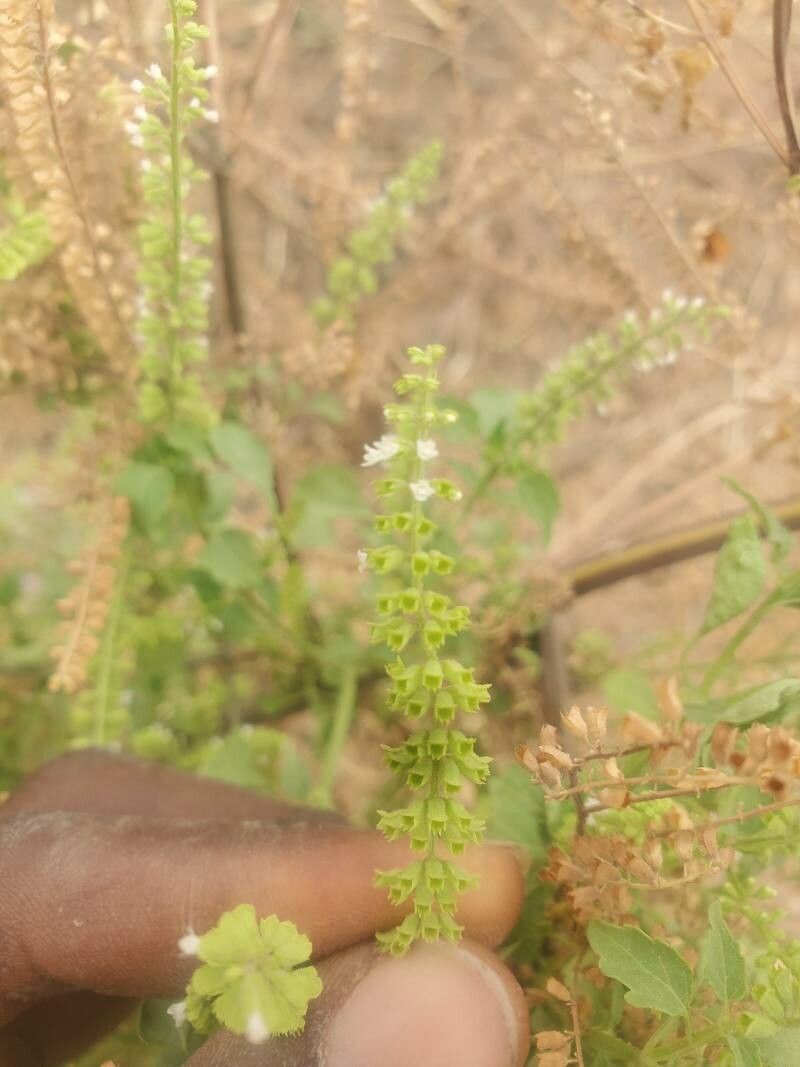
Thai basil, with its captivating aroma and licorice-like flavor, is a prized herb in kitchens worldwide. While readily available in grocery stores, nothing beats the satisfaction of harvesting your own. And luckily, propagating Basilicum polystachyon (its scientific name), isn’t as tricky as you might think!
Whether you’re a seasoned gardener or just starting out, this guide will equip you with two effective methods to multiply your Thai basil bounty:
1. Stem Cuttings: The Gift that Keeps on Growing
Stem cutting is an incredibly rewarding technique that essentially clones your existing plant. Here’s how to do it:
- Gather your tools: You’ll need a sharp, clean pair of scissors or pruning shears, a small container (yogurt cups work well!), and a well-draining potting mix.
- Take the cutting: Select a healthy stem that’s about 4-6 inches long, preferably one that hasn’t flowered yet. Cut just below a leaf node (the point where leaves grow from the stem) at a 45-degree angle.
- Prepare the cutting: Remove the leaves from the bottom inch or two of the stem. If desired, you can dip the end in rooting hormone (available at most garden centers) to encourage root development, though it’s not strictly necessary.
- Plant it!: Fill your container with the potting mix and make a small hole in the center. Gently place the bottom inch or two of the cutting into the hole and firm the soil around it.
- Provide the right environment: Water the cutting thoroughly, ensuring the soil is moist but not soggy. Place the container in a bright location, but out of direct sunlight.
- Be patient: It typically takes 2-4 weeks for roots to develop. You can test for root growth by gently tugging on the cutting – resistance means roots are forming! Once you see new growth, you can transplant your new basil plant into a larger pot or directly into your garden.
2. Seeds: Starting From Scratch
Propagating Thai basil from seed allows you to start with a fresh batch, perfect if you’re looking to grow a specific variety.
- Get prepared: You’ll need seed starting mix, small pots or seed trays, a spray bottle, and of course, Thai basil seeds.
- Sow the seeds: Fill your containers with the seed starting mix and moisten it thoroughly. Sprinkle a few seeds in each pot, lightly pressing them onto the surface. Don’t bury them too deep; a light covering of soil is enough.
- Create a humid environment: Cover the containers with plastic wrap or a humidity dome to create a warm, moist environment that promotes germination.
- Provide light and warmth: Place your seed trays in a brightly lit location, but out of direct sunlight. Aim for a temperature of around 70-75°F (21-24°C).
- Watch for sprouts: Germination typically takes 5-10 days. Once the seeds sprout, remove the plastic wrap and ensure they receive adequate light to prevent them from becoming leggy.
- Time to thin: Once the seedlings have developed a few true leaves (these will look like regular basil leaves), thin them out, leaving the strongest one in each container.
- Transplanting time: When the seedlings reach about 4 inches tall, you can transplant them into larger pots or your garden, taking care not to damage the delicate roots.
Tips for Success:
- Use fresh, high-quality seeds or cuttings for the best results.
- Maintain a consistently moist environment, but avoid overwatering.
- Pinch back the tips of the plants regularly to encourage bushier growth and delay flowering.
- Harvest your basil frequently to encourage new growth!
With a little patience and care, you’ll be enjoying a bountiful harvest of fragrant and flavorful Thai basil in no time. Happy growing!