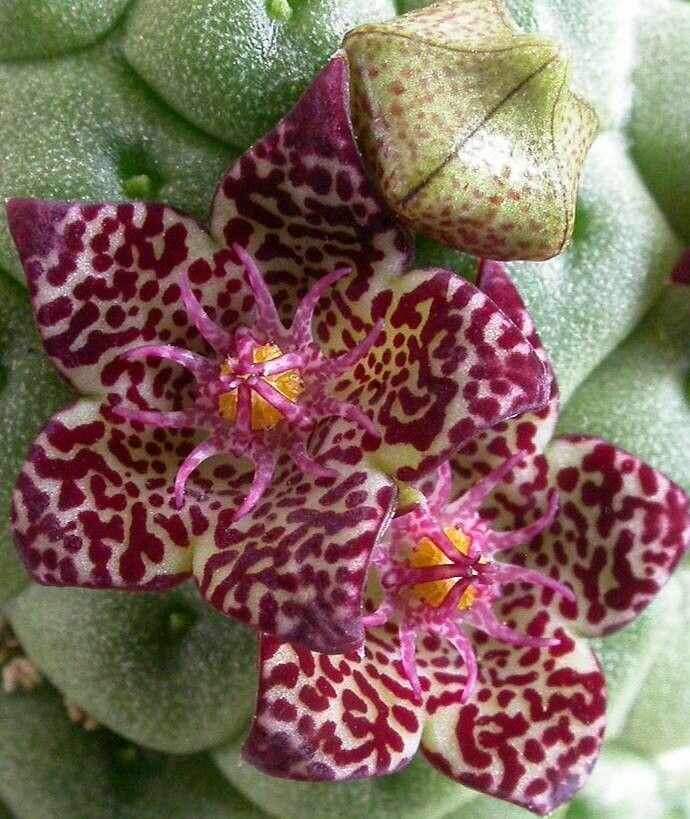
Unleashing the Green Goblin: Propagating Your Larryleachia marlothii
The Larryleachia marlothii, affectionately nicknamed the “Green Goblin” due to its spiky, otherworldly appearance, is a succulent gaining popularity for its unique charm. While caring for a mature Green Goblin isn’t overly complex, propagating these fascinating plants can feel a bit like entering uncharted territory. Fear not, fellow plant enthusiasts! This guide will demystify the process and have you propagating your own miniature Goblin army in no time.
Two Paths to Propagation: Seeds vs. Cuttings
The Green Goblin offers you two distinct paths for propagation:
- Seeds: This method requires a bit more patience, as you’ll be starting from scratch. However, it’s incredibly rewarding to witness the entire lifecycle of your Green Goblin.
- Cuttings: A faster approach, perfect for those eager to expand their collection quickly. Cuttings involve taking a piece of an existing plant and encouraging it to develop roots.
Method 1: Seeding Your Goblin Garden
Getting Started:
- Source your seeds: Reputable online retailers are your best bet for finding Larryleachia marlothii seeds.
- Prepare your potting mix: A well-draining succulent mix is essential. Aim for a 50/50 blend of perlite or pumice and cactus potting soil.
- Choose your container: Seed trays or small pots with drainage holes work well.
Sowing the Seeds:
- Moisten your potting mix, ensuring it’s damp but not soaking wet.
- Sprinkle seeds across the surface, leaving a bit of space between each one.
- Lightly press seeds into the soil – no need to bury them deeply.
- Cover the container with plastic wrap or use a humidity dome to create a mini greenhouse.
Care & Germination:
- Place the container in a bright location, avoiding direct sunlight.
- Keep the soil consistently moist by misting regularly.
- Germination can take anywhere from a few weeks to a couple of months, so patience is key!
- Once seedlings have a few sets of true leaves, you can gradually acclimate them to less humidity and eventually transplant them into individual pots.
Method 2: Conquering Cuttings
Prepare for Success:
- Gather your tools: You’ll need a sharp, sterilized knife or pruning shears, rooting hormone (optional, but recommended), and a small pot with drainage filled with well-draining succulent mix.
- Choose your cutting: Select a healthy stem from an established plant. Ideally, the cutting should be around 3-4 inches long.
Taking the Cutting:
- Use your sterilized knife or shears to make a clean cut just below a leaf node (where the leaf emerges from the stem).
- Allow the cutting to callous over for a few days in a dry, shaded area. This step is crucial to prevent rot.
Planting the Cutting:
- Dip the calloused end of the cutting into rooting hormone (optional).
- Make a small hole in your prepared potting mix and gently insert the cutting.
- Firm the soil around the base to secure the cutting in place.
Care and Root Development:
- Place the pot in a bright location, out of direct sunlight.
- Water sparingly, only when the soil is completely dry. Overwatering is a death sentence for cuttings!
- Root development can take several weeks. Be patient and avoid the temptation to tug on the cutting to check for roots.
Propagating your Larryleachia marlothii is an incredibly rewarding experience. Whether you choose the meticulous journey of seeds or the faster path of cuttings, remember to arm yourself with patience and attentiveness. Soon you’ll have a thriving collection of these captivating succulents, showcasing the fascinating world of the Green Goblin.