Blooming Marvels on Repeat: Propagating Your Very Own Cape Marigolds (Dimorphotheca Ecklonis)
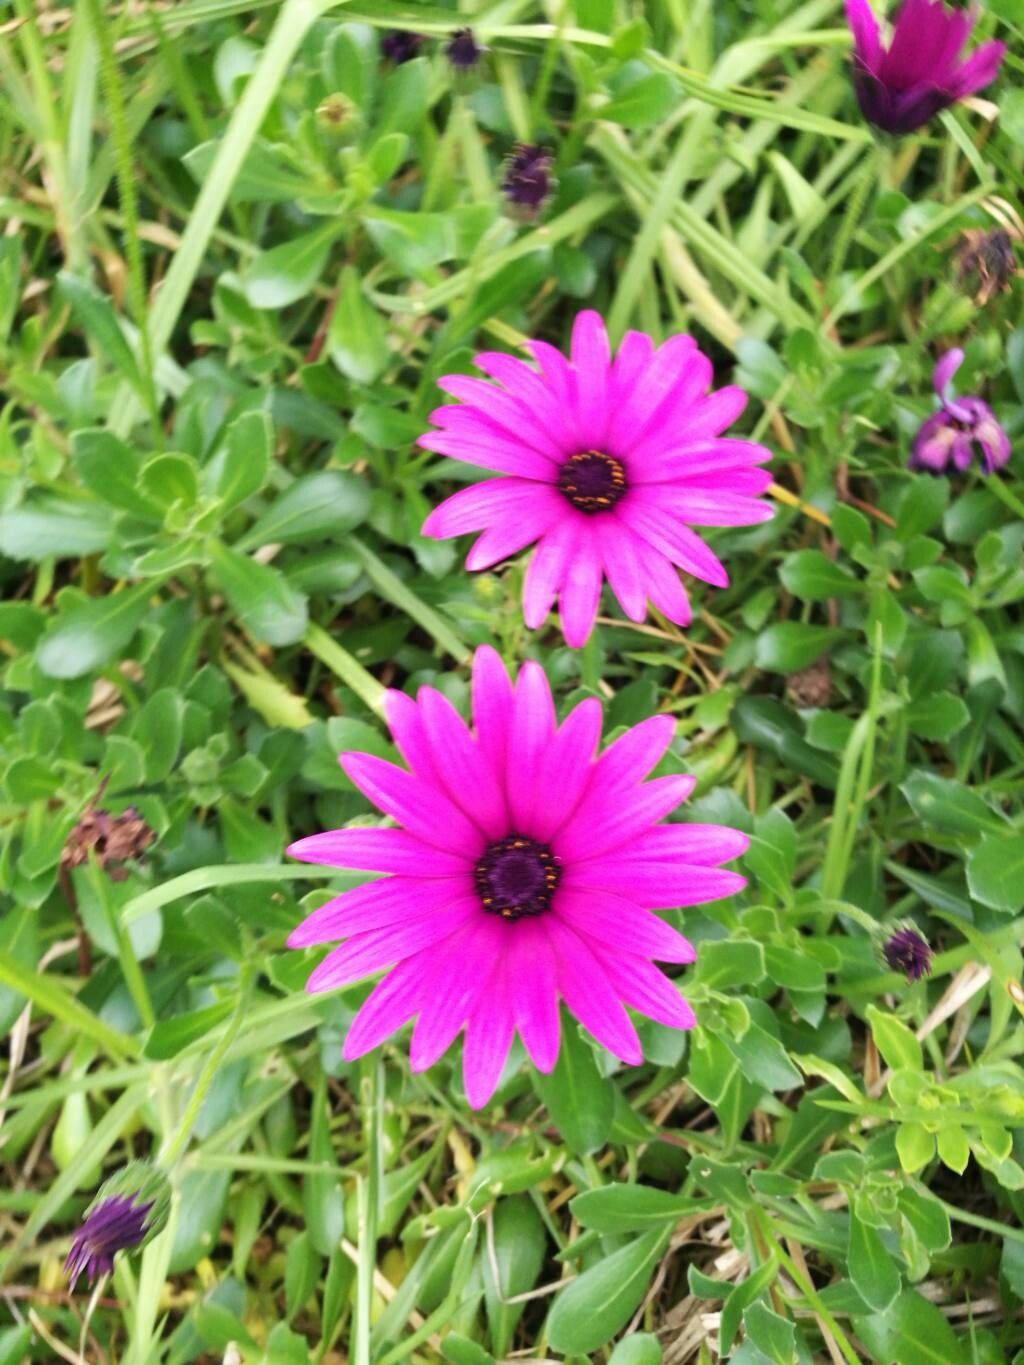
The Cape Marigold, also known as Dimorphotheca ecklonis, is a show-stopping bloomer beloved for its vibrant, daisy-like flowers that blanket gardens in a kaleidoscope of colors. Originating from South Africa, this cheerful annual thrives in sunny spots, bringing a touch of exotic beauty to any landscape. But what if you could easily multiply your floral bounty? Good news! Propagating Cape Marigolds is surprisingly simple, allowing you to expand your flower power without breaking the bank.
Two Paths to Propagation
Two primary methods reign supreme when it comes to propagating Dimorphotheca ecklonis:
- Seed Starting: Embarking on the journey from seed to bloom is an incredibly rewarding experience. Here’s how:
- Timing is Key: Begin sowing indoors approximately 6-8 weeks before your last expected frost date. This head start allows the seedlings to develop a strong root system before facing the elements.
- Sowing the Seeds: Use a well-draining seed-starting mix and sprinkle the seeds on the surface, lightly pressing them down.
- Light and Warmth: Place your seed trays in a sunny location or under grow lights, maintaining a temperature around 70-75°F (21-24°C).
- Transplant Time: Once the danger of frost has passed and the seedlings have a few sets of true leaves, harden them off gradually by introducing them to outdoor conditions for increasingly longer periods each day. Finally, transplant them into your garden, spacing them about 12 inches apart.
- Taking Cuttings: This method allows you to create clones of your favorite Cape Marigold varieties, ensuring identical blooms.
- Choose Wisely: Select healthy, non-flowering stems about 4-6 inches long.
- Prepare the Cuttings: Remove the lower leaves, leaving only a few at the top. Dip the cut end in rooting hormone (optional but recommended).
- Potting Up: Plant the cuttings in a well-draining potting mix, burying at least one node (where leaves were attached) below the soil.
- Creating a Humid Environment: To encourage rooting, enclose the pots in a plastic bag or use a humidity dome.
- Patience is Key: In a few weeks, gently tug on the cuttings; resistance indicates successful rooting! Once roots are established, you can transplant your new Cape Marigolds into larger pots or directly into the garden.
Tips for Success:
- Cape Marigolds thrive in full sun (at least 6 hours daily) but appreciate some afternoon shade in hotter climates.
- They prefer well-drained soil and are relatively drought-tolerant once established.
- Deadheading (removing spent blooms) encourages continuous flowering throughout the season.
A Garden Brimming with Color:
By following these easy propagation methods, you’ll be rewarded with an abundance of captivating Cape Marigolds. Whether you choose to start from seed or take cuttings, you’ll experience the joy of witnessing these vibrant blooms come to life, filling your garden with cheer throughout the growing season. So, unleash your inner gardener and get ready to propagate your way to a beautiful and flourishing flower display!