Multiply Your Xylosma inaequinervia: A Guide to Propagation
Looking to expand your garden with the beautiful and unique Xylosma inaequinervia, also known as the “False Holly”? You’re in luck! This versatile shrub is relatively easy to propagate, allowing you to create new plants from cuttings or even from seed.
Why Propagate Your Xylosma?
Propagating your own Xylosma inaequinervia offers several benefits:
- Cost-effective: It’s cheaper than purchasing new plants from nurseries.
- Increased variety: You can create new plants from your existing stock, potentially fostering new varieties through genetic variation.
- Sharing is caring: Sharing propagated plants with friends and family is a great way to spread the love of gardening.
- Sense of accomplishment: Seeing your own propagated plants thrive is a rewarding experience.
Methods of Propagation
1. Cuttings:
- Time: The best time to take cuttings is during the spring or early summer when the plant is actively growing.
- Technique: Choose healthy, non-flowering stems that are about 4-6 inches long. Make a clean cut with sharp scissors or a knife just below a leaf node. Remove the leaves from the bottom inch or two of the stem.
- Rooting Medium: Prepare a pot filled with a well-draining potting mix, vermiculite, or perlite. Dip the cut end of the stem in rooting hormone to encourage root development. Insert the cutting into the rooting medium, ensuring the leaves are above the soil level.
- Care: Keep the cuttings moist and in a warm, bright, but indirect, location. A humidity dome or plastic bag over the pot can help retain moisture.
- Root Development: Roots should develop within several weeks, but it can take up to two months. Once rooted, you can transplant them into individual pots or directly into the garden.
2. Seeds:
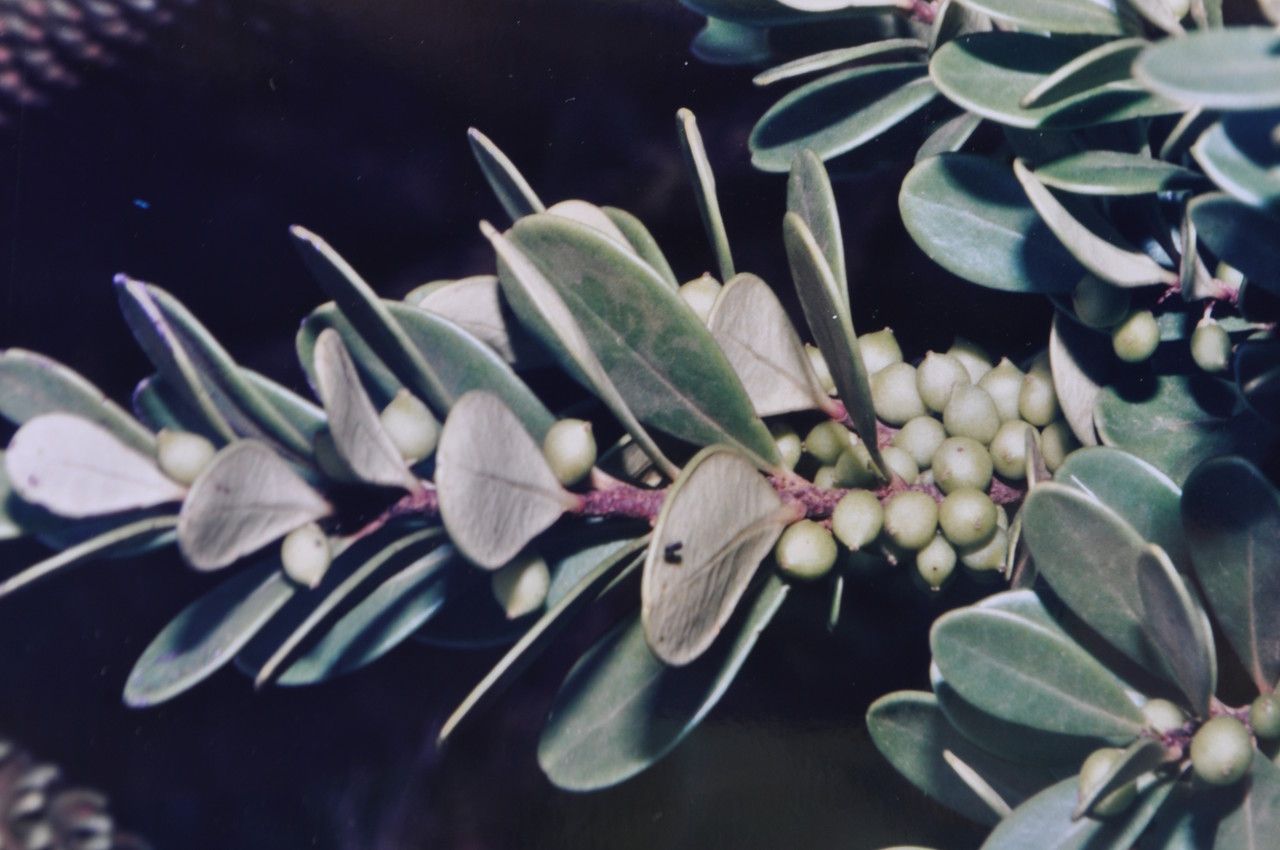
- Time: Harvest ripe berries from your Xylosma inaequinervia in late summer or fall.
- Extraction: Extract the seeds from the berries and clean them thoroughly.
- Stratification: Xylosma seeds require a cold stratification period to germinate. Place the seeds in a moist medium like peat moss or vermiculite and store them in a refrigerator for 6-8 weeks.
- Sowing: After stratification, sow the seeds in a well-draining seed starting mix and keep them moist.
- Germination: Germination can take several weeks to a few months. Provide the seedlings with bright, indirect light and protect them from frost.
Tips for Success:
- Sharp tools: Use clean, sharp tools to reduce the risk of disease transmission and ensure clean cuts.
- Moist environment: Maintaining consistent moisture for both cuttings and seedlings is crucial for root development and seedling survival.
- Patience: Propagation takes time, so be patient and give your plants the proper care.
- Ideal Conditions: The ideal conditions for Xylosma inaequinervia propagation are warm temperatures (65-75°F), high humidity, and bright, indirect light.
Conclusion:
Propagating your own Xylosma inaequinervia offers a rewarding and fulfilling experience, allowing you to expand your garden with beautiful, unique specimens. With a little knowledge, patience, and care, you can easily multiply your Xylosma inaequinervia and enjoy the benefits of this versatile shrub for years to come. So grab some tools, get ready to get your hands dirty, and watch your Xylosma thrive!