
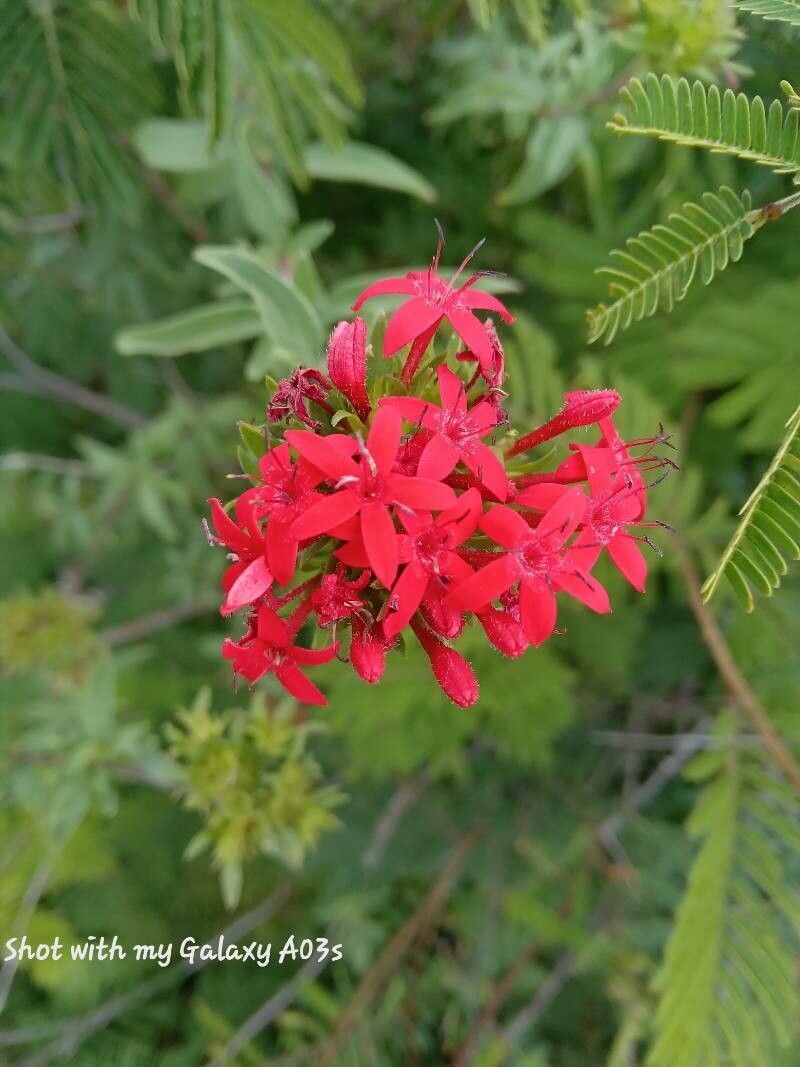
From Snipping to Thriving: Propagating Your Own Rhodopentas parvifolia
You’ve admired those vibrant clusters of star-shaped flowers on your friend’s Rhodopentas parvifolia – perhaps better known as a “Star Cluster” or “Pink Star.” Now you yearn to have your own patch bursting with color. Good news! You don’t have to buy new plants – propagating these beauties is surprisingly easy.
Why Propagate?
Propagation is a fantastic way to expand your garden without breaking the bank. It’s also a rewarding and educational experience that lets you connect with the life cycle of plants on a deeper level.
Methods for Rhodopentas Propagation:
Stem Cuttings: This is the go-to method for Rhodopentas. Here’s a step-by-step guide:
- Choose your cuttings: Select healthy, non-flowering stems with about 4-6 inches of growth. Make a clean cut just below a leaf node (where a new leaf grows).
- Prepare the cuttings: Remove the bottom leaves and dip the cut end in rooting hormone. This optional step aids in root development.
- Potting up: Fill a small pot with a moisture-retaining mix like peat moss and perlite. Gently place the cuttings in the pot, ensuring the cut end is buried.
- Keep it moist: Water the pot thoroughly and cover with a plastic dome or bag, creating a humid environment.
- Patiently wait: Place the pot in bright, indirect light. Roots will start to emerge within 2-3 weeks. Once new growth appears, remove the dome.
- Seed Propagation: While not as common, Rhodopentas can also be propagated via seeds:
- Collect seeds: Await the formation of seed pods on your existing Rhodopentas plants. Once dry, carefully collect the tiny black seeds.
- Sow the seeds: Fill a seed tray with seed-starting mix. Scatter the seeds on the surface and lightly press them in.
- Keep it moist: Water gently, misting the surface to prevent seeds from washing away.
- Germination: Cover the tray with a clear plastic dome and place it in a bright, warm location (between 70-75°F). Germination can take 1-2 weeks.
- Thinning: Once the seedlings have a couple of true leaves, gently thin out the weaker ones to allow the strongest to develop.
Tips for Success:
- Timing is key: The best time for propagation is usually during the spring or early summer, when the plant is actively growing.
- Choose healthy donor plants: Make sure your source plant is vibrant, pest-free, and well-established.
- Sterilize your tools: Clean your scissors or knife with rubbing alcohol or bleach to prevent the spread of disease.
- Maintain humidity: High humidity is crucial for successful root development. A clear plastic dome or bag will trap moisture and create a mini-greenhouse environment.
- Patience is a virtue: Remember that it takes time for roots to form and new growth to emerge. Be patient and observe progress closely.
Embrace the Rewards:
Propagating a Rhodopentas parvifolia is a rewarding journey. With a little patience and care, you’ll soon have a beautiful, thriving plant, which you can share with friends, family, or even adorn a sunny corner of your own garden.
Whether you’re looking for a fun gardening project or adding a burst of color to your outdoor space, propagating your very own Rhodopentas parvifolia is definitely worth a try!