Scaling Up Your Plant Family: A Beginner’s Guide to Alocasia Scalprum Propagation
Alocasia scalprum, with its striking, sword-shaped leaves and dramatic, almost sculptural form, is a plant that demands attention. But did you know that you can easily multiply your collection of these beauties through propagation?
Whether you’re a seasoned plant parent or just starting your green journey, propagating an Alocasia scalprum is a rewarding experience. Here’s a comprehensive guide to help you successfully grow new plants from your existing specimens:
1. Choose Your Method: Division or Leaf Cuttings
- Division: This method is most effective for mature Alocasia scalprum plants with multiple offshoots. Simply gently separate the plant, making sure each division has a healthy root system.
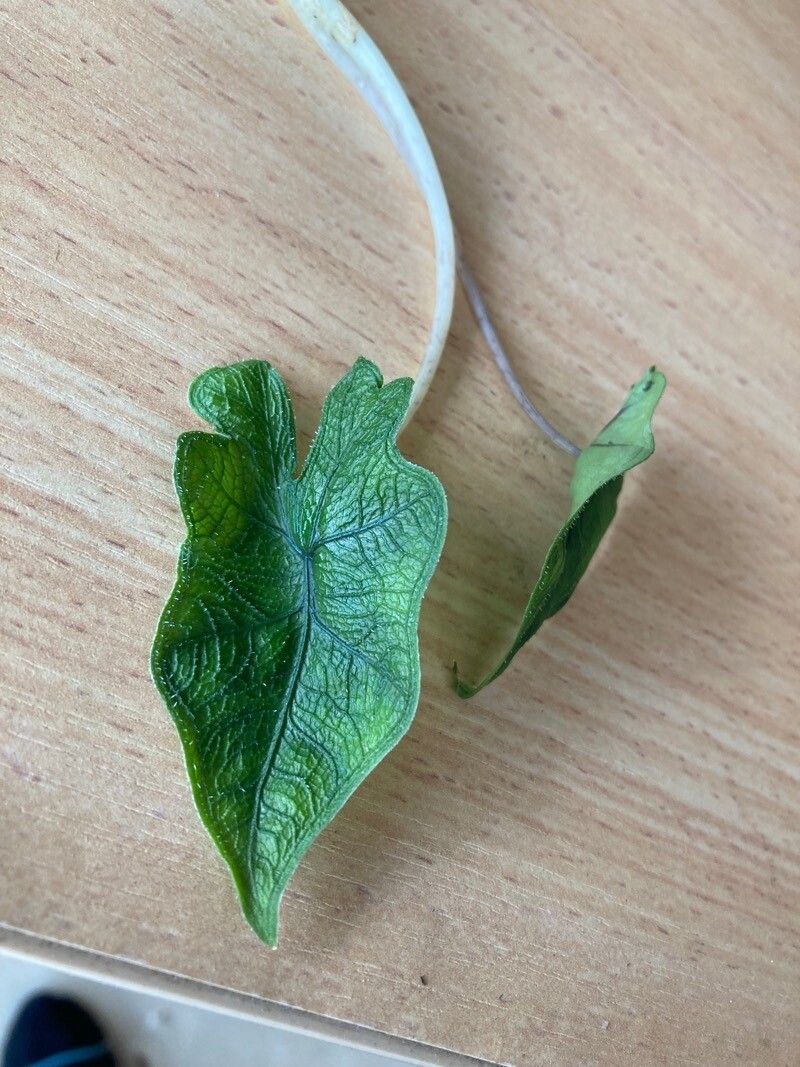
- Leaf Cuttings: This method uses a leaf stalk, also known as a petiole, to grow a new plant. While a bit trickier, it’s a good option for smaller plants or if you want to multiply your collection quickly.
2. Let’s Talk Division: A Step-by-Step Guide
- Prepare your tools: You’ll need a sharp, clean knife or garden shears, a pot with well-draining potting mix, and a watering can.
- Gently separate: Carefully excavate the main plant, taking care not to damage the roots. Use your knife to carefully divide the plant along the roots. Each division should have its own roots and a healthy growth point.
- Repotting: Plant each division in a new pot, making sure the root system is well-spread. Water gently, allowing the soil to drain well.
3. Let’s Propagate with Leaf Cuttings:
- Choose your cutting: Select a healthy, fully grown leaf with a long petiole.
- Trim the petiole: Cut the petiole about 2 inches below the leaf.
- Prepare the cutting: Dip the cut end in rooting hormone for enhanced root development.
- Start in water: Place the cutting in a jar or glass filled with water, making sure the cut end is submerged. Change the water every few days.
- Patience is key: It can take several months for roots to develop. Once roots are established, you can plant the cutting in well-draining soil.
4. The Aftercare: Essential for Success
- Light and Humidity: Both methods require bright, indirect light and high humidity. You can achieve this by misting your plants regularly or using a humidifier.
- Soil and Watering: Use a well-draining potting mix to prevent waterlogging. Water when the top inch of soil is dry.
- Temperature: Alocasia scalprum thrive in warm temperatures, so avoid drafts and cold spots.
5. Be Patient and Celebrate!
Propagation can be a bit of a waiting game, but with patience and proper care, your new plants will eventually start growing new leaves. Once they mature, you can celebrate your success and share your newly propagated Alocasia scalprums with fellow plant lovers!
Bonus Tip: Be sure to check the health of the parent plant after propagation. Monitor for signs of stress, and water and fertilize as needed.
By following these simple steps, you’ll soon be enjoying a flourishing Alocasia scalprum family, adding a touch of tropical elegance to your home. Go forth and propagate!