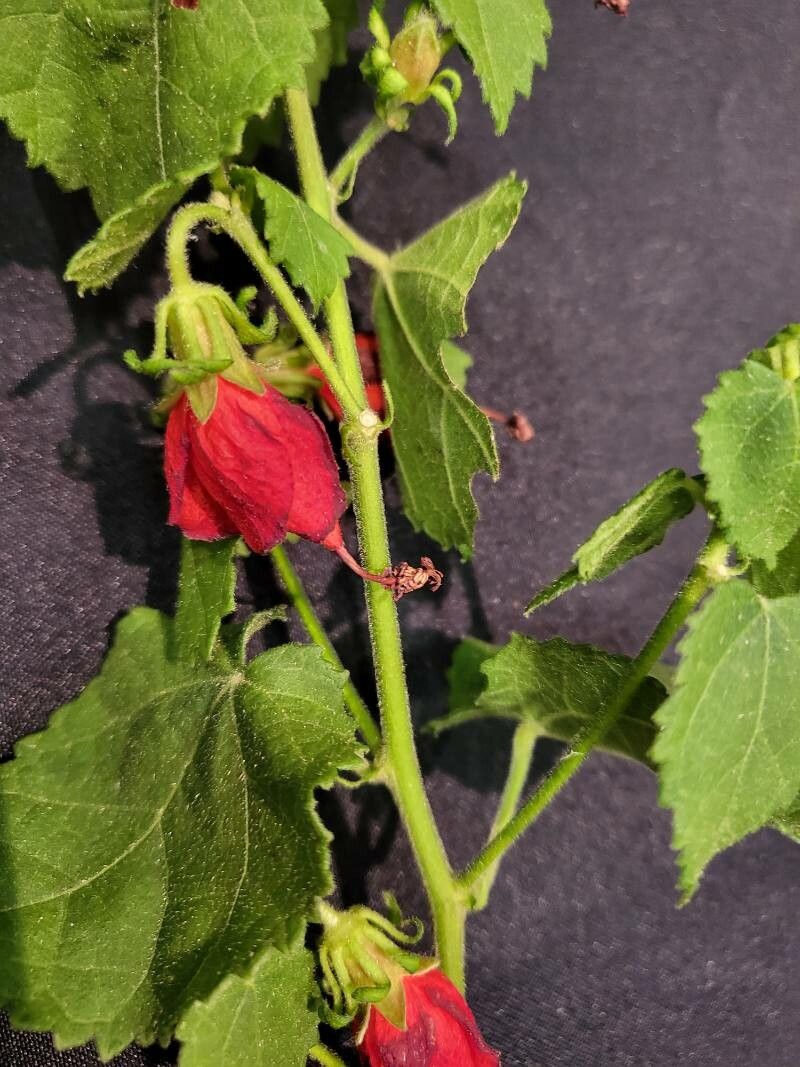
From Snipping to Blooming: Propagating Your Own Hibiscus poeppigii
Hibiscus poeppigii, with its stunning crimson blooms and lush foliage, is a joy to behold. But did you know you can easily grow more of this beauty from just a single cutting? This article will guide you through the fascinating world of Hibiscus poeppigii propagation, from simple snips to nurturing new life!
Why Propagate?
Besides the thrill of creating new plants from scratch, propagation allows you to:
- Expand your collection: Grow more hibiscus to fill your garden or share with friends.
- Preserve unique varieties: Maintain specific features of a favorite plant.
- Save money: Bypass the cost of buying new hibiscus.
The Magic of Cuttings:
Hibiscus poeppigii is readily propagated through stem cuttings. This method utilizes the plant’s natural ability to develop roots from stem segments.
Here’s a step-by-step guide:
Choose the Right Cutting: Select a healthy, non-flowering stem from your Hibiscus poeppigii. Aim for a section that is about 4-6 inches long with at least two leaf nodes (the points where leaves grow).
Prepare the Cutting: Using clean, sharp pruning shears or a knife, make a clean cut just below a leaf node. Remove the leaves from the bottom 1-2 inches of the cutting to prevent them from rotting.
Promote Rooting: Dip the cut end of the cutting into a rooting hormone powder or gel. This will encourage the development of roots.
Start the Cutting: Fill a pot with a well-draining potting mix. You can also use a propagation tray or even a glass of water. Insert the cut end of the cutting into the rooting medium, ensuring at least one leaf node is buried.
Maintain Moisture & Light: Keep the rooting medium consistently moist but not soggy. Place the pot in a bright location, but avoid direct sunlight. You can create a mini-greenhouse by covering the pot with a plastic bag or dome to increase humidity.
- Patience is Key: Rooted cuttings need a few weeks to a few months before they are ready to be transplanted. Check for signs of root development, such as new growth emerging from the nodes.
Bonus Tips:
- Timing is Everything: The best time to propagate hibiscus is during spring or early summer when the plant is actively growing.
- Misting: Regularly mist the cuttings with water to maintain humidity and prevent them from drying out.
- Temperature: Keep the cuttings in a warm environment with temperatures around 70-75 degrees Fahrenheit (21-24 degrees Celsius).
- Observe Carefully: Monitor the cutting for signs of mold, rot, or pests.
The Joy of New Growth:
Once roots have formed and the cutting shows signs of healthy growth, you can transplant it into a larger pot with fresh potting mix. Continue to nurture your new hibiscus and enjoy the satisfaction of growing your own beautiful plant!
Beyond Snipping:
While cuttings are the most popular method, Hibiscus poeppigii can also be propagated from seed. This process takes more time but offers the thrill of watching a plant grow from a tiny seed.
Propagating your own Hibiscus poeppigii is an exciting journey! With patience and proper care, you can create a flourishing collection of these vibrant plants, and share the joy of growing with friends and family. So, get ready to snip, nurture, and enjoy the beauty of Hibiscus poeppigii, one cutting at a time!