Let’s Grow Geraniums From Seed Together!
Want to fill your garden with beautiful geraniums without breaking the bank? Guess what? Growing geraniums from seed is totally doable, and I’m here to walk you through it! Get ready to be amazed by your own homegrown blooms!
What We’ll Explore:
-
Geraniums 101: What exactly are these beauties?
-
Seed-Growing Secrets: Is it tricky? (Spoiler: Not really!)
-
Seed-Starting Perks: Why bother starting from seed?
-
Let’s Get Planting: Step-by-step guide to germinating geranium seeds
-
Happy Seedlings: Expert tips for potting up your baby geraniums
-
Seed-Saving Magic: How to collect seeds from your very own plants
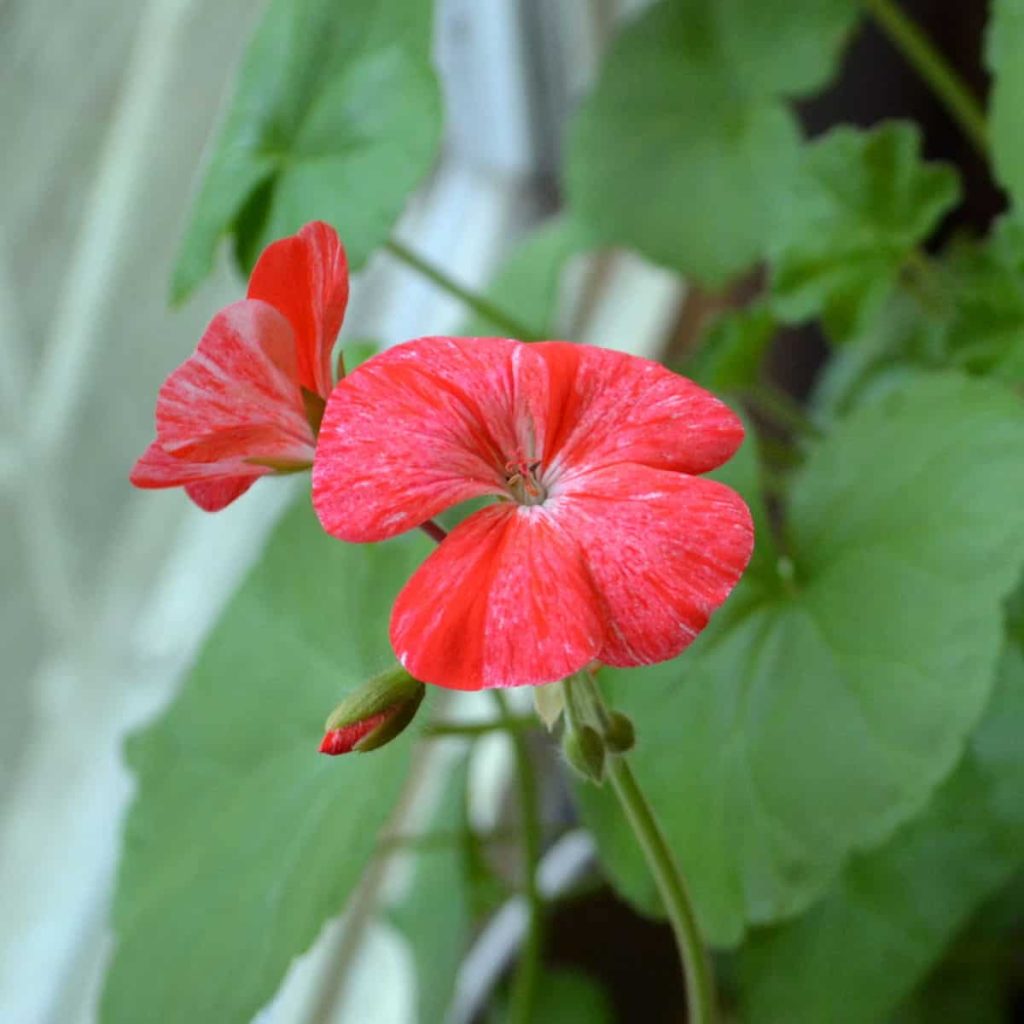
What Are Geraniums (and Pelargoniums Anyway)?
Okay, first things first! Geranium and pelargonium are often used interchangeably, and they are both types of flowers within the Pelargonium family.
True geraniums are perennial flowers, whereas pelargoniums can be either annuals or tender perennials (meaning they need protection from frost). Both originally came from Africa and now brighten up gardens all over the world.
Did you know that seed-grown geraniums (pelargoniums) are a little different from the kind you often see sold in garden centers?
Can I Really Grow Geraniums From Seed?
Absolutely! It just takes a little patience. Geraniums are known to be fairly slow growers. Ideally, you should start them earlier in the season to maximize your chances of seeing blooms this summer.
Alternatively, kickstart them later, nurture them through the winter, and be rewarded with vibrant displays next summer! Just remember that it takes roughly 13-16 weeks for your plants to develop flowers.
The Joys of Growing Geraniums From Seed
Why choose the seed route? Well, maybe you’re after a unique geranium variety or a particular color you can’t seem to find locally.
Or maybe, like me, you simply adore the process of starting from seed and watching your garden come to life!
Of course, if you prefer a quicker fix, you can always find nice-sized geraniums at most big box stores and nurseries.
Let’s Get Our Hands Dirty: Planting Geranium Seeds
Just as with any seed starting endeavour, your containers should be super clean and sterilized. You can start seeds in any container with good drainage and potting soil.
I love using seed-starting-flats or larger containers as opposed to individual 6 packs or cells.
This save room on my seed starting rack, though I have repurposed 6-pack containers too.
To avoid damping off, a fungal disease that can harm seedlings, sterile potting mix is your best bet. You can even pasteurize regular potting soil if you wish.
Fill your chosen container with 2-3 inches of potting mix. Then, gently sow your geranium flower seeds, spacing them about an inch apart.
No need to bury those seeds too deep! An inch or two of soil is perfect, since you’ll be moving them to larger pots later.
Geranium Seeds Love Light!
Lightly, and I mean lightly, sprinkle a tiny amount of potting mix on top of the seeds. Vermiculite will also work! Gently press everything into the soil to ensure good contact with the seed. Remember, geranium seeds need light to get started!
Now here’s a tip! Set your container in a tray of slightly warm water and let the soil soak it up. You can also spritz the top with water. Bottom watering will ensure you don’t mistakenly dislodge the seeds.
Next, cover your container with plastic wrap, a humidity dome, or a lid to retain moisture. If using salad containers you can make use of their lids.
Warmth is Key!
Place your containers in a warm spot with bright, indirect light. Aim for temperatures around 70 degrees Fahrenheit (or higher) during the day. Also, make sure it doesn’t dip below 60 at night.
Since early starts are recommended, consider using a heat mat and grow lights to give your seedlings a boost.
Don’t have a heat mat? No problem! Pop them on top of your refrigerator but make sure it is an older model that emits more heat. Watch for germination, which can happen anywhere from 1-4 weeks but this is sped up if you use a heat mat.
If you’re starting in winter, a sunny, south-facing window works, but grow lights are even better. Leave the lights on for 12-14 hours a day.
Spotting Your Baby Geraniums
Geranium sprouts, or seedlings, look just like miniature geranium plants. Aren’t they cute?
Once your seedlings develop their “true leaves” (the second set), start fertilizing them once a week with a diluted liquid fertilizer. Diluted means diluted – about 1/4 strength. If your potting soil already contains fertilizer, hold off for a month or so.
Potting Up Your Seedlings
Once your geranium seedlings have grown three sets of leaves, transplant them into 3-4 inch pots. I often wait until they’re several inches tall.
Some gardeners believe transplanting slows growth. Instead, they prefer to snip off the extra seedlings.
Geranium seeds can be pricey, though. In my view, cutting off the extras is a waste when you can easily transplant them!
After transplanting, some suggest you can start feeding them at full strength. However, I’ve had a few batches get burned, so I recommend sticking with a weaker solution for a little longer.
Or, try liquid worm casting tea! I’ve never had any issues with burning when I use it.
Saving Seeds for Next Year
I’ve had great success growing geraniums from seeds I bought online, but collecting them from your own plants is just as easy. Here’s what a geranium seed pod looks like:
Notice the dried-up bloom? While deadheading is key to keeping your geraniums blooming, you’ll want to leave a few blooms to dry up naturally on the plant if you’re planning to collect seeds. Once dry, they’ll form these spikes containing the seeds.
When the seed pod finally opens, it’ll look something like this:
Each pod contains lots of seeds! Gather the seeds, remove the white fluff (it pulls away easily), and store them in a cool, dry place until you’re ready to plant them. I typically use a paper envelope or store them in a small jar without a lid.
Hardening Off Your Geraniums
When the weather warms up and the threat of frost has passed, it’s time to get your plants ready for their big move outdoors. Zonal geraniums are sensitive to cold, so they’ve got to be protected!
Prepping your plants for outdoor life is crucial, as they’ve been pampered indoors. Outdoor conditions are more challenging, so plants need to toughen up.
Give it a good week, placing your geraniums in a sheltered spot, out of the wind and in partial shade. If the weather isn’t too hot, morning sun is great.
On the first day, only leave them out for a few hours, gradually increasing their exposure to outdoor conditions including the sun.
Over the course of the week, they should get tough enough to thrive in the garden… as long as it isn’t too hot!
Some of my favorite geraniums to grow from seed include Maverick Appleblossom, Maverick Red, Maverick Coral, and… well, the list goes on!
Until next time!
Happy gardening!