Propagating Acacia craspedocarpa: A Gardener’s Guide
Introduction
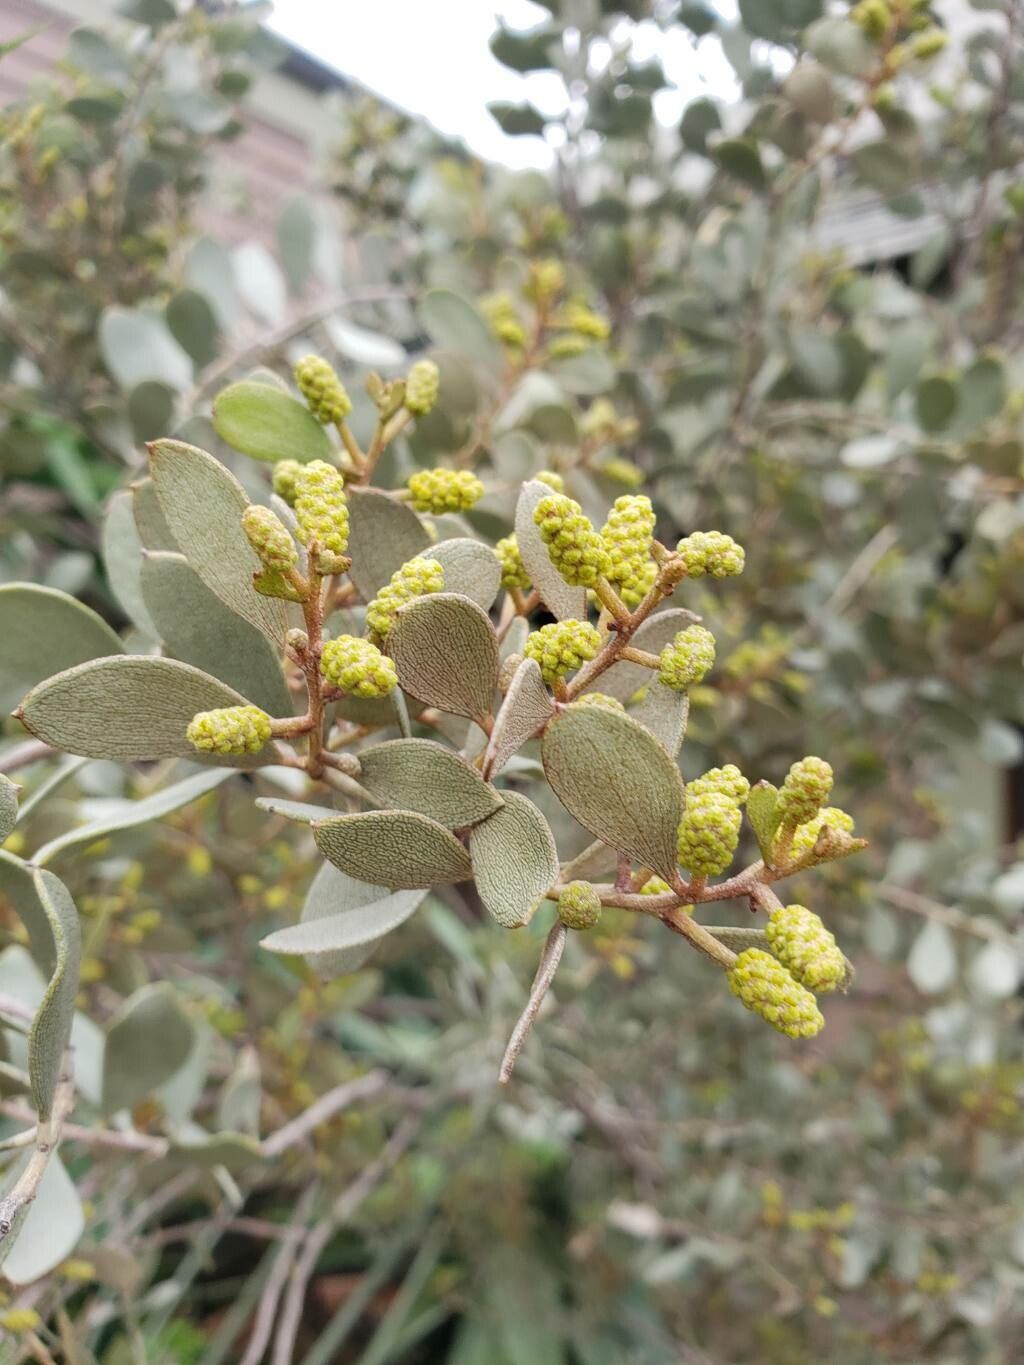
Acacia craspedocarpa, commonly known as the Narrow-leaved Wattle or (occasionally referred to as the "Coast Wattle," although that name is more commonly applied to other Acacia species) is a striking Australian native shrub or small tree prized for its elegant, weeping habit and fragrant, golden flowers. Its silvery-grey foliage provides textural contrast in gardens, and its relatively fast growth makes it a popular choice for landscaping and erosion control. However, its propagation presents unique challenges, making successful cultivation particularly rewarding. This article explores various methods for propagating Acacia craspedocarpa.
Seed Germination
Seed germination in Acacia craspedocarpa is a viable, albeit challenging, method. The hard seed coat often inhibits germination. The primary challenge is overcoming seed dormancy. This can be achieved through scarification (physically weakening the seed coat) and stratification (a period of cold, moist treatment).
Practical Tips:
- Scarification: Nick the seed coat with a file or sandpaper, being careful not to damage the embryo. Alternatively, soaking seeds in boiling water for a minute followed by immediate transfer to cold water can also aid germination.
- Stratification: After scarification, soak the seeds in water for 24 hours. Then, sow them in a well-draining seed-starting mix and place the container in a refrigerator for 4-6 weeks at temperatures between (2-5°C). This cold treatment mimics natural winter conditions.
- Sowing: After stratification, sow the seeds at a depth of about twice their diameter. Keep the mix consistently moist but not waterlogged. Germination should occur within 2-8 weeks, depending on conditions.
Rewards: Successfully germinating Acacia craspedocarpa from seed ensures genetic diversity within your propagated plants. This method also offers the potential for large-scale propagation, making it suitable for commercial applications as well as for the home gardener with larger projects.
Cuttings
Propagating Acacia craspedocarpa from cuttings is less reliable than seed germination. While some success may be achieved with semi-hardwood cuttings taken in late spring or early summer, the success rate is generally low. The main challenge is rooting hormone requirements and susceptibility to fungal infections.
Practical Tips:
Whilst some success has anecdotally been reported, consistent results using cuttings have not been reliably documented. If attempting cuttings, use rooting hormone and a well-draining propagation medium. Maintain high humidity and avoid overwatering, which will encourage fungal growth.
Rewards: If successful, cuttings will lead to genetically identical plants, maintaining desirable traits of the parent plant.
Division
Division is generally not a suitable method for propagating Acacia craspedocarpa. This species does not readily produce suckers or offsets that can be easily divided.
Tissue Culture
Tissue culture offers the potential for rapid and large-scale propagation of Acacia craspedocarpa, bypassing many of the challenges associated with seed germination and cuttings. However, it requires specialized equipment, expertise, and sterile conditions, making it unsuitable for the average home gardener.
Practical Tips: This is a highly technical process best left to specialist nurseries or research laboratories.
Rewards: Tissue culture offers high success rates and the possibility of producing many genetically identical plants quickly.
Conclusion
Propagating Acacia craspedocarpa presents a unique set of challenges across different methods. While seed germination offers the best chance of success for the home gardener, it requires patience and attention to detail. Cuttings offer a faster alternative but with a low success rate. Division and tissue culture are either impractical or require specialized skills and equipment. The rewards, however, are significant: the opportunity to cultivate this beautiful Australian native, potentially expanding your garden with genetically diverse (seeds) or uniformly desirable (cuttings if successful) plants. The satisfaction derived from witnessing the germination of a seed or the rooting of a cutting, after overcoming these challenges, is a testament to your dedication and horticultural prowess. Don’t be discouraged by initial setbacks; persistence and careful attention to detail will undoubtedly lead to success. Remember to always source your propagation material ethically and legally.