Spreading the Love: Easy Ways to Propagate Your Phlox Amoena
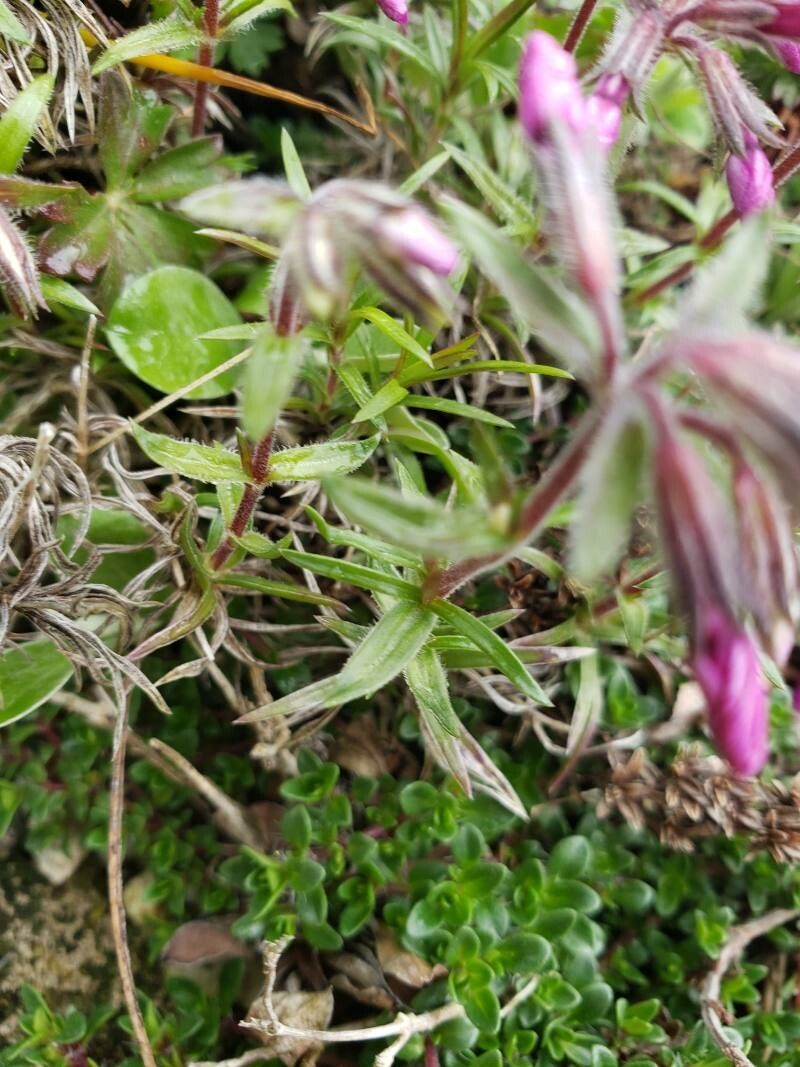
Phlox amoena, with its vibrant pink blooms and charmingly messy habit, is a delight in any garden. This hardy, low-growing phlox species is native to the southeastern United States and adds a touch of wild beauty to rock gardens, borders, and even containers. But did you know that sharing this beauty with friends and expanding your own patch of phlox is easier than you might think? Let’s dive into the world of Phlox amoena propagation!
Three Methods for Multiplying Your Blooms
Phlox amoena is surprisingly versatile when it comes to propagation. You have three main options, each with its level of difficulty and reward:
1. Division: The Most Popular Approach
Dividing established Phlox amoena plants is the most common and arguably the simplest method. Here’s how it’s done:
- Timing is Key: Early spring or fall, when the plant is dormant or just beginning to emerge, is ideal for division.
- Digging Deep: Gently unearth the entire plant, ensuring you get as much of the root system as possible.
- Divide and Conquer: Using a sharp, clean knife or garden spade, carefully separate the clump into smaller sections. Each section should have a healthy portion of roots and at least 2-3 shoots.
- Replanting Time: Replant the divisions at the same depth they were growing originally, spacing them about 12 inches apart. Water thoroughly.
2. Stem Cuttings: A Summertime Activity:
Taking stem cuttings is another highly successful way to propagate Phlox amoena, especially during the summer months. Follow these simple steps:
- Selecting the Right Cuttings: Look for healthy, non-flowering stems. Using clean, sharp pruning shears, take cuttings that are about 4-6 inches long. Remove the bottom leaves, leaving only 2-3 pairs at the top.
- Hormone Help (Optional): Dipping the cut end in rooting hormone powder can encourage faster and more successful rooting, but it’s not strictly necessary.
- Planting the Cuttings: Fill small pots with a well-draining seed starting mix. Make a hole in the center with a pencil and insert the cutting, burying the bottom node.
- Creating a Humid Environment: Place the pots in a tray filled with water, ensuring the bottom of the pot is in contact with water. Cover the tray and pots with a clear plastic dome or bag to create a humid environment.
- Rooting Time: Keep the cuttings in a bright location out of direct sunlight. The cuttings should develop roots in 3-4 weeks. Once roots are established, you can transplant them to larger pots or directly into the garden.
3. Growing from Seed: For the Patient Gardener
While perfectly doable, propagating Phlox amoena from seed is less common because it takes longer to produce mature, flowering plants. However, if you enjoy the journey of starting plants from scratch, here’s how:
- Seed Collection: Allow some flowers to go to seed. Collect the small, black seeds once the seed heads have dried and turned brown.
- Sowing the Seeds: You can sow seeds indoors 6-8 weeks before the last frost or directly into the garden after the last frost.
- Light is Essential: Phlox amoena seeds need light to germinate, so be sure to press them gently onto the soil surface, don’t bury them.
- Germination Time: Germination typically takes 2-3 weeks. Once seedlings have developed several sets of true leaves, you can transplant them to larger containers or into the garden.
Phlox Amoena: A Rewarding Plant for Propagation
Whether you choose to divide, take cuttings, or start from seed, Phlox amoena is a rewarding plant to propagate. With a little time and effort, you’ll soon have a garden brimming with these vibrant and charming flowers. And the best part? You’ll have plenty to share with fellow gardening enthusiasts!