Unlocking the Secrets of Adenocarpus anagyrifolius Propagation
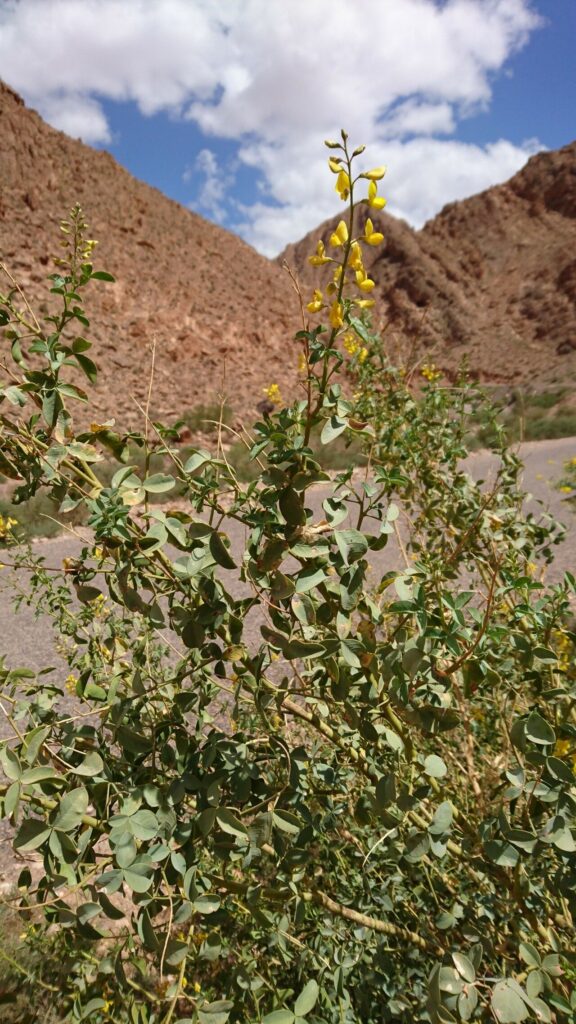
Adenocarpus anagyrifolius, also known as the Canary Island Broom, is a beautiful shrub native to the Canary Islands. With its vibrant yellow flowers and lush green foliage, it’s no wonder gardeners are drawn to its unique charm. However, successfully propagating this Mediterranean beauty can seem a tad daunting. But fear not! This guide will equip you with the knowledge to multiply your Adenocarpus anagyrifolius and spread its sunny disposition throughout your garden.
Two Paths to Propagation:
Adenocarpus anagyrifolius can be propagated through two main methods: seed propagation and cuttings. Each technique comes with its own set of advantages and challenges, so understanding both is key to maximizing your success rate.
1. Seed Propagation: A Journey of Patience and Reward
- Gathering the Goods: Look for seed pods on mature plants during the fall. Allow the pods to dry fully on the plant before collecting them.
- Pre-treating for Success: Adenocarpus anagyrifolius seeds benefit from a process called scarification. Gently rub the seed coat with sandpaper or a nail file to create a small opening, enabling water to penetrate and trigger germination.
- Sowing the Seeds: Plant the scarified seeds in a well-draining seed starting mix, covering them lightly with soil. Keep the mix consistently moist but not waterlogged.
- Creating a Conducive Environment: Place the seedling tray in a warm, bright location away from direct sunlight. A sunny windowsill or a controlled environment with a heat mat and grow lights works wonders.
- The Waiting Game: Germination can take several weeks to a few months, so patience is key. Once the seedlings emerge and develop a few sets of true leaves, they can be transplanted into individual pots.
2. Cutting Propagation: A Faster Track to New Plants
- Timing is Everything: The ideal time for taking cuttings is in late spring or early summer, when the plant is actively growing.
- Selecting the Perfect Candidate: Look for healthy, non-flowering shoots about 4-6 inches long. Cut just below a leaf node using a sharp, sterilized knife or pruning shears.
- Prepping the Cutting: Remove the lower leaves from the cutting, leaving only a few at the top. Dip the cut end in rooting hormone powder to encourage root development.
- Planting the Cutting: Plant the treated cutting in a pot filled with a well-draining rooting mix. Moisten the mix around the cutting.
- Encouraging Root Development: Cover the pot with a clear plastic bag or humidity dome to create a greenhouse-like environment. Place the pot in a warm, bright location away from direct sunlight.
- Transplanting Time: After several weeks, roots should start to develop. Gently tug on the cutting to check for resistance, indicating successful rooting. Once rooted, transplant the cutting into a larger pot or directly into the garden.
Tips for Success:
- Well-Draining Soil: Adenocarpus anagyrifolius thrives in well-drained soil. Amend heavy clay soil with perlite or sand to improve drainage.
- Sunshine is Key: Provide the plant with at least 6 hours of direct sunlight daily for optimal growth and flowering.
- Water Wisely: While the plant prefers moist soil, avoid overwatering, which can lead to root rot. Allow the soil to dry slightly between waterings.
Propagating Adenocarpus anagyrifolius might seem like a delicate dance at first, but with the right knowledge and a sprinkle of patience, you’ll soon be adorned with an abundance of these Canary Island beauties. Happy propagating!