Taming the Chilean Flame: A Guide to Propagating Adesmia retusa
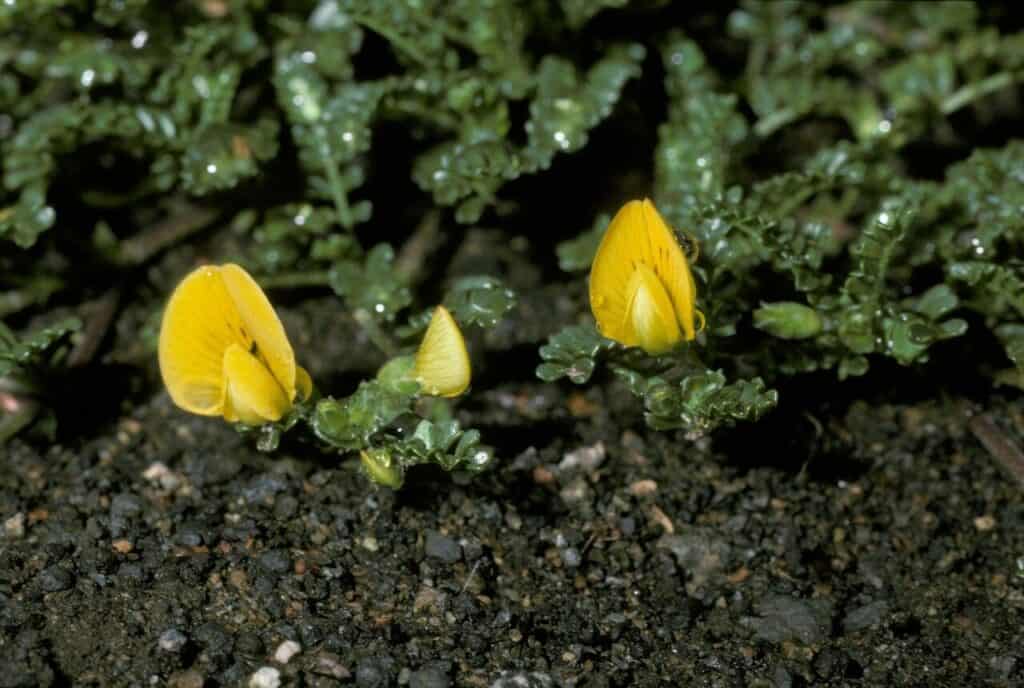
The Adesmia retusa, affectionately known as the Chilean Flame, captivates with its fiery orange blooms that boldly stand out against the delicate, fern-like foliage. Native to the Chilean Andes, this semi-evergreen shrub brings a touch of exotic beauty to gardens worldwide. Intrigued? While not commonly found in nurseries, propagating your own Chilean Flame is a rewarding challenge well within reach.
This guide explores two primary methods of bringing new Adesmia retusa plants to life:
Method 1: Seed Propagation – A Test of Patience
Propagating from seed allows you to witness the entire life cycle of your Chilean Flame, but it requires dedication and a touch of luck.
Here’s what you’ll need:
- Fresh Adesmia retusa Seeds: Sourcing seeds can be tricky. Online marketplaces specializing in exotic plants are your best bet.
- Seed Starting Mix: Choose a well-draining mix specific for starting seeds.
- Small Pots or Seed Trays: Ensure good drainage.
- Water Spray Bottle: A gentle mist is key for delicate seedlings.
- Plastic Wrap or a Humidity Dome: Helps retain moisture and encourage germination.
- Grow Lights or Sunny Location: Provide at least 6 hours of bright, indirect light.
Step-by-Step Guide:
- Scarification (Optional): To improve germination rates, gently rub the seeds with fine sandpaper. This mimics natural weathering processes.
- Sowing: Sprinkle seeds over the surface of the moistened seed starting mix. Do not bury them; these seeds need light to germinate.
- Moisture: Mist the soil surface thoroughly.
- Warmth & Humidity: Cover the pots with plastic wrap or a humidity dome and place them in a warm, well-lit location (around 70-75°F).
- Patience: Germination can be erratic and may take several weeks or even months. Keep the soil consistently moist but not waterlogged.
- Transplanting: Once seedlings develop a few sets of true leaves, carefully transplant them into individual pots.
Method 2: Cuttings – A Faster Route to Success
Taking cuttings offers quicker results but demands precision and attention to detail.
What You’ll Need:
- Sharp, Sterilized Pruning Shears or Scissors: Prevents the spread of disease.
- Healthy Parent Plant: Choose non-flowering stems showing vigorous growth.
- Rooting Hormone (Optional): Speeds up root development.
- Well-draining Potting Mix: Similar to seed starting mix.
- Small Pots: 2-3 inches in diameter are ideal.
Step-by-Step Guide:
- Take Cuttings: In the morning, cut 4-6 inch segments from the tips of healthy stems. Make clean cuts just below a leaf node.
- Prepare Cuttings: Remove lower leaves, leaving 2-3 pairs at the top. Dip the cut end in rooting hormone (optional).
- Planting: Make small holes in the potting mix and gently insert the cuttings, burying at least one leaf node.
- Moisture & Humidity: Water thoroughly and enclose the pots in a plastic bag or humidity dome.
- Light & Warmth: Place in a bright location out of direct sunlight. Maintain a temperature of 70-75°F.
- Rooting: New growth indicates successful rooting (usually within 4-6 weeks). Harden off the cuttings by gradually acclimating them to outdoor conditions.
A Few Final Tips
- Patience is key: Propagation, especially from seed, requires patience and persistence.
- Provide optimal conditions: Mimic the natural environment of Adesmia retusa with well-draining soil, bright light, and moderate humidity.
- Enjoy the journey: Whether from seed or cutting, the process of bringing a Chilean Flame to life is a rewarding experience for any plant enthusiast.
So, are you ready to embrace the challenge? With a little care and these handy tips, you’ll be on your way to enjoying the fiery beauty of the Chilean Flame in your own garden.