From One to Many: The Easy Peasy Propagation of Adiantum Pectinatum
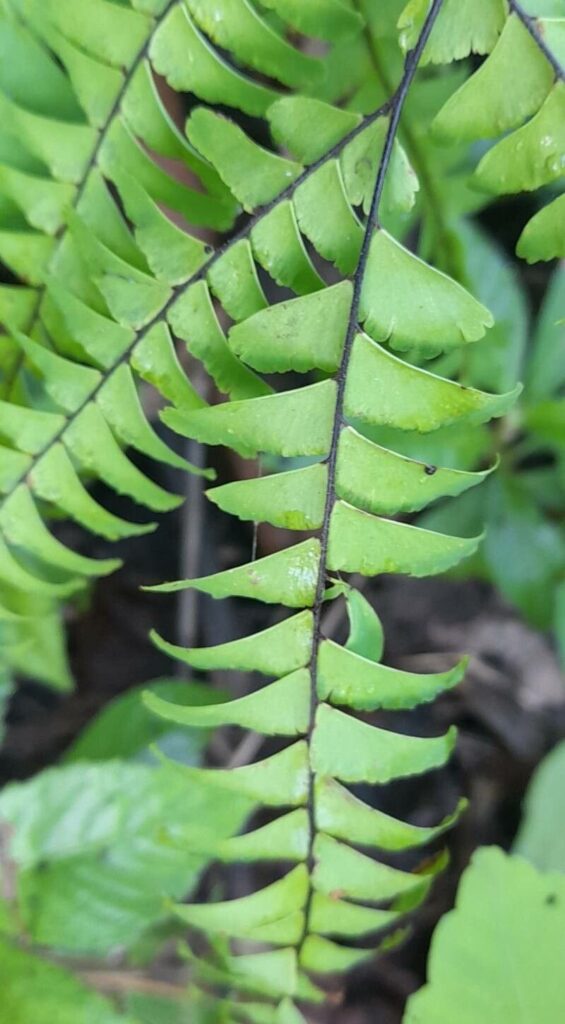
Want to fill your home with the delicate charm of Adiantum pectinatum, commonly known as the “Fine-leaved Maidenhair Fern”? This gorgeous plant, with its lacy, almost ethereal foliage, can easily be propagated from cuttings. It’s a rewarding and surprisingly simple process, even for novice plant parents!
Why Propagate?
Propagating Adiantum pectinatum is not just about expanding your plant collection. It’s also a fantastic way to:
- Save money: Instead of buying new plants, you can create fresh starts for free.
- Preserve your cherished ferns: If your plant is looking a little leggy or sparse, taking cuttings can encourage bushier growth.
- Share the beauty: Propagating gives you the chance to share this stunning fern with friends and family.
The Secret Weapon: Spore Propagation
While cuttings are a common method, Adiantum pectinatum can also be propagated through spores, though it’s a slightly lengthier process. If you’re feeling adventurous, this method can be exciting, offering a glimpse into the fern’s fascinating life cycle.
Let’s Dive into the Details!
Here’s a step-by-step guide to propagating Adiantum pectinatum using cuttings:
1. Gather Your Supplies:
- Sharp, clean scissors or knife: For making precise cuts.
- Small pot or seedling tray: To house your newly rooted cuttings.
- Potting mix: Use a well-draining, peat-based mix.
- Water: For keeping the potting mix moist.
- Optional: rooting hormone: To enhance root development.
2. Select Healthy Cuttings:
Choose a healthy, vibrant Adiantum pectinatum with plenty of fronds. Locate a frond with a couple of inches of stem connected to the main plant.
3. Take the Cutting:
Using your clean tools, make a clean cut just below a node (the point where the frond emerges from the stem). Be careful not to crush the delicate stem.
4. Prepare the Potting Mix:
Dampen the potting mix thoroughly, ensuring it’s evenly moist without being soggy. Fill your chosen pot or tray with the mix, pressing it down gently to create a firm base.
5. Plant the Cuttings:
Make a small hole in the potting mix, about an inch deep. Gently insert the cutting, ensuring the cut end is buried fully.
6. Water and Cover:
Lightly water the potting mix, ensuring the base of the cutting is sufficiently moist.
- Tip: If you’re using a tray, you can create a mini-greenhouse effect by covering it with a plastic dome or wrap.
- Optional: For faster rooting, dip the cut end of the cutting in rooting hormone before planting.
7. Patience is Key:
Place your pot in a bright, indirect light location. Avoid direct sunlight, which can scorch the delicate fronds. Keep the potting mix consistently moist, but not waterlogged.
8. Time for Growth:
Adiantum pectinatum cuttings typically root within a few weeks to a month. You’ll start noticing new growth and a vibrant green hue on the cutting. Once the new plant is established, you can repot it into a larger pot.
9. Spore Propagation (For the Adventurous):
The under-surfaces of the mature fronds will be covered with tiny brown dots called sporangia, which contain spores. These spores can be collected, sown in a seed tray, and kept moist until they germinate. This process can take up to a year for new fronds to emerge.
Final Thoughts:
Propagating Adiantum pectinatum allows you to share the beauty of this remarkable plant while enriching your own home with its lush, vibrant growth. With a few simple steps and a little patience, you can easily create new, healthy ferns, adding a touch of nature’s elegance to any space.