
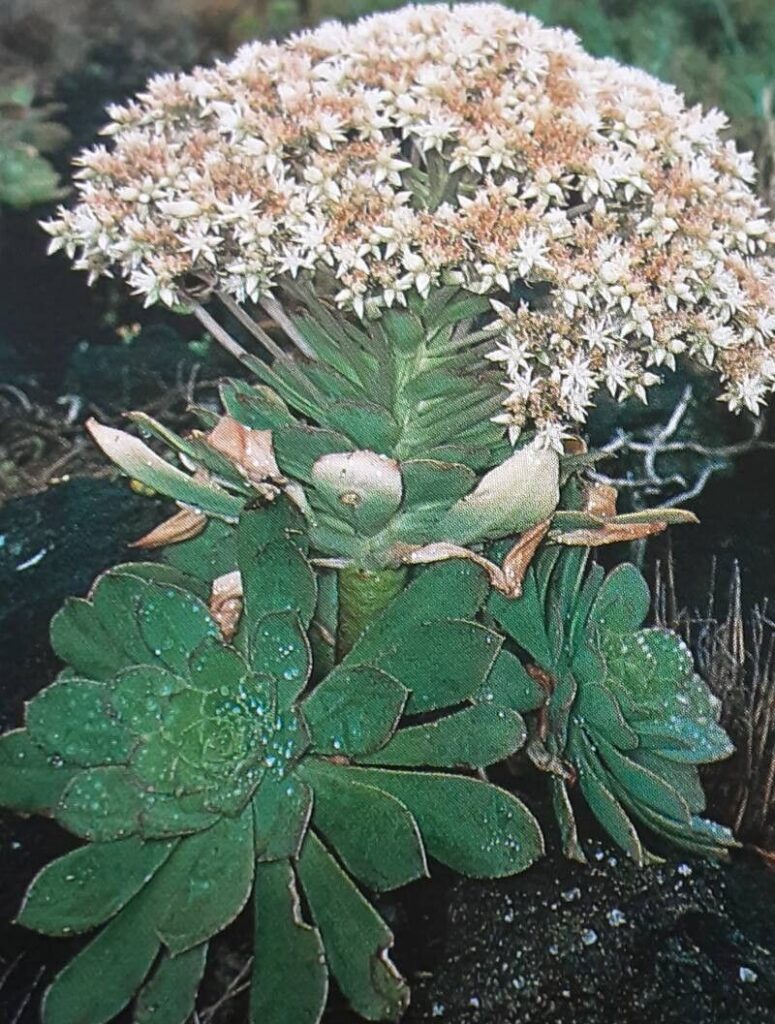
Multiply Your Marvel: Mastering Aeonium davidbramwellii Propagation
Aeonium davidbramwellii, with its mesmerizing rosettes of fleshy green leaves delicately tipped in pink, is a showstopper succulent that deserves a prime spot in any succulent collection. Fortunately, this stunning plant, native to the Canary Islands, is also incredibly easy to propagate, allowing you to create a mini succulent empire right at home.
Understanding the Basics
Before diving into the methods, let’s demystify plant propagation. In essence, it’s the art of creating new plants from existing ones. For Aeonium davidbramwellii, this can be achieved through two main methods: leaf cuttings and stem cuttings.
Method 1: Leaf Cuttings – From Single Leaf to Stunning Rosette
Don’t be fooled by the simplicity of this method – it’s remarkably effective! Here’s how to propagate your Aeonium using leaf cuttings:
-
Choosing the right leaf: Opt for healthy, plump leaves from a mature plant. Ideally, select leaves closer to the base of the rosette.
-
Gently twist and pull: Don’t use scissors! Carefully twist the leaf until it detaches from the stem with a clean break.
-
Let them rest: Allow the leaves to callous over for a few days in a cool, dry location, out of direct sunlight. This prevents rotting when planted.
-
Prepare the planting medium: Use a well-draining soil mix specifically designed for succulents or cacti.
-
Shallow planting: Place the calloused leaf on top of the soil, slightly pressing the broken end into the medium.
- Indirect light and patience: Position your planted leaves in a bright location with indirect sunlight. Water sparingly, only when the soil is completely dry. Be patient, as it may take several weeks for roots and baby rosettes to form.
Method 2: Stem Cuttings – A Faster Route to New Plants
Stem cuttings allow for quicker propagation, producing a full-fledged rosette in a shorter timeframe:
-
Identify a healthy stem: Choose a stem with at least two or three leaf nodes.
-
Make a clean cut: Using sharp, sterilized scissors or pruning shears, cut the stem just below a leaf node.
-
Callous over: Similar to leaf cuttings, allow the cut stem to callous in a cool, dry place for about a week.
-
Planting time: Once calloused, plant the stem cutting in well-draining soil, burying the bottom node.
- Light, water, and repeat: Place the pot in bright, indirect light. Water sparingly, allowing the soil to dry out completely between waterings.
A Few Tips for Success:
-
Timing is key: For optimal results, propagate your Aeonium davidbramwellii during its active growing period, typically spring or early summer.
-
Don’t overwater: These succulents are highly susceptible to root rot. When in doubt, err on the side of under-watering.
- Be patient: Propagation takes time. Don’t be discouraged if you don’t see results immediately.
By mastering these simple techniques, you can multiply your Aeonium davidbramwellii, sharing its unique beauty with fellow plant enthusiasts or simply creating a stunning succulent sanctuary within your own home.