Bringing Home the Orchid Magic: Propagating Your Aerangis gravenreuthii
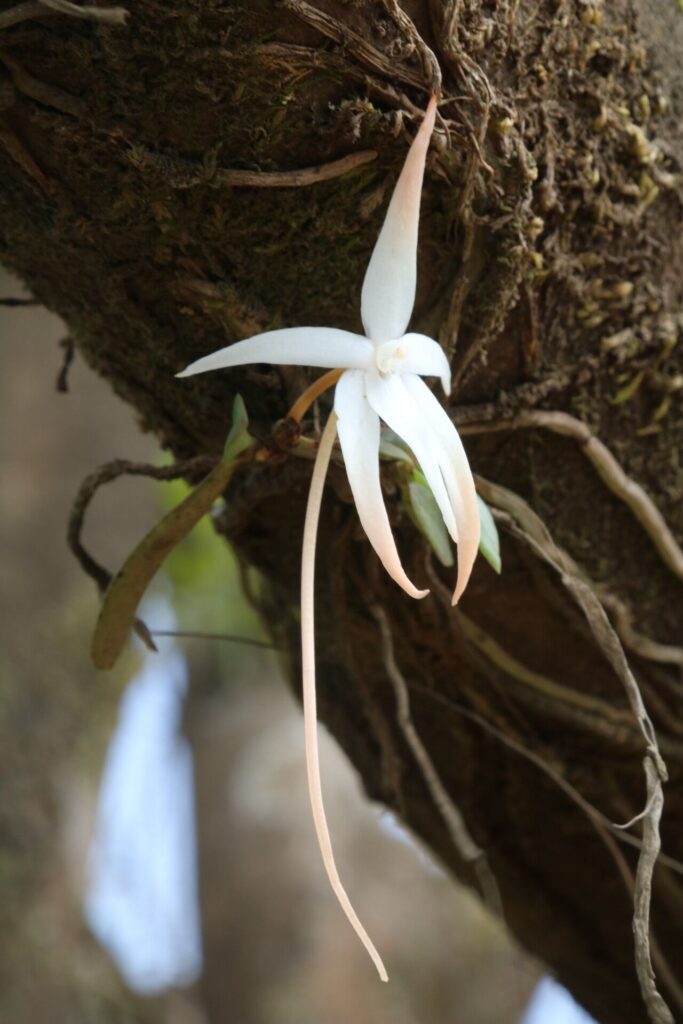
The Aerangis gravenreuthii, with its delicate white flowers and captivating fragrance, is a true gem among orchid enthusiasts. But what if you could share this beauty with others? Or, perhaps you’re yearning to expand your own collection without breaking the bank. Fear not! This captivating orchid isn’t as difficult to propagate as you might think.
A Touch of Nature’s Magic: Understanding Propagation
Propagation, simply put, is the process of creating new plants from existing ones. For orchids, like the Aerangis gravenreuthii, this magic unfolds through two primary methods: seed propagation and vegetative propagation.
Seed Propagation: A Journey of Patience
Seed propagation, while fascinating, is a long and intricate process. Orchid seeds are exceptionally tiny and lack the typical food reserves found in other seeds. They require a sterile environment and specific symbiotic fungi for germination. While this method offers the chance to create a diverse genetic pool, it’s best reserved for experienced orchid growers and research purposes.
Vegetative Propagation: A Faster and More Accessible Path
For the average orchid enthusiast, vegetative propagation offers a more accessible and efficient route. This method relies on the natural ability of the orchid to develop new growth points from existing parts of the plant. For Aerangis gravenreuthii, keiki propagation is the most effective method.
Keikis: Tiny Orchids with Big Dreams
Keikis (pronounced “kay-kee”) are miniature versions of the parent plant, arising from the stems or even the flower spikes. These tiny orchids develop their own roots and leaves, making them ideal for propagation.
Bringing Your Keiki Home: Steps to Successful Propagation
- Identify a healthy keiki: Look for a keiki with a robust root system and at least two healthy leaves.
- Prepare your materials: You’ll need a sharp, sterilized knife, a pot or basket filled with appropriate orchid potting mix, and sphagnum moss.
- Carefully detach the keiki: Gently separate the keiki from the mother plant using your sterilized knife. Ensure the root system is intact.
- Place your keiki in its new home: Create a small planting hole in your chosen growing medium, carefully placing the keiki’s roots inside. Surround the roots with sphagnum moss to help retain moisture.
- Maintain a humid environment: Maintain high humidity around the young keiki, either by using a humidity dome or misting regularly.
- Give it plenty of light: Place the new plant in bright, indirect light, avoiding harsh direct sunlight.
- Water regularly: Keep the potting mix moist, but not soggy. Allow the mix to dry slightly between waterings.
- Patience, my friend! Allow the keiki time to establish itself, which can take several weeks or even months.
Tips for Success
- Sterilization is key: Always sterilize your tools to prevent infections.
- Patience is a virtue: Be patient and don’t rush the process. Give your new plant time to adjust and thrive.
- Observing your keiki: Keep a close eye on your keiki for signs of new growth, such as new leaves or roots.
Sharing the Beauty: An Orchid’s Legacy
Successfully propagating your Aerangis gravenreuthii is a rewarding experience. You not only get to enjoy more of its delicate beauty but also create a lasting legacy by sharing this captivating orchid with others. So, embrace the process, and let the magic of propagation unfold before your eyes!