From One to Many: Mastering the Art of Aeschynanthus Pulcher Propagation
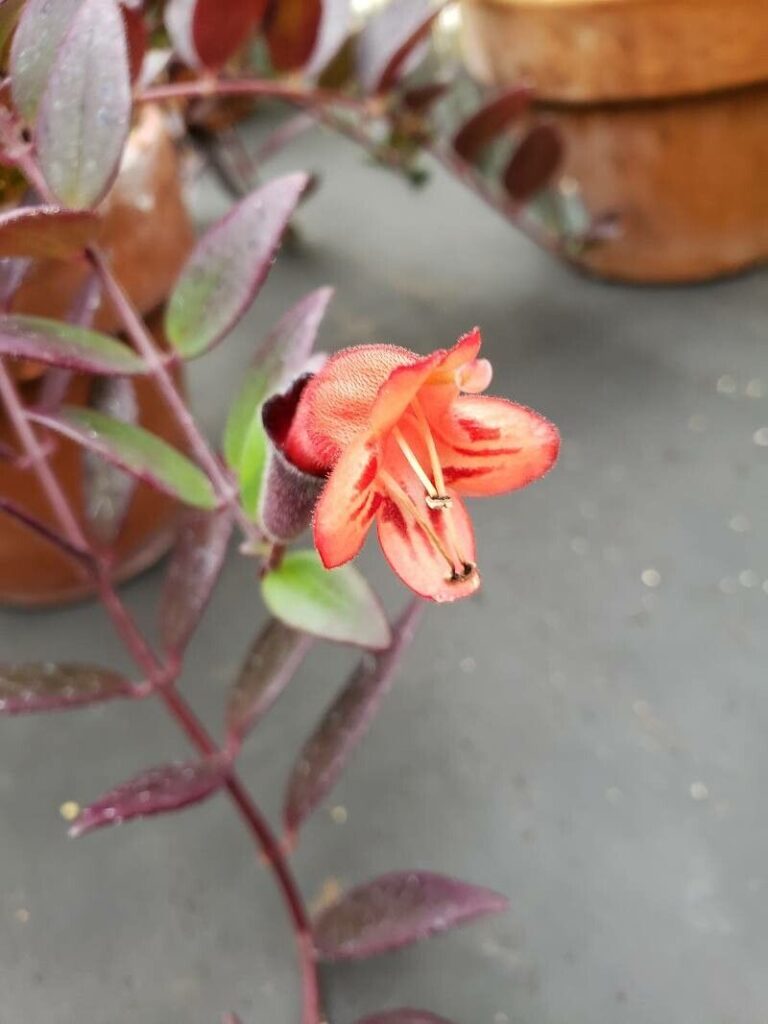
The Aeschynanthus pulcher, also known as the Lipstick Plant, is a stunner. With its vibrant, lipstick-red blooms and glossy, deep green foliage, the Aeschynanthus is a popular choice for indoor gardeners. But did you know you can easily propagate these beauties and grow more plants from just one? Propagating your Aeschynanthus pulcher is a rewarding experience that allows you to expand your jungle-inspired collection and share the joy of this remarkable plant with friends.
The magic of propagation: Propagation is the process of creating new plants from existing ones. It’s like cloning a plant, allowing you to multiply your favorite specimens without purchasing new ones from a nursery. This method offers several benefits, including:
- Cost-effective: Propagation is a wallet-friendly way to expand your plant collection.
- Genetic replication: Ensuring you obtain the same beautiful plant that sparked your initial interest.
- Sense of accomplishment: There’s immense satisfaction in successfully growing a new plant from scratch.
Three Effective Methods for Propagating Your Lipstick Plant:
-
Stem Cuttings: This is the most common and accessible method.
- Step 1: Preparation: Choose healthy, non-flowering stems with at least two sets of leaves. Cut them just below a leaf node using sharp, clean scissors or a knife.
- Step 2: Removal: Carefully remove the bottom leaves to avoid rotting.
- Step 3: Rooting: Place your cuttings in water with a rooting hormone or directly into a well-draining potting mix, like a blend of peat moss and perlite. Ensure the potting mix is moist but not soggy.
- Step 4: Environment: Cover the cuttings with a plastic bag or dome to create a humid environment, similar to their tropical origins. Place the cuttings in a warm, bright location, but out of direct sunlight.
- Step 5: Patience: Be patient! Rooting can take a few weeks to a couple of months, so don’t lose hope. Check the potting mix for dryness and water as needed. Once the cuttings show new growth, you know they have formed roots and are ready for individual pots.
-
Air Layering: This technique involves encouraging roots to form on a stem while it’s still attached to the mother plant.
- Step 1: Selection: Choose a stem at least 6 inches long with multiple leaf nodes.
- Step 2: Incision: Make a shallow cut, about 1 inch long, on the stem’s underside.
- Step 3: Moisture: Insert a small piece of damp sphagnum moss into the incision and wrap it with plastic wrap, ensuring the moss stays moist.
- Step 4: Roots: After a few weeks, roots should form in the moss.
- Step 5: Separation: When the roots are a couple of inches long, cut the stem below the roots and plant it in a pot filled with a suitable potting mix.
- Leaf Cuttings (Less Common): It’s possible to propagate Aeschynanthus pulcher from leaf cuttings, but it has a lower success rate.
- Step 1: Cutting: Select a healthy leaf with a stem attached.
- Step 2: Moisture: Place the leaf cutting in a rooting medium containing a rooting hormone. Maintain consistent moisture.
- Step 3: Growth: With patience and optimal conditions, a new plant may sprout from the leaf cutting.
Tips for Successful Propagation:
- Choose a healthy mother plant: Healthy stems are more likely to produce healthy cuttings.
- Use clean tools: Disinfect your tools to prevent fungal infections.
- Provide adequate humidity: During propagation, high humidity increases the chances of success.
- Maintain moisture: Keep the rooting medium moist but not soggy.
- Be patient: It takes time for new roots to develop.
Enjoy the Fruits of Your Labor!
Propagating your Aeschynanthus pulcher is a rewarding endeavor. Soon, you’ll have a collection of these beautiful plants to admire and share. As you watch your new plants flourish, you’ll have the joy of knowing you’ve created life from a tiny cutting. Happy propagating!