Taming the Wild Windsheld: Propagating Drooping Sheoak (Allocasuarina verticillata)
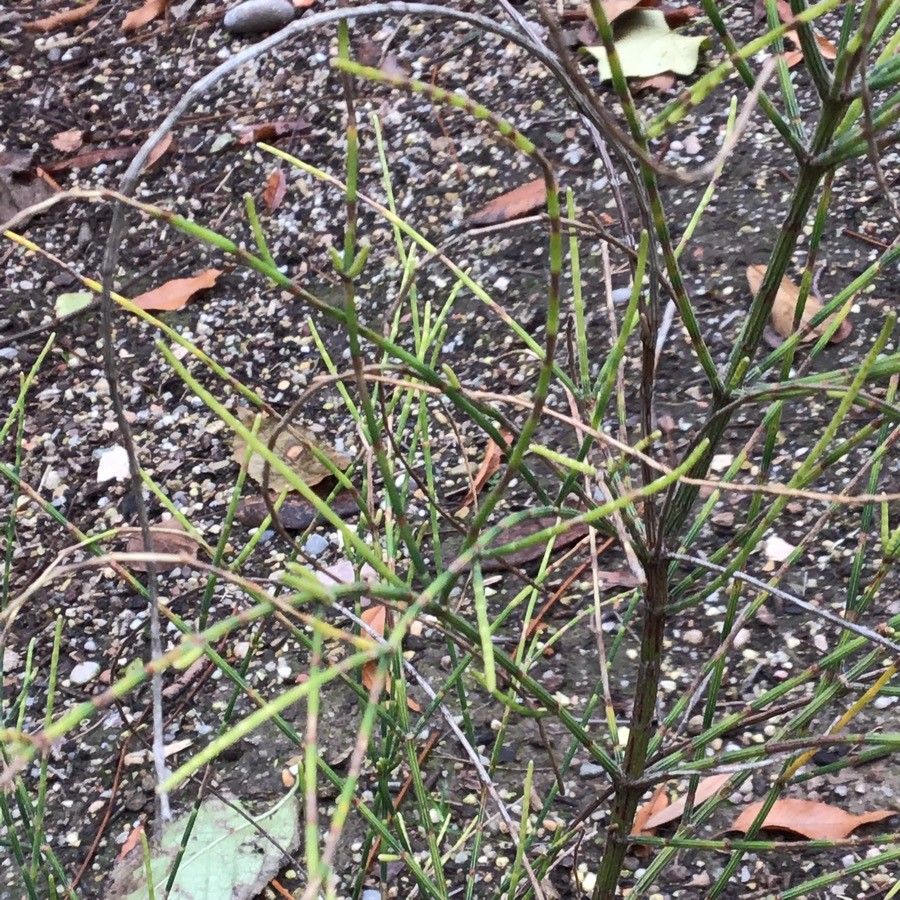
The Drooping Sheoak (Allocasuarina verticillata), with its elegant, drooping branchlets and unique texture, adds a touch of wild beauty to any landscape. This hardy Australian native, formerly known as Casuarina verticillata, is not only stunning to look at, but also adaptable and beneficial for the environment. If you’re looking to invite this resilient species into your garden, you might be surprised to learn that propagating Drooping Sheoak isn’t as daunting as you might think!
Understanding the Basics
Before we dive into the “how-to,” let’s clear up a common misconception. Those delicate, cone-like structures on the Sheoak aren’t actually flowers, but woody fruits containing the plant’s seeds. These seeds are surprisingly viable and form the basis of the most common propagation method.
Seed Propagation: A Step-by-Step Guide
-
Seed Collection: The best time to collect Drooping Sheoak seeds is autumn when the cones are mature and turning brown. Gently break open the cones to reveal the tiny, winged seeds within.
-
Seed Preparation (Optional): Soaking the seeds in warm water for 24 hours can help soften the outer coating and encourage faster germination.
-
Sowing the Seeds: Choose a well-draining potting mix, preferably one designed for native Australian plants. Sprinkle the seeds on the surface and lightly cover them with a thin layer of the mix.
-
Watering and Light: Keep the soil consistently moist but not waterlogged. Place the pot in a bright location, out of direct sunlight.
- Patience is Key: Germination can take anywhere from a few weeks to several months. Don’t be disheartened if you don’t see results immediately.
Beyond Seeds: Exploring Cuttings
While seed propagation is the most common method, Drooping Sheoak can also be propagated from cuttings. This technique is a bit trickier and requires more attention to detail. Here’s how it works:
-
Taking Cuttings: During the cooler months, take semi-hardwood cuttings about 10-15 cm long from healthy, actively growing tips.
-
Hormone Treatment: Dip the cut end of the cutting in a rooting hormone powder to encourage root development.
-
Planting the Cutting: Plant the cutting in a pot filled with a well-draining, sandy mix. Make sure at least one node is buried below the soil.
-
Creating a Humid Environment: To improve the chances of success, cover the pot with a clear plastic bag or place it in a propagator to maintain humidity.
- Monitoring and Care: Keep the soil lightly moist and provide bright, indirect light. It may take several weeks for roots to form.
Tips for Success
- Well-Draining Soil: Drooping Sheoak hates soggy roots!
- Patience is a Virtue: Let nature take its course and don’t get discouraged if you don’t see immediate results.
- Mimic Nature: Think about the conditions where Drooping Sheoak thrives in the wild and try to replicate them as much as possible.
Propagating Drooping Sheoak might require a bit of patience, but the rewards are immense. By nurturing this beautiful and resilient species, you’re not only adding visual interest to your garden but also contributing to a healthier ecosystem. So, why not give it a try? You might be surprised by your green thumb!