Unlock the Secrets of Galangal: Your Guide to Successful Propagation
Galangal, that aromatic rhizome gracing many Southeast Asian dishes, isn’t just a culinary delight—it’s surprisingly easy to grow at home! Forget scouring grocery store shelves for this flavorful ingredient; with a little know-how, you can have a thriving supply right in your backyard (or sunny windowsill). Let’s delve into the world of galangal propagation, unlocking the secrets to multiplying your stock and expanding your culinary horizons.
The What and the How: Understanding Galangal Propagation
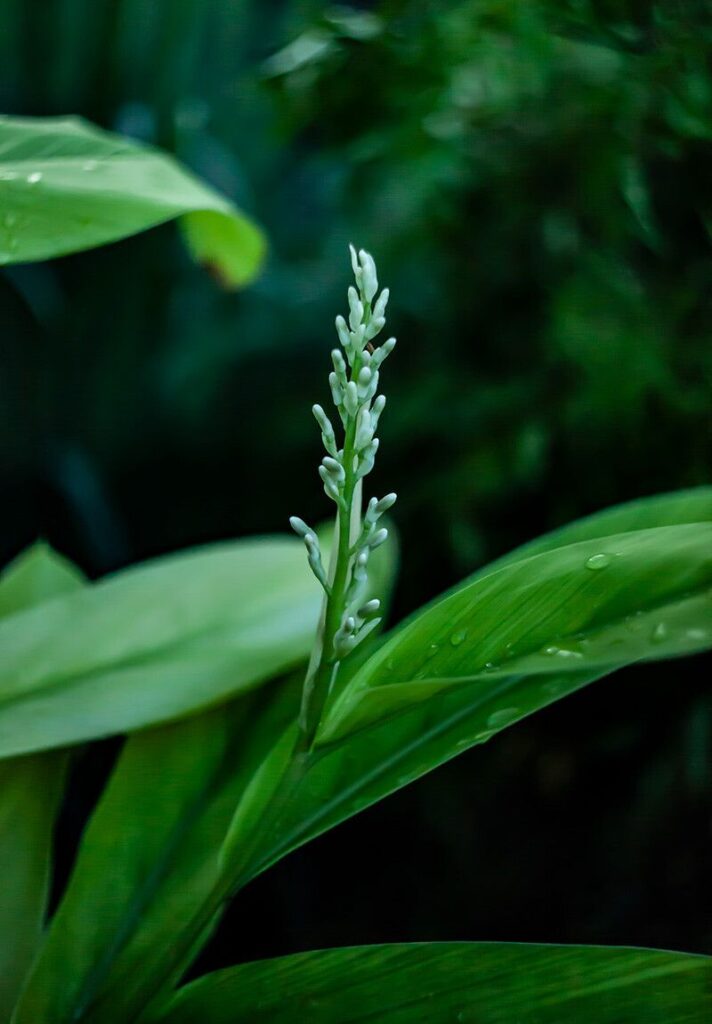
Alpinia galangal, also known as Thai ginger or Siamese ginger, is a perennial plant that thrives in warm climates. Thankfully, you don’t need to be a botanical expert to propagate it successfully. Here are two primary methods:
1. Rhizome Division: The Foolproof Favorite
This is the most common and reliable method for propagating galangal. Similar to ginger, galangal multiplies through underground stems called rhizomes. Here’s how to do it:
- Source your rhizome: Begin with a healthy, firm galangal rhizome from a reputable source. You can find them at Asian grocery stores or online nurseries.
- Look for growth buds: Inspect the rhizome for small, knobby buds, often situated at the “fingers” or ends. These are crucial for new shoot development.
- Divide with care: Using a sharp, clean knife, carefully cut the rhizome into sections, ensuring each piece has at least one or two healthy buds.
- Let it rest (briefly): Allow the cut surfaces to dry for a day or two. This helps prevent rot when planted.
- Pot it up: Choose well-draining soil and pot your rhizome sections about 2-3 inches deep, with the buds facing upwards.
- Water and wait: Keep the soil consistently moist but not waterlogged. Within a few weeks, you’ll start seeing shoots emerge!
2. Growing from Seed: A Patience-Rewarded Adventure
While less common, growing galangal from seed can be a rewarding (though slower) process. Here’s what to do:
- Find your seeds: Sourcing viable galangal seeds can be tricky, but specialized online retailers may have them.
- Pre-soak for success: Soak the seeds in warm water for 24 hours to encourage germination.
- Sow with care: Plant the seeds in a well-draining seed starting mix, about ½ inch deep.
- Provide warmth and humidity: Galangal seeds enjoy a warm, humid environment. Consider using a heat mat and covering the tray with a humidity dome or plastic wrap.
- Be patient: Germination can take anywhere from a few weeks to a couple of months.
- Transplant wisely: Once the seedlings develop a few sets of true leaves, they can be transplanted to larger containers or outdoors in warm climates.
Nurturing Your Galangal: Creating an Ideal Environment
Whether you choose rhizome division or start from seed, galangal flourishes in specific conditions:
- Sunlight: Provide at least 6 hours of indirect sunlight daily. Protect from harsh afternoon sun.
- Soil: Well-draining soil is crucial. A mix of loam, compost, and sand works well.
- Watering: Keep the soil consistently moist, but avoid overwatering which can lead to root rot.
- Fertilizer: Feed your plant with a balanced liquid fertilizer every 4-6 weeks during the growing season.
Reap the Rewards: Harvesting Your Homegrown Galangal
After 8-10 months, you can begin harvesting your galangal. Gently dig around the base of the plant and detach rhizomes as needed. Enjoy your fresh, flavorful galangal in all its culinary glory, knowing you’ve successfully conquered the art of propagation!