Unlocking the Secrets of Anthurium Propagation: Multiply Your Flamingo Flower Family
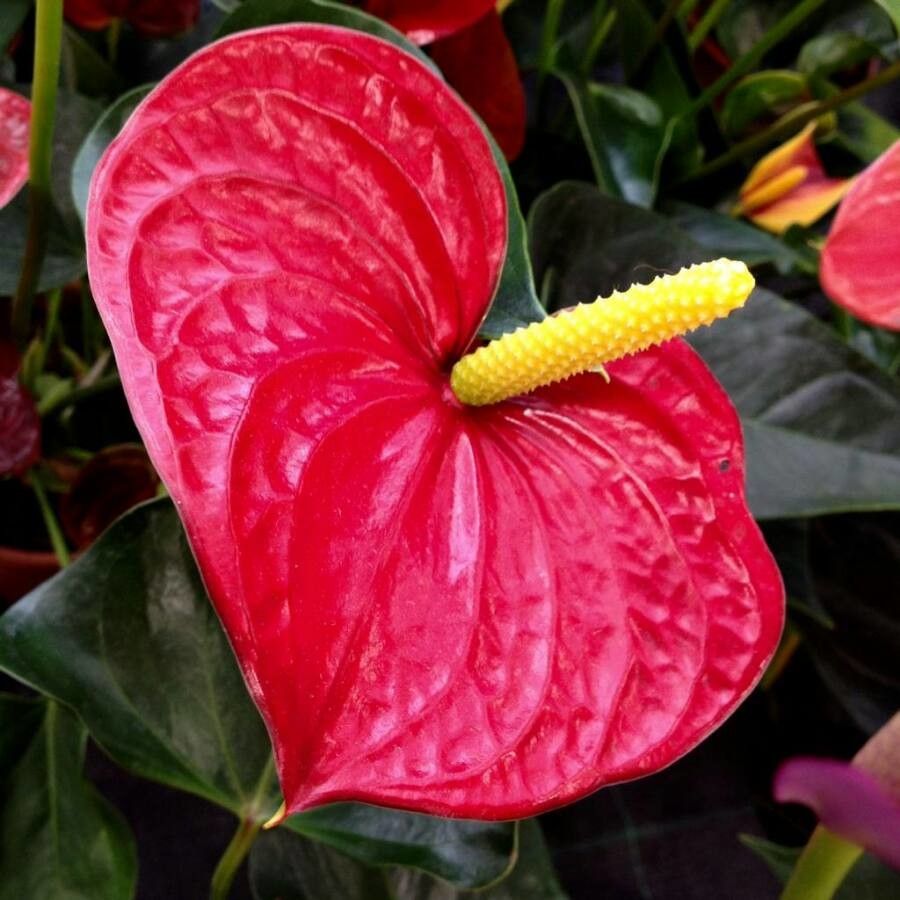
The Anthurium andraeanum, more commonly known as the Flamingo Flower or Painter’s Palette, is a tropical beauty prized for its vibrant, heart-shaped spathes (modified leaves that we often mistake for flowers). While caring for a mature Anthurium brings joy, there’s something uniquely satisfying about propagating your own. But don’t worry, it’s easier than you might think! This guide will unlock the secrets of Anthurium propagation and have you well on your way to expanding your plant family.
Understanding the Methods:
There are two primary ways to propagate Anthuriums:
- Division: This method involves separating offshoots from the mother plant.
- Cuttings: This technique utilizes stem cuttings to grow new plants.
Method 1: Division – Sharing is Caring
Division is best done in spring when repotting your Anthurium. Here’s how:
- Preparation: Gather a clean, sharp knife or pruning shears, a pot slightly larger than the offshoot, and fresh, well-draining potting mix.
- Removal: Gently remove the Anthurium from its pot and inspect the base. Identify healthy offshoots with their own root systems.
- Separation: Carefully separate the chosen offshoots from the mother plant by cutting or gently pulling them apart. Ensure each division has roots attached.
- Potting: Plant each offshoot in a separate pot, burying the roots at the same depth they were in the original pot. Water thoroughly.
Method 2: Cuttings – A New Generation
If your Anthurium lacks offshoots, stem cuttings are a great alternative:
- Preparation: Gather clean, sharp pruning shears, a small pot or propagation tray, and a well-draining propagation mix (perlite and peat moss work well).
- Taking the Cutting: Select a healthy stem with at least two leaves. Make a clean cut just below a node (the small bump on the stem where leaves emerge).
- Preparing the Cutting: Remove the bottom leaves, leaving one or two at the top. Optionally, dip the cut end in rooting hormone to encourage faster root development.
- Planting the Cutting: Insert the cutting into the prepared mix, burying the node but keeping the leaves above the soil. Water gently.
Creating the Ideal Environment:
No matter your chosen method, success lies in providing the right environment:
- Humidity: Anthuriums thrive in high humidity. Mist regularly or place a humidity dome over the cuttings to create a humid microclimate.
- Warmth: Maintain a consistent temperature between 70-80°F (21-27°C). Placing your pots on a heating mat can be beneficial.
- Light: Provide bright, indirect light. Avoid direct sunlight, as it can scorch the delicate new growth.
- Watering: Keep the soil consistently moist but not waterlogged.
Patience is Key:
Propagating Anthuriums takes time. Division usually results in quicker establishment as the offshoots already have roots. Cuttings can take several weeks to root. Be patient, and soon you’ll be rewarded with vibrant new additions to your plant family.
Final Thoughts:
Propagating your Anthurium is a rewarding experience that allows you to create new life from an existing plant. By following these steps and providing the right conditions, you’ll be well on your way to expanding your collection and enjoying the beauty of these stunning tropical plants for years to come.