Unlocking the Secrets of Anthurium Cirinoi Propagation: A Step-by-Step Guide
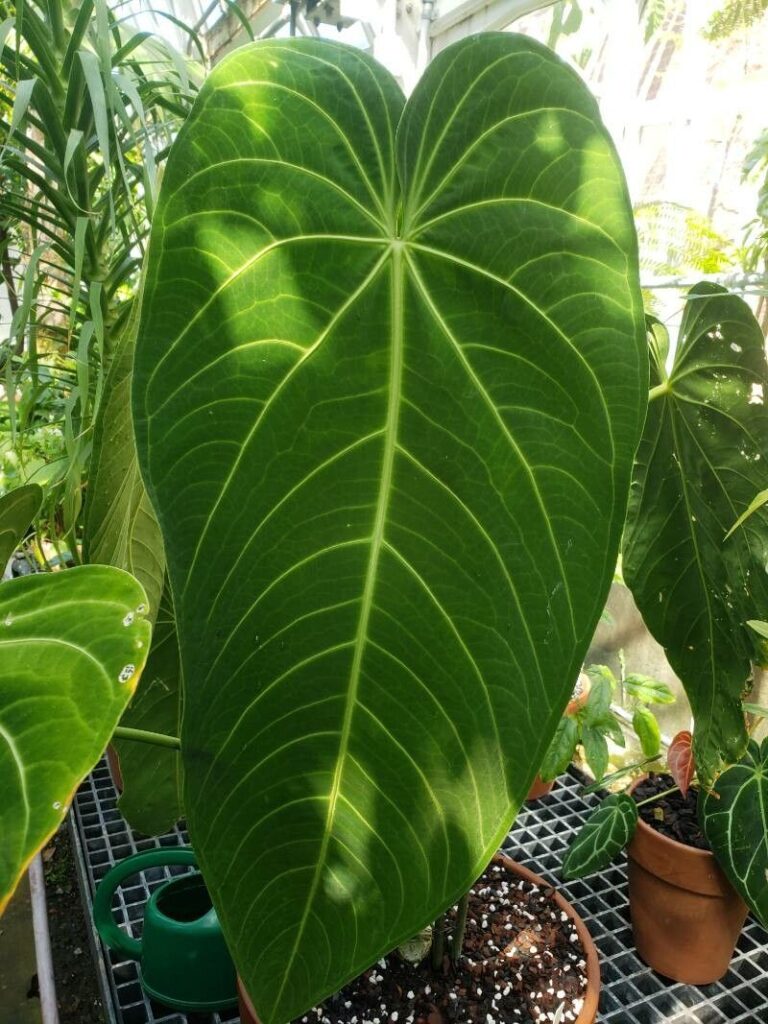
Anthurium cirinoi, with its velvety, deeply-veined leaves and intriguing inflorescence, has skyrocketed in popularity amongst houseplant enthusiasts. Often hailed as a “must-have” for collectors, this tropical gem can be a bit elusive due to its slower growth habit. But what if you could multiply your collection and witness the magic of new life unfold? This is where propagation comes in!
This guide will equip you with the knowledge and techniques to successfully propagate your own Anthurium cirinoi.
Understanding the Methods
Two primary methods reign supreme for propagating Anthurium cirinoi:
- Stem Cuttings: This involves taking a section of the stem containing at least one node and encouraging it to develop roots.
- Division: This method capitalizes on the clumping nature of mature plants, separating them into smaller, individual plants.
Method 1: Mastering the Art of Stem Cuttings
- Timing is Key: Spring, with its surge of growth hormones, offers the ideal conditions for successful propagation.
- Tools of the Trade: You’ll need a clean, sharp knife or pruning shears, a well-draining potting mix (sphagnum moss and perlite work well), and small pots.
- Taking the Cutting: Identify a healthy stem with at least one node (a small bump where leaves emerge). Make a clean cut just below the node.
- Preparing the Cutting: Remove any leaves from the lower portion of the cutting to prevent them from rotting in the potting mix.
- Potting Up: Dip the cut end in rooting hormone (optional but recommended) and gently insert it into the prepared potting mix.
- Creating a Humid Haven: High humidity is crucial for root development. Place the pot inside a clear plastic bag or humidity dome to create a greenhouse-like environment.
- Patience is a Virtue: Keep the cutting in a warm, brightly lit location, away from direct sunlight. New growth is a sign that rooting is successful.
Method 2: Division: Separating for Success
- Signs Your Plant is Ready: Overcrowded roots pushing out of drainage holes or multiple crowns emerging from the soil indicate readiness for division.
- Gentle Separation: Carefully remove the plant from its pot and gently loosen the roots. Using clean hands or a sterilized knife, divide the plant into sections, ensuring each section has a healthy root system and leaves.
- Potting Up the Divisions: Plant each division in its own pot with fresh, well-draining potting mix.
- Post-Division Care: Water thoroughly and place the newly potted divisions in a humid, warm environment with bright, indirect light.
Troubleshooting Tips
- Yellowing or rotting leaves: This can indicate overwatering or poor drainage. Ensure the potting mix is airy and allows excess water to escape.
- Lack of new growth: Patience is key. It might take several weeks for roots to develop and new growth to appear.
The Joy of Propagation
Propagating your Anthurium cirinoi is an incredibly rewarding experience. Not only does it allow you to expand your plant collection, but it also deepens your connection with this remarkable species. With a little patience and the right know-how, you can unlock the secrets of propagation and enjoy the beauty of new life.