Unlocking the Secrets of Anthurium Consobrinum Propagation: A Step-by-Step Guide
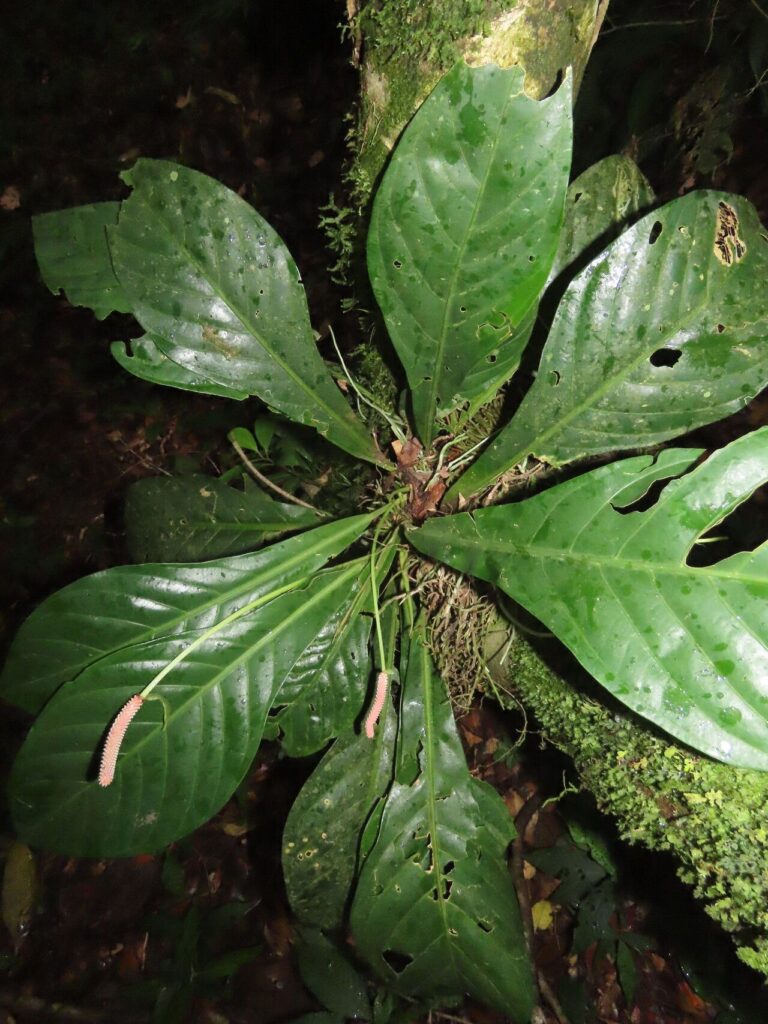
The Anthurium Consobrinum, with its velvety, emerald-green leaves and striking veins, is a true showstopper in the world of houseplants. But unlike some of its easier-to-propagate cousins, this tropical beauty can seem a bit intimidating for those wanting to expand their collection. Fear not, fellow plant lovers! This guide will demystify Anthurium Consobrinum propagation and equip you with the knowledge to cultivate new plants from your existing gem.
Understanding the Basics
Before we delve into the methods, it’s crucial to understand that Anthurium Consobrinum, like many Aroids, prefers warm temperatures, high humidity, and well-draining soil. These factors play a vital role in successful propagation.
Propagation Methods: Your Path to Plant Parenthood
There are two primary methods to propagate Anthurium Consobrinum:
1. Stem Cuttings:
This method involves snipping a healthy stem section and encouraging it to develop roots. Here’s a breakdown:
- Timing is Key: Spring and early summer, during the plant’s active growing season, offer the highest chances of success.
- Making the Cut: Select a healthy stem with at least two nodes (small bumps on the stem where roots emerge). Using sterilized scissors or a sharp knife, cut just below a node.
- Rooting Hormone (Optional): While not mandatory, dipping the cut end in rooting hormone can significantly improve your success rate.
- The Rooting Medium: Choose a well-draining mix like sphagnum moss, perlite, or a combination of both.
- Planting and Patience: Insert the cut end into the chosen medium, ensuring at least one node is buried. Place the cutting in a warm, humid environment with indirect light. Mist regularly and be patient, as rooting can take several weeks.
2. Division:
For mature Anthurium Consobrinums, division offers a rewarding way to propagate. Here’s how:
- The Right Time: The ideal time for division is during repotting, typically in spring.
- Gentle Separation: Carefully remove the plant from its pot and examine its root system. Look for natural clumps with their own set of leaves and roots.
- Division with Care: Using clean hands or sterilized tools, carefully separate the clumps, ensuring each division has a healthy root system and at least a couple of leaves.
- Potting Your Divisions: Plant each division in a well-draining potting mix, ensuring the crown (where the leaves meet the roots) sits slightly above the soil line.
Nurturing Your New Propagations
Successfully rooting or dividing your Anthurium Consobrinum is just the first step. Provide your new plants with the right environment to thrive:
- Warmth and Humidity: Maintain a temperature range of 70-80°F (21-27°C) and provide humidity by misting regularly, using a humidifier, or placing the pots on a pebble tray filled with water.
- Bright, Indirect Light: Like their parent plant, propagations flourish in bright, indirect light. Avoid harsh direct sunlight that can scorch their delicate leaves.
- Watering Wisely: Water your propagations when the top inch of the soil feels dry, ensuring proper drainage to prevent root rot.
Patience is a Virtue
Remember, propagating Anthurium Consobrinum requires patience. Don’t be disheartened if you don’t see results immediately. With proper care and a keen eye for detail, you’ll soon be rewarded with an expanding family of these stunning tropical beauties. Happy propagating!