From Seed to Success: Propagating the Exotic Antidesma madagascariense
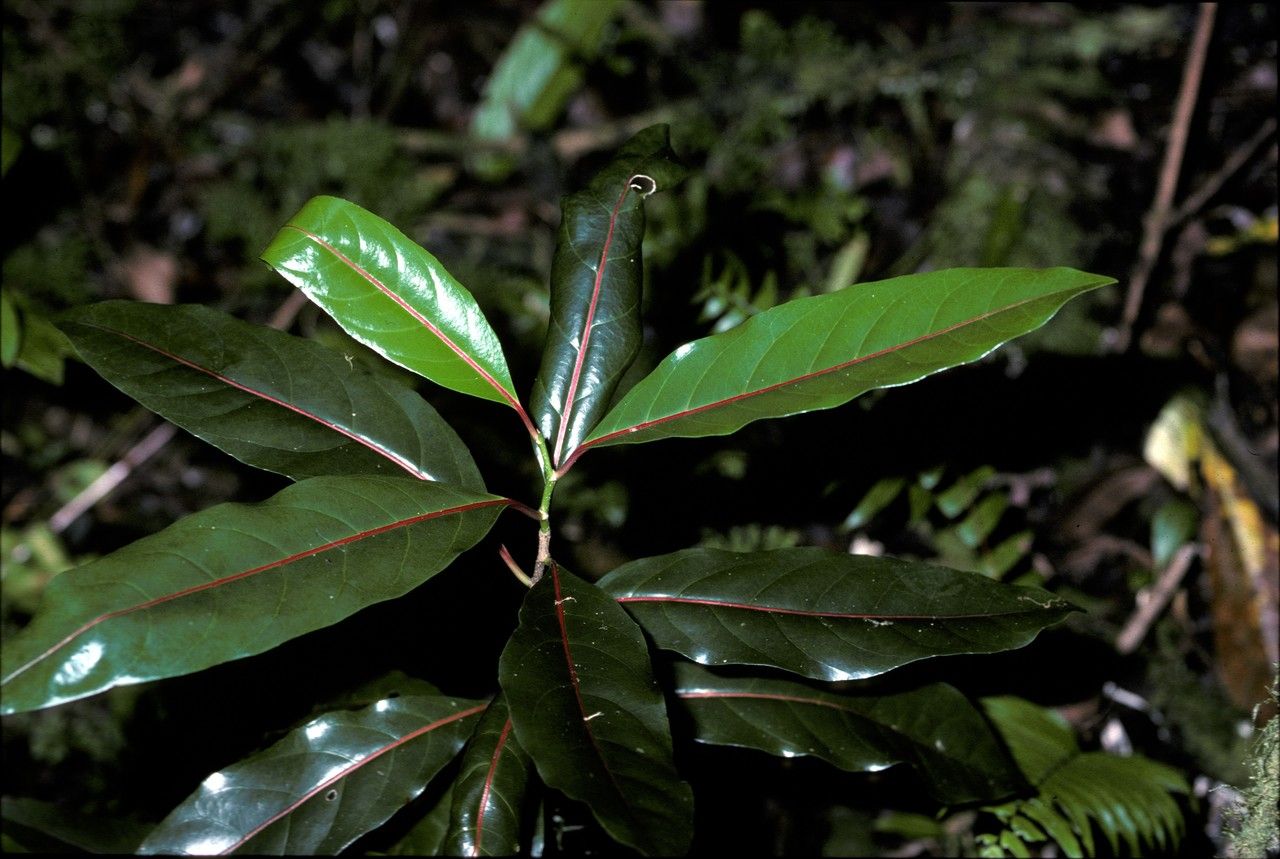
The Antidesma madagascariense, with its striking foliage and unique berries, is a captivating addition to any plant enthusiast’s collection. But where do you start when you want to share this beauty with others or simply expand your own green haven? The answer lies in propagation, the art of creating new plants from existing ones.
This comprehensive guide will take you through the ins and outs of propagating Antidesma madagascariense, revealing the secrets to a successful journey from seed to mature plant.
1. Seeds: The Foundation of New Life
The most common method for propagating Antidesma madagascariense is through seeds. These seeds are typically found within the ripe berries, which start off green and transition to a lovely red hue as they mature. Here’s the breakdown:
- Harvesting: Once the berries turn red, gently pluck them from the plant, avoiding any overly soft or damaged fruits.
- Extraction: Carefully remove the seeds from the berries. You can either squeeze them out or gently peel the outer layer away.
- Cleaning: Rinse the seeds thoroughly with water to remove any remaining pulp.
- Drying: Spread the seeds on a paper towel or a mesh screen in a well-ventilated area and allow them to dry completely. Avoid prolonged sunlight exposure.
2. Sowing Success: Planting the Seeds
Once your seeds are dry, it’s time to nurture them into new beginnings:
- Potting Mix: Prepare a seed starting mix that is well-draining and rich in nutrients. A combination of peat moss, coco coir, and perlite works well.
- Planting Depth: Gently press the seeds into the prepared mix, covering them with a thin layer of soil (approximately 1/4 inch).
- Watering: Mist the soil lightly to keep it moist, but avoid overwatering.
- Light: Seeds need indirect sunlight to germinate. Place the pots in a sunny location but avoid direct harsh rays.
- Temperature: Maintain a warm temperature of around 70-75°F (21-24°C) for optimal seed germination.
3. Patience is Key:
Germination can take a couple of weeks to several months, so be patient! Maintain consistent moisture and warmth, and you’ll eventually see tiny green shoots emerging from the soil.
4. Nurturing New Growth:
Once the seedlings have developed a few true leaves, they’re ready for a little more attention:
- Repotting: Gently transplant the seedlings into individual pots, using a similar well-draining mix.
- Light and Water: Continue to provide indirect sunlight and consistent moisture, but avoid overwatering.
- Fertilization: You can start applying a diluted liquid fertilizer once a month to aid in their growth.
5. Beyond Seeds: Exploring Other Options
While seeds provide the most common method, other propagation techniques for Antidesma madagascariense exist:
- Cuttings: Semi-hardwood cuttings taken in late summer or early fall can successfully root. Dip the cut end in rooting hormone before planting in a suitable rooting medium.
- Air Layering: This method involves wrapping a section of the stem with moist sphagnum moss and plastic wrap. Once roots emerge, the section can be cut and potted.
Conclusion:
Propagating Antidesma madagascariense is a rewarding journey, requiring patience and attention. But with the right techniques and a touch of horticultural know-how, you can take pride in nurturing new life from seeds or cuttings. Whether you’re adding a touch of the exotic to your own garden or sharing this beauty with others, the journey of propagation is a fulfilling one.