Taming the Wild Bearberry: A Guide to Propagating Arctostaphylos tomentosa
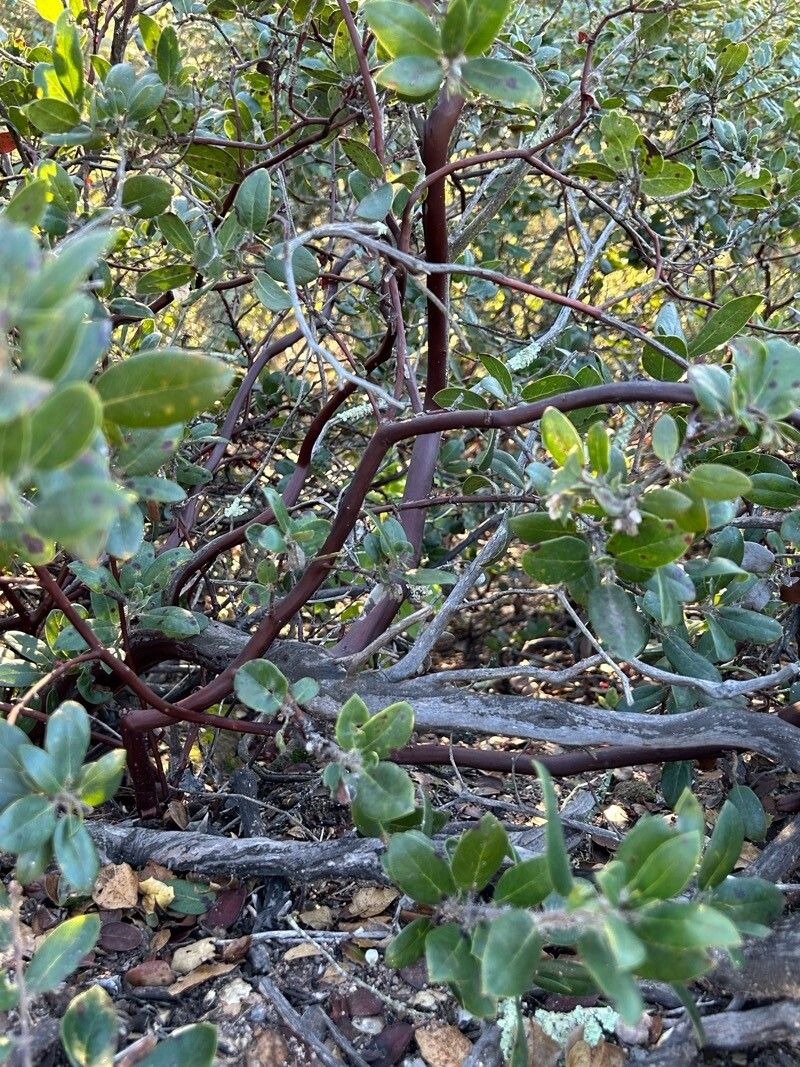
Arctostaphylos tomentosa, better known as Woolly Bearberry or just Bearberry, is a ruggedly charming evergreen shrub with a penchant for tough conditions. This ground-hugging beauty boasts delicate, bell-shaped flowers that give way to bright red berries, attracting a flurry of pollinators and adding year-round interest to your landscape.
If you’re eager to welcome this resilient native to your garden, you might be surprised to learn that while it thrives in the wild, propagating Arctostaphylos tomentosa requires a bit of patience and finesse. But fear not, aspiring cultivators! This guide will equip you with the knowledge to successfully propagate this enchanting plant.
Two Paths to Propagation: Seed vs. Cuttings
1. Starting from Seed: A Test of Time and Patience
Propagating from seed offers the satisfaction of witnessing the entire life cycle of your Bearberry, but it is a slow and often challenging process. Here’s what you need to know:
- Seed Collection: Harvest ripe berries in late summer or fall. Gently crush the berries and separate the small, brown seeds.
- Stratification: This crucial step mimics the natural winter chilling period required for germination. Store the seeds in a moist mix of sand and peat moss in your refrigerator for 60-90 days.
- Sowing: Once stratified, sow seeds in a well-draining seed starting mix, barely covering them with soil.
- Light & Moisture: Provide bright, indirect light and maintain consistent moisture. Germination can be erratic and may take several months.
2. Propagating from Cuttings: A Faster, More Reliable Approach
Taking cuttings offers a quicker and often more successful route to new Bearberry plants. Here’s how:
- Timing is Key: Take cuttings during the plant’s active growing season – ideally, in late spring or early summer.
- Choosing the Right Cuttings: Select healthy, non-flowering stems that are 4-6 inches long.
- Preparing the Cuttings: Remove the lower leaves, leaving 2-3 pairs at the top. Dip the cut end in rooting hormone to encourage root development (optional but recommended).
- Planting & Care: Plant the cuttings in a well-draining potting mix, burying at least one node below the soil. Mist regularly and cover with a plastic bag or humidity dome to retain moisture.
- Root Development: Be patient! Rooting can take 4-8 weeks. Once new growth appears, you can gradually acclimatize the cuttings to outdoor conditions before transplanting.
Nurturing Your New Bearberry Plants
Regardless of your chosen propagation method, providing the right growing conditions is crucial for success:
- Well-Drained Soil: Bearberry thrives in lean, acidic, and well-drained soil. Mimic its natural habitat by incorporating sand or gravel into your planting site.
- Sun or Partial Shade: While this tough plant tolerates some shade, it thrives in full sun to partial shade conditions.
- Minimal Watering: Once established, Bearberry is quite drought-tolerant. Water deeply but infrequently, allowing the soil to dry out slightly between waterings.
Reaping the Rewards of Your Efforts
Propagating Arctostaphylos tomentosa may require some dedication, but the rewards are well worth the effort. Watching your very own Bearberry flourish, whether started from seed or cutting, offers a unique sense of accomplishment. And with proper care, your new plants will continue to thrive, providing year-round beauty and attracting beneficial pollinators to your garden for many seasons to come.