Sun Up, Seeds Soar: Easy Propagation Techniques for the Cape Daisy (Arctotheca calendula)
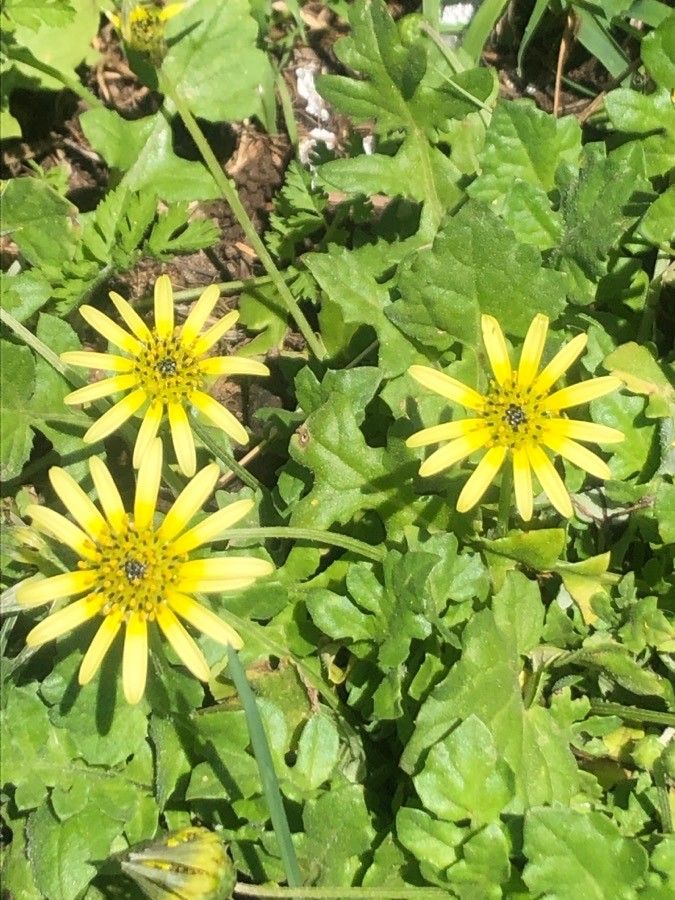
The Cape Daisy, also known as Arctotheca calendula, is a charming groundcover known for its cheerful daisy-like blooms and silvery-green foliage. This South African native thrives in sunny locations and easily spreads its beauty, making it a favorite for borders, rockeries, and even hanging baskets. If you’re looking to multiply your Cape Daisy joy, you’re in luck! This resilient plant is surprisingly easy to propagate, allowing you to cultivate a flourishing landscape or share its charm with fellow gardeners.
Two Roads to Daisy Domination: Seeds & Cuttings
Arctotheca calendula can be propagated through two primary methods: seeds and cuttings. Each approach offers unique advantages and slightly different timelines.
1. Seeds: Sowing the Seeds of Success
Propagating Cape Daisies from seed is a rewarding experience that connects you to the entire lifecycle of the plant. Here’s what you need to know:
- Seed Collection: Keep an eye on fading blooms in late summer or early fall. As the flowers wither, they’ll leave behind small, dry seed heads. Collect these heads and store them in a paper bag for a week or two, allowing them to fully dry and release the seeds.
- Sowing Time: You can sow Cape Daisy seeds directly outdoors after the last frost in spring or start them indoors 6-8 weeks before the expected last frost.
- Sowing Technique: Sprinkle the seeds over well-draining seed-starting mix, lightly pressing them onto the surface. Don’t bury them deeply; light is essential for germination.
- Germination: Keep the soil consistently moist and provide warmth (around 70°F). Germination typically takes 10-14 days.
- Transplanting: Once the seedlings develop a few sets of true leaves, they can be transplanted outdoors after hardening them off.
2. Cuttings: A Faster Route to Established Plants
Propagating from cuttings, also known as vegetative propagation, allows you to create an exact replica of the parent plant and generally results in faster growth.
- Timing: Spring or early summer, when the plant is actively growing, is the best time for taking cuttings.
- Taking the Cutting: Choose a healthy, non-flowering stem and make a clean cut about 4-6 inches long, just below a leaf node. Remove the lower leaves from the cutting, leaving only a few at the top.
- Rooting Hormone (Optional): While not essential, dipping the cut end in rooting hormone can increase the success rate and speed up root development.
- Planting the Cutting: Plant the cutting in a pot filled with a well-draining potting mix. Keep the soil consistently moist but not waterlogged.
- Root Development: It takes around 4-6 weeks for the cuttings to develop roots. You can gently tug on the cutting to check for resistance, indicating root growth.
- Transplanting: Once roots are established, you can transplant the cuttings into individual pots or directly into the garden.
Caring for Your Cape Daisy Progeny
Regardless of the propagation method you choose, young Cape Daisies thrive in the same conditions as mature plants:
- Sunlight: Provide at least 6 hours of direct sunlight daily.
- Soil: Well-draining soil is crucial.
- Watering: Allow the soil to dry out slightly between waterings, as Cape Daisies are relatively drought-tolerant. Avoid overwatering.
- Fertilizer: While not heavy feeders, occasional fertilization during the growing season can be beneficial.
By following these simple steps, you can easily multiply your Cape Daisy population, transforming your garden into a vibrant tapestry of sunshine hues.