
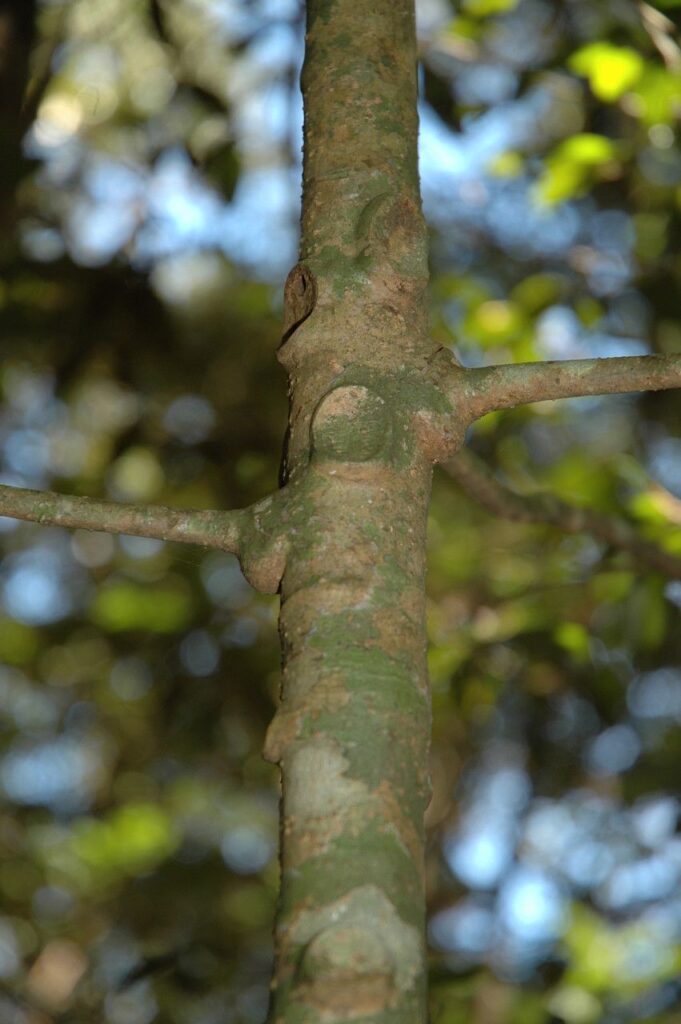
Unlocking the Secrets to Propagating Ardisia pauciflora: A Guide for Every Green Thumb
The Ardisia pauciflora, with its vibrant red berries that last well into winter, is a captivating plant. But did you know that growing this beauty from cuttings is surprisingly easy? This blog post will unlock the secrets to successful propagation of Ardisia pauciflora, empowering you to expand your plant collection effortlessly.
Why Propagate Ardisia pauciflora?
Beyond its stunning appearance, propagating this plant offers several advantages:
- Cost-effective: Instead of buying new plants, you can create your own for free.
- More plants: Multiply your collection quickly and easily.
- Personalized touch: It’s the perfect way to share your love of plants with friends and family.
- Genetic preservation: Propagating from cuttings ensures you maintain the specific characteristics of your original plant.
The Essential Tools:
- Sharp, clean knife or scissors: This will ensure clean cuts for optimal root development.
- Rooting hormone: While not essential, rooting hormone increases the success rate by stimulating root growth.
- Potting mix: Choose a well-draining mix suitable for semi-shade plants.
- Small pots: Select pots with drainage holes for proper aeration.
- Clear plastic wrap or humidity dome: This helps maintain humidity around the cuttings, crucial for root development.
Steps to Success:
- Choose Healthy Cuttings: Select 4-6 inch long stems from the current year’s growth. Look for stems with a few healthy leaves and no signs of disease or pests.
- Prepare the Cuttings: Cut the stem just below a leaf node (where a leaf grows from the stem). Remove any leaves below the soil level.
- Treat with Rooting Hormone: Dip the cut end of the stem in rooting hormone, if using.
- Plant in Pots: Fill small pots with the chosen potting mix, leaving room at the top. Gently make a hole in the center of the potting mix and insert the cutting.
- Maintain Humidity: Cover the pot’s top with plastic wrap or a humidity dome to maintain high humidity. This stimulates root development and prevents the leaves from drying out.
- Place in Indirect Light: Position the pots in a warm, bright location with indirect sunlight. Avoid direct sunlight as it can dry out the cuttings.
- Care for Cuttings: Water the cuttings regularly, ensuring the potting mix is kept consistently moist but not soggy.
- Patience is Key: It can take anywhere from 4 to 8 weeks for the cuttings to develop roots. Be patient!
- Monitor for Growth: Once you see new growth emerging from the cuttings, you can be certain they’re rooting. Gradually acclimate them to direct sunlight and start to reduce watering.
Troubleshooting Tips:
- Yellowing Leaves: This usually indicates overwatering. Make sure the soil is well-draining and avoid overwatering.
- Wilting Leaves: This indicates insufficient moisture. Increase watering frequency or mist the cuttings with water.
- Root Rot: This can happen if the soil is too wet. Remove the cuttings from the wet soil, discard the damaged roots, and repot the cuttings in fresh, well-draining potting mix.
Conclusion:
Propagating Ardisia pauciflora is a rewarding and surprisingly simple process. With a little patience and these easy-to-follow steps, you’ll be able to enjoy the beauty of this stunning plant for years to come. So why wait? Grab some cuttings and get started on your own Ardisia pauciflora propagation adventure today!