
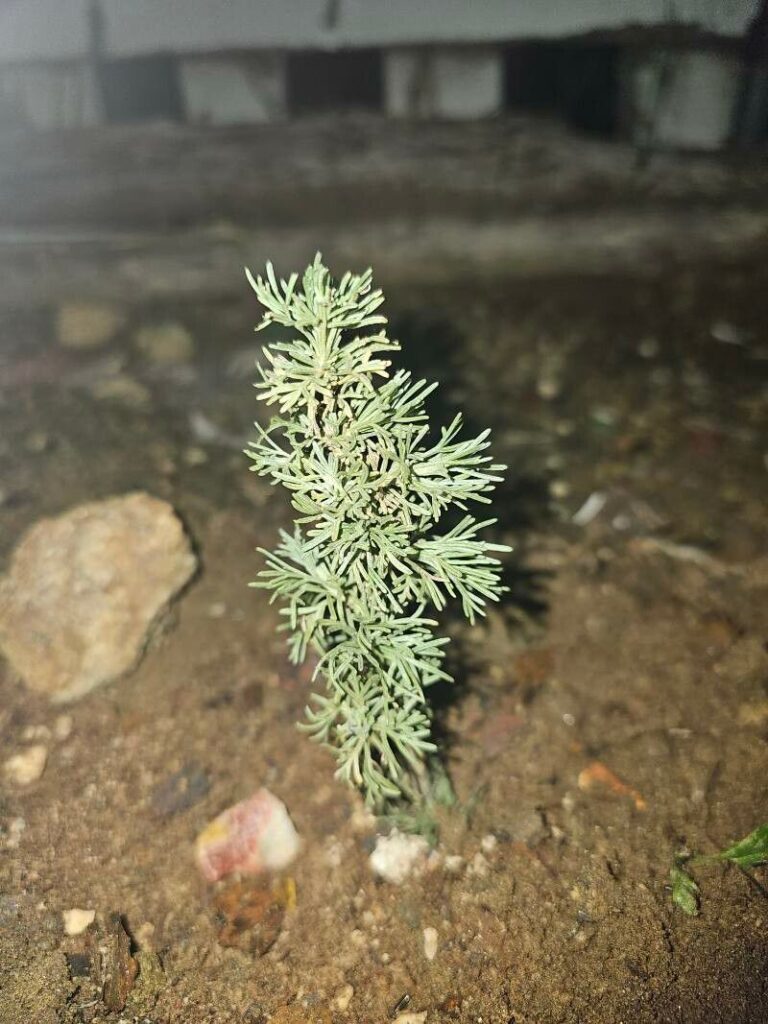
California Sagebrush: Grow Your Own Aromatic Wonderland with Easy Propagation
The scent of California sagebrush (Artemisia californica) evokes memories of sun-drenched hillsides and the crisp air of the Golden State. This native perennial, with its silvery-grey foliage and captivating aroma, is a beloved plant for gardeners seeking a low-maintenance, drought-tolerant addition to their landscapes. But did you know you can easily propagate California sagebrush yourself?
This article will guide you through the simple steps of propagating this hardy plant, allowing you to create a flourishing patch of sagebrush in your own garden or share its beauty with friends and family.
Taking Cuttings: A Simple Approach
The most common and successful method for propagating California sagebrush is through softwood cuttings. This technique involves taking cuttings from new growth in the spring or early summer. Here’s how:
- Timing is key: Aim for the period after the plant has finished its major spring growth spurt but before it hardens off too much. Look for stems that are pliable, not woody.
- Cuttings with care: Using sharp pruning shears or a knife, clip 4-6 inch sections of new growth, ensuring there are at least three sets of leaves on each cutting. Make a clean cut just below a set of leaves.
- Remove lower leaves: Remove the bottom two sets of leaves from each cutting, exposing the stem. This will encourage root growth.
- Dip in rooting hormone: While not essential, applying a rooting hormone powder or gel to the cut end can enhance the rooting process.
- Prepare the rooting medium: Fill a pot or tray with a well-draining, sterilized potting mix. Perlite or vermiculite can be added to further improve drainage.
- Plant with care: Insert the cuttings into the rooting medium, leaving the exposed stem portion above the soil level.
- Maintain moisture: Keep the soil moist but not soggy, and cover the cuttings with a plastic dome or bag to create a humid environment.
- Patience is key: Rooting can take several weeks, but you’ll start to see new growth emerging from the nodes of the cuttings.
- Time for transplanting: Once you’re confident the cuttings have developed a strong root system (usually within a few months) you can carefully transplant them into individual pots or their final growing location in your garden.
Seeds for a New Generation
While cuttings are the most straightforward method for propagation, you can also bring California sagebrush to life from seed. Here’s what you need to know:
- Harvesting seeds: Allow the seed heads to mature and turn brown before harvesting.
- Sowing the seeds: Plant the seeds directly into the soil during fall or early winter. They need a period of cold stratification (exposure to cold temperatures) to germinate.
- Germination time: Depending on your climate, germination can take several weeks to a few months. Provide moisture and maintain a consistent temperature for optimal growth.
A Note on Optimal Growing Conditions
When planting and nurturing your new California sagebrush, consider the following factors:
- Sunlight: Choose a sunny location with at least six hours of direct sunlight daily.
- Well-draining soil: As a native Californian, this plant thrives in well-draining soil that is not prone to becoming waterlogged.
- Water sparingly: While young plants need regular watering, once established, California sagebrush is incredibly drought tolerant. Water deeply, but infrequently.
Enjoying the Rewards
Propagating California sagebrush is a rewarding experience. It’s not only an excellent way to expand your garden, but it also gives you a sense of connection to the natural world. The scent, the silvery-grey foliage, and the low-maintenance nature of this plant make it a favorite for gardeners of all levels. As you watch your propagated plants flourish and spread, you’ll be able to enjoy the beauty and resilience of this iconic California native for years to come.