From One Dusty Plant to Many: Propagating the Hardy Charm of Artemisia frigida
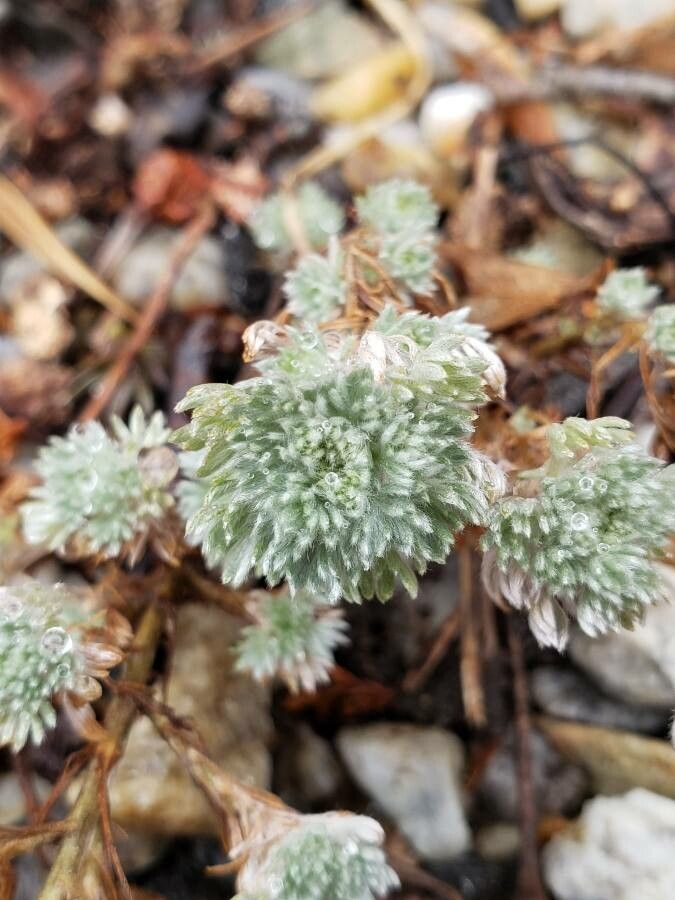
Want to add a touch of rugged elegance to your garden? Look no further than Artemisia frigida, commonly known as “fringed sagewort” or “dwarf sagebrush.” These low-growing, silvery-green plants boast an aromatic, almost spicy scent and a delicate, feathery foliage that dances in the breeze. But beyond their beauty, Artemisia frigida offers a unique trait: easy propagation!
This means expanding your collection of these delightful plants is a breeze. Whether you’re a seasoned gardener or just starting out, propagating Artemisia frigida is a simple and rewarding process. Let’s dive into the details:
The Power of Division
For established Artemisia frigida plants, division is the most common and successful method. This technique involves gently separating the plant into smaller, independent units. Here’s how:
- Select the right time: Spring or early fall are the ideal times to divide Artemisia frigida. The soil should be moist but not soggy.
- Prepare the plant: Carefully dig up the entire plant, being gentle to avoid damaging the roots.
- Divide and conquer: Use a sharp knife or shovel to divide the plant into sections, ensuring each section has healthy roots and at least a few stems.
- Plant your divisions: Prepare a new planting site with well-drained soil. Gently plant the divisions, ensuring the crown of the plant sits slightly above the soil line. Water well and watch them flourish!
The Magic of Cuttings
For a more controlled approach, taking stem cuttings is another effective propagation method.
- Choose your cuttings: Select healthy, non-flowering stems from the current year’s growth.
- Prep the stem: Cut a 4-6 inch section just below a node (the point where a leaf grows). Remove any leaves from the bottom inch or two of the stem.
- Root your cuttings: Insert the cuttings into a well-draining rooting medium like a mixture of perlite and vermiculite. Keep the medium moist, and place the cuttings in a warm, shaded spot.
- Patience is key: With consistent care, the cuttings should root in 4-6 weeks. Once roots form, you can transplant them into individual pots or into your garden bed.
A Few Tips to Remember:
- Watering is key: Consistent moisture is crucial for successful rooting. Don’t let the soil dry out completely.
- Sunlight and shade: Artemisia frigida prefers full sun to partial shade. Choose your planting location accordingly.
- Pest and disease control: Artemisia frigida is generally hardy and disease resistant, but keep an eye out for pests like aphids and whiteflies.
Your Garden Oasis Awaits
Propagating Artemisia frigida allows you to create beautiful and aromatic landscapes without breaking the bank. Plus, sharing your cuttings with fellow gardeners or friends is a wonderful way to spread the love of this unique plant. So, start dividing and rooting today – your garden will thank you for it!